
No one would want to have a jagged crack running on their wall or ceiling. It may turn your house into an ancient and forgotten place, despite all the rest. These cracks can appear due to settling, humidity, or even rough movement and appear more frequently than one would expect.
The good news? It does not have to call a pro all the time. It is not as hard as it sounds to learn how to fix cracks in drywall, and this can save you a lot of money. In this guide, we’ll walk you through drywall crack repair step by step, from walls to tricky ceilings.
Why Drywall Cracks Happen
Cracks in your drywall do not come out of the blue, as they are normally a pointer to something happening to your house. Houses move and settle with time, particularly in areas where there are variations in weather such as those in North Dallas. The drywall seams of that movement are torn open, leaving hairline cracks or larger cracks.
High humidity that causes the expansion and contraction of drywall or the banging of the walls by heavy furniture are also other culprits. On ceilings, how to fix cracks in ceiling drywall can be connected to attic problems such as insulation or roof leakage. Identifying the cause of the problem assists you in correcting it and preventing its recurrence.
Where You’ll Find Drywall Cracks
Cracks love certain spots. These bend the most on walls where there is a corner of the drywall where it intersects the ceiling or the floor. Hotspots as well, include door frames and windowsills, which move with the house.
Ceilings are trickier. Identify drywall ceiling cracks repair requirements along the seams or at the intersection of joists. Bathrooms and kitchens are affected more due to steam and moisture. Basements? These are foundation settling crack magnets. Located repairs are a fast spot and repair exercise when it comes to repairing drywall cracks.
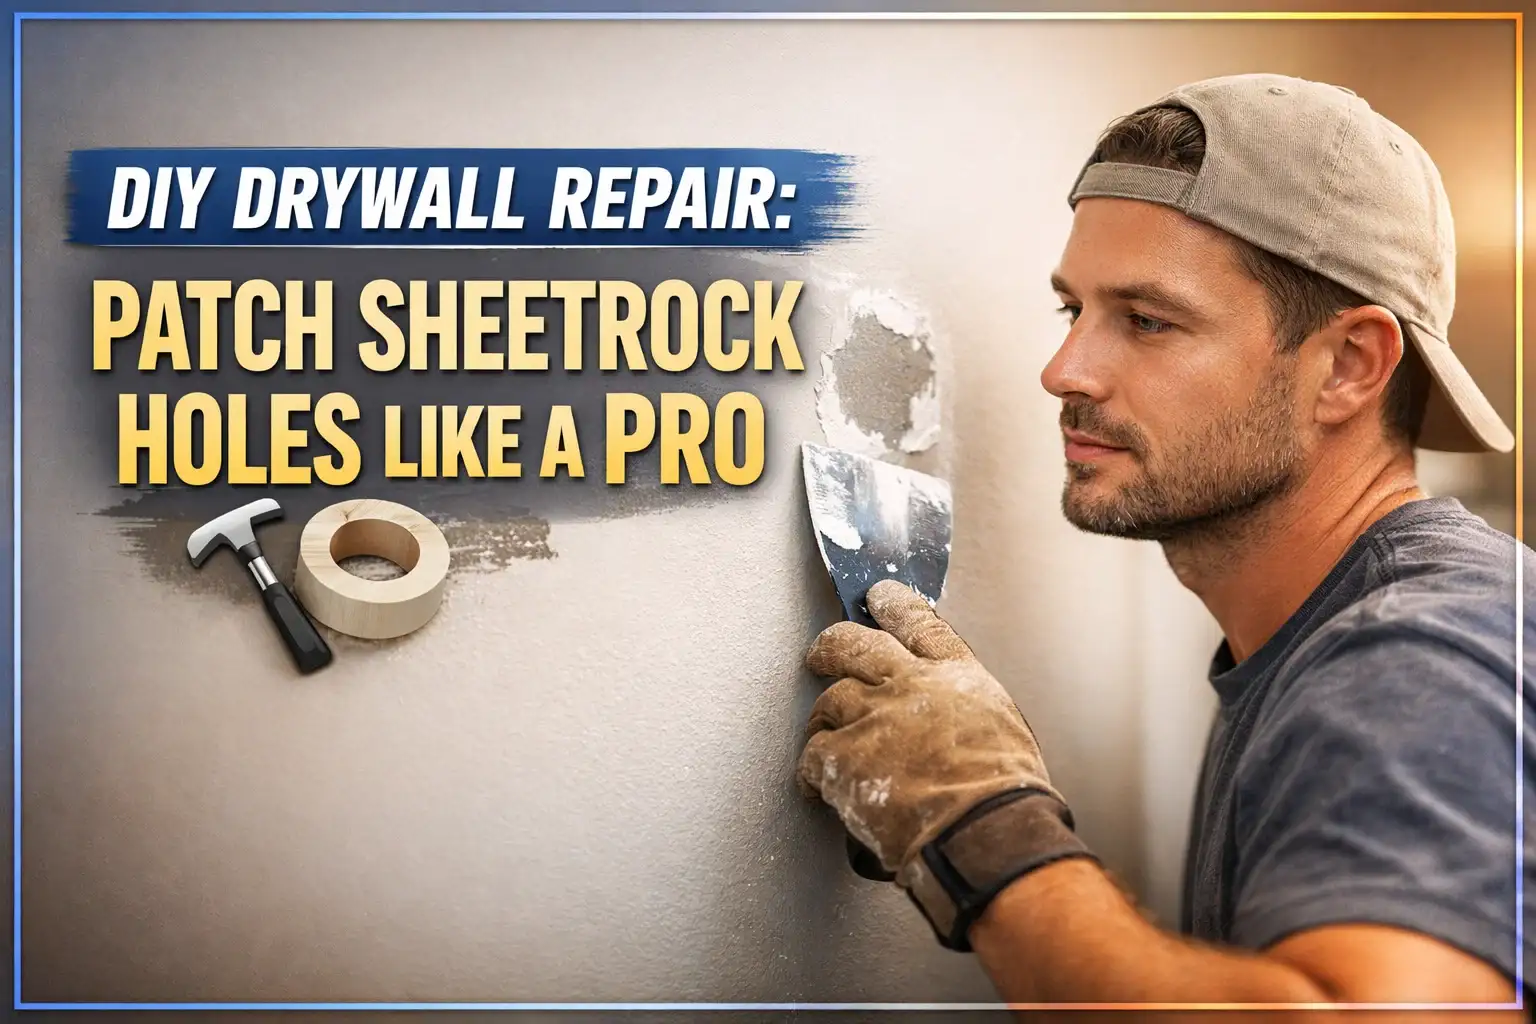
How to Repair Drywall Cracks: Step-by-Step Guide
This is the key to the whole story and how to fix a crack in a drywall, either a ceiling or a wall. We are going to divide it into simple steps using real examples. No special equipment was required; the majority of people have whatever is needed in the garage. This will require 1-2 hours on small cracks, more on ceilings.
First precaution: Put on goggles, a mask, and old clothes. Let’s dive in.
Tools and Materials You’ll Need
Grab these basics from any hardware store:
- Utility knife or putty knife
- Drywall joint compound (easy to use, is a pre-mixed one)
- Drywall tape (paper or mesh)
- Sandpaper (120-220 grit) or sanding block.
- Wall matching primer and paint.
- Drop cloth and painter’s tape
- To ceilings: A firm ladder and perhaps an assistant.
- Total cost? Under $20 for most jobs.
Step 1: Prep the Crack
Start by cleaning it up. Widen the crack with your utility knife, it is the shape of a V so that it is easier to hold. Wipe out spots of loose paint, dust. Wipe using a wet cloth and leave it to dry completely.
Example: Once I had a 3-foot crack in the house settling in the drywall of a home. It required 5 minutes to widen it, but it later made the recovery undetected.
In the case of ceilings, light and furniture underneath should be taped. What is the way to repair a crack in the ceiling of drywall? Same setup, but get in before compound drips.
Step 2: Apply Drywall Tape
Take a piece of tape longer than the crack. With your putty knife, press it into the crack and a layer of joint compound. Hamper the edges so that it loses its lumps!
Walls are straightforward. Ceilings? One hand can be used to hold the tape and the other to smooth. Mesh tape is more convenient to stick over the head for fixing cracks in the ceiling drywall. Allow to dry 4-6 hours (thick layers- overnight).
Fact of the matter: Without tape, cracks will be back. I found out the difficult way on a rental ceiling of the kitchen.
Step 3: Add More Compound Layers
Once dry, sand lightly. This is by applying a second coat, broader than the first, starting from it along. Sand again. Repeat for 2-3 coats total. The tape is concealed by each of the coats.
Hacker tip: Developing a drywall ceiling crack repair. Have a wide knife (10-12 inches) on the last coats, so that they feather out. This brought me out of a rough shamble to a professional on my own ceiling at home.
Time between coats: 4 hours minimum. Cure complete? 24 hours preceding painting.
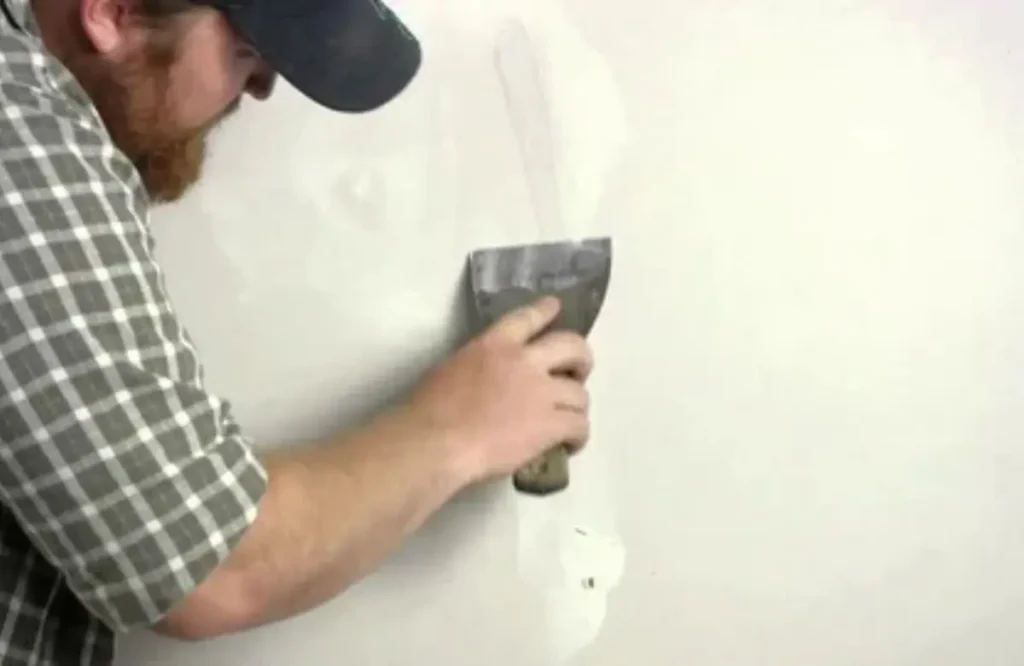
Step 4: Sand and Prime
Sand smooth with 220-grit paper. Wipe dust away. Prime the spot-drywall compound does not take in paint. One coat of primer seals it.
Scenario: When one of my friends was learning how to repair cracks in drywall on a bedroom wall, it appeared patchy until it was primed. Now it’s flawless.
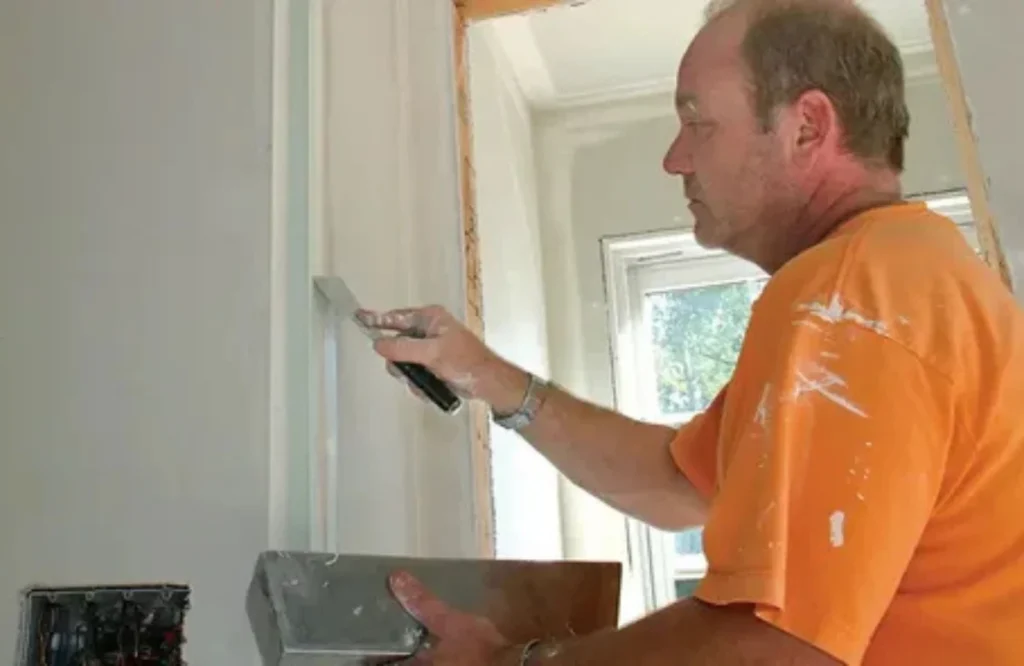
Step 5: Paint to Match
Paint your walls (test your small area), two layers, sanded between. With ceilings, the roller extension pole is to be used.
Specifics of ceilings: Drywall cracks overhead: When working on drywall, it is necessary to separate sections of the ceiling in order to prevent dripping. I had a 2-foot crack above my dining table, so I did; there was no mess on the floor.
Common Mistakes and Fixes
- Too many compounds at once? Cracks when drying. Fix: Thin layers only.
- Bubbles under tape? Puncture and press out air.
- Visible seams on ceilings? More feathering is needed.
In large cracks (more than 1 / 8 inch wide), cut a small patch of drywall, tape edges, and compound over it. Difficult but manageable, observations of ceiling joists.
Wall vs. Ceiling Differences
Walls are as good for leaving a mistake; the weight draws down the smooth. Ceilings of battle with you, slops a-leaky. Use quick-dry compound up top. Scenario: There was a crack of water damage to drywall ceiling in my garage. Bated better, and it remained during the Texas humidity.
It applies to 90% cracks. Seasonal changes? Seal exterior gaps too. A complete wall repair would take 2 days to dry, price: Pennies vs. $200 and above pro fees.
We have discussed the process of knowing how to repair a crack in drywall. First, do it in a concealed place. You’ll nail it!
Top Tips for Lasting Drywall Repairs
Want your fix to stick? These strategies make a huge difference.
- Control humidity: Use a dehumidifier in damp rooms. Cracks hate moisture swings.
- Check foundations: Hairline cracks everywhere? Get a pro inspection.
- Prime every time: Skimping here shows through paint.
- Use flexible caulk on trim cracks for movement.
- For frequent cracks, add backing like mesh before taping.
Bullets keep it simple, try these, and repair drywall cracks. It’s done.
Benefits of DIY Drywall Crack Repair
Fixing it yourself isn’t just cheap, it’s empowering. Save $100-$500 per job versus hiring out. Your home looks fresh instantly, boosting curb appeal for sales or just pride.
No wait times; patch today, enjoy tomorrow. Learn a skill that pays off on other projects. Environmentally? Less waste than full sheet replacements.
Best part: Peace of mind. No more staring at that eyesore while dinner simmers below a cracked ceiling.
Conclusion
Drywall cracks don’t have to ruin your walls or ceilings. From understanding why and where they appear to mastering how to repair drywall cracks step by step, you’ve got the tools to handle it. Quick tips and smart strategies keep things smooth long-term.
Ready to tackle your own drywall crack repair? Grab supplies and give it a go, you’ll be amazed at the results.
To explore more home repair guides or book a pro for tough jobs, visit Patch Pros of North Dallas today.
FAQ’s
Q: How to repair a crack in drywall quickly?
A: Widen the crack into a V-shape, apply tape, and spread joint compound in thin layers. Sand smooth, prime, and paint; small fixes are done in a day.
Q: What’s the best way to repair drywall cracks in the ceiling?
A: Prep a V-groove, use self-adhesive mesh tape for grip, and apply thin compound coats upward. Keep your ladder steady and work in small sections to avoid drips.
Q: Can I skip tape in drywall crack repair?
A: No, tape is key, it reinforces the seam and prevents cracks from reopening. Skipping it means repairs fail fast, especially in moving areas.
Q: How do you repair a ceiling crack in drywall without a mess?
A: Lay a drop cloth below, use quick-dry compound, and hold material with a hawk board. Tape off lights and furniture for zero cleanup hassle.
Q: Why do drywall cracks keep coming back?
A: Common causes are house settling, high humidity, or bad prep work. Fix root issues like foundation shifts or leaks first for lasting results.
Q: Is drywall ceiling crack repair harder than walls?
A: Yes, gravity makes the compound drip and harder to smooth. Follow the same steps as walls, but add patience and overhead tools for success.
Q: When to call a pro for repairing drywall cracks?
A: Call if cracks are over 1/4 inch wide, keep spreading, or come with water damage/stains. Pros handle structural issues you shouldn’t DIY.