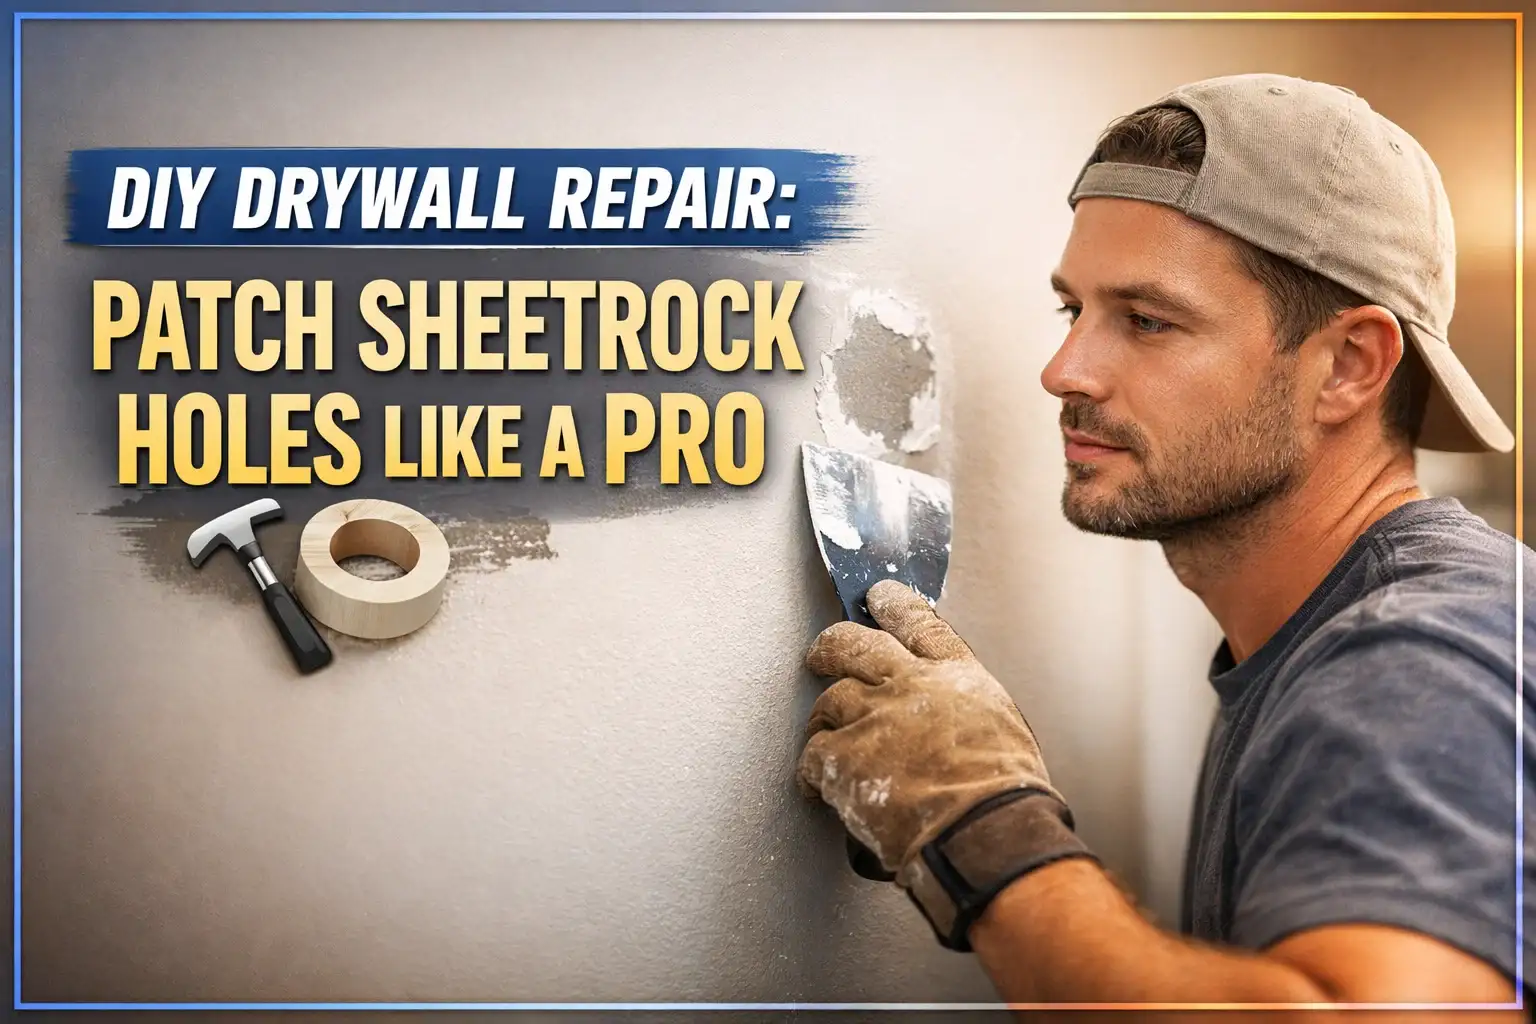
Imagine the following scenario: You have just hung new drywall boards, and you look at those hideous seams, rough joints, and your stomach sinks. Is this a date rape disaster? Sound familiar? There is no need to panic; you will be in the game as soon as you master the idea of drywall primer and professional finishing, and your walls are going to look as though they were delivered straight out of a pro on HGTV. There are no longer scraping paint or cracks, or that amateur vibe.
It saves you thousands and great headaches, whether you are a DIY warrior, updating your garage in Texas, or you are placing a phone call and hiring someone to help you turn your dream kitchen into reality anywhere in the USA. We will divide it all down to the picking of the appropriate drywall tape to the nailing of the knockdown texture. We’ll break it all down simply. Ready to transform bare chaos into smooth, envy-worthy walls you’ll love for years? Let’s roll up our sleeves and get started.
What Is Drywall Finishing and Why Does It Matter?
It is called drywall finishing, stripping the rough walls and taping on seams to become smooth walls that are prepared to be painted. It is the use of drywall mud (it is identical to drywall compound), leveling it, and putting some texture on it, should you desire. You can imagine it as the last paint on your house canvas.
In the USA, the majority of houses built since the 1950s apply drywall, thus becoming a silver bullet in repairing the damage after floods, relocations, or renovations. Unless your walls are well finished with drywall, they crack, paint peels, and your place looks incomplete. It is not simply appearance, good finishing, and keeping the joints dry; it also increases the value of the house.
Where Do You Use Drywall Primer and Finishing Techniques?
These methods can be found all over American homes, whether it is in a new house in the suburbs, such as Texas or Florida, or whether there is a remodel of the basement in the Midwest, or whether there is a storm repair in the southeast. Drywall primer is applied once the mudding has been applied, and then it is coated with paint to seal the surface.
Apply to interior walls, ceilings, garages, and even accent walls with knockdown texture to give that Southwest style thing that has been popular in Arizona homes. Outdoors? Forget it; drywall does not like moisture.
Pro tip: Fight moisture in humid places such as Louisiana with prime extra thick.
Mastering Drywall Primer and Finishing Techniques
This is the heart of it all, your deep dive into drywall primer and finishing techniques. We will dissect it as I am in your garage, with a hammer in my hand, and teach you to do it. No hype, simple steps that play in DIYers throughout the USA.
Prep Your Space Right
First things first: Prepare your space. Once hung with a sheet of drywall (those 4×8-foot monsters on Home Depot), tap on rough places. Wipe dust off with a tacky cloth; believe me, dust destroys all.
Choosing and Applying Drywall Tape
Now, grab your drywall tape. The paper or fiberglass strip conceals intersections between sheets. Two exist: The paper tape is used by professionals (requires the ability to operate) and the self-adhesive mesh tape by an amateur (peels itself).
Begin taping at the seams vertically. Cut drywall tape to size, roll it on the joint and smooth with a layer of drywall mud thinly using a 6-inch knife. Mud is simply a slang term for drywall compound, which is a white, creamy mixture of gypsum, water and binders.
Prepared in buckets (readily available in the USG Sheetrock brand, a common household brand available in American hardware stores) or make your own powder when doing large jobs.
The Three-Coat Mudding System
Apply the first coat: Coat both sides of the tape 6 inches to 8 inches wide with mud, feathering at the edges. It is allowed to dry overnight, sped up by fans. Lightly sprinkle with sand or 120-grit paper after it becomes firm.
New coat: Broaden, 12 inches in all. Use a 10-inch knife to smooth. Get into butt joints (where sheet ends come together without taper), three heavy coats are required. Metal or plastic beads are applied to the corners first before being mudded over.
It is now time to sand after three coats (the three-coat system is the one all contractors swear by). Apply 150-220 grit on a pole sander to ceilings, your back is going to like you. Aim for paper-smooth; no ridges.
Why and How to Use Drywall Primer
Enter drywall primer. But this is no ordinary paint primer; drywall primer (such as Zinsser or Kilz) is used to seal porous gypsum, prevent the topcoats of texture from bleeding, and hold the topcoats in place. Apply it after sanding, rolling, or spraying it. A single coat is generally sufficient, although two are used in busy places such as children’s rooms. Let dry 2-4 hours.
Adding Textures: Knockdown and Popcorn
Now, textures! Here, drywall finishing comes in handy. Knockdown texture resembles the houses used in Spain and in Texas. Combine all-purpose drywall compound with water until the mix becomes the pancake batter consistency. Hopper gun (rented at tool rentals $30/day), 10 minutes of drying, then knock down with a wide knife using a 60-degree angle. Supplies dainty, hand-troweled peaked effects, just right in the modern farmhouse.
Perfection in ceilings is covered with popcorn texture, which was popular in the 1970s-80s in the USA. It is rougher: Add more mud, spurt more, and leave it puffy. Compressor and texture machine are the best. Asbestos in old popcorn: Warning: Asbestos in old popcorn, scrape test in pre-1980 houses.
To apply finishes smoothly (trendiest now), do not use texture. Sandpaper a second time after priming. Pro move: Orange peel texture, spray light knock out and knock less noticeable dimples, hot in Florida condos.
Essential Tools and Safety Gear
This will require the following tools: Knives (4″, 6″, 10″, 12), a hawk to hold the mud, corner trowels, 5-gallon buckets, and a mixing paddle to use in the drill. Protective equipment: Dust mask (it is nasty), goggles, gloves.
Avoid These Common Pitfalls
Common pitfalls? Too much mud leads to cracks. Trying to hurry up, drywall, mud shrivels when wet. Mist the wall in dry climates such as Nevada to reduce the rate of drying. Wet areas like bathrooms? Green-board drywall should be used, followed by mold-resistant drywall primer.
Real-World Examples That Worked
Cases in point: Rebuilding the garage of a bud in Texas after the hurricane. Taped 20 seams, 3 coats of mud, knockdown texture, appears to be factory-fresh. Also, in a Midwestern apartment building, popcorn ceiling was sprayed, and matched the time, the tenant liked it.
Why It Pays Off and Final Tips
Drywall finishing transforms chaos into calm. Spend a weekend, save thousands vs. pros (who charge $1.50-$3 per sq ft in most states). Practice on scrap first. Once primed, paint adheres like a dream, no flashing or peeling.
This process, tape, mud, sand, prime, texture, builds walls that last decades. In the USA’s diverse climates, adapt: Thicker mud in the humid South, lighter in the arid West. You’ve got this!
Key Benefits of Proper Drywall Primer and Finishing
Nailing drywall primer and finishing isn’t just busywork; it’s smart homeownership. Here’s why it pays off:
- Durability boost: Sealed with drywall primer, walls resist cracks, dents, and moisture, key in flood-prone areas like Houston.
- Paint perfection: Even coverage means one or two topcoats, not five. Saves paint cash.
- Texture versatility: Knockdown texture adds depth without fuss; popcorn hides ceiling flaws cheaply.
- Value add: Pro drywall finishing ups resale by 5-10% in competitive markets like California.
- DIY pride: Smooth results rival contractors, perfect for flipping houses or personal tweaks.
Top Tips and Strategies for Flawless Results
Make it easy with these battle-tested strategies. I’ve used them on dozens of USA home projects.
- Mud mixing: Stir slowly to avoid bubbles. Thin for textures, thick for fills.
- Taping trick: “Feather out” edges 12 inches, no lines showing.
- Sanding strategy: Wet sand between coats with a sponge for zero dust.
- Primer power: Tint the ceiling white to spot misses.
- Texture timing: Spray knockdown at 50-60% set, practice on cardboard.
- Fix bubbles: Puncture, press, and remud immediately.
- Storage hack: Seal mud buckets tight; lasts months.
Layer coats thin, build strength without shrinkage. Work top-down to catch drips.
Conclusion:
There you have it, a full guide to drywall primer and finishing techniques, from taping with drywall tape to slinging drywall mud for knockdown or popcorn texture. Master these, and your home’s walls will look sharp and last longer.
Ready to tackle your next project? Head over to Patch Pros of North Dallas for expert tools, tips, and services tailored to Texas homes.
FAQs
What’s the difference between drywall mud and drywall compound?
They’re basically the same stuff! Drywall mud is just the everyday nickname for drywall compound, a thick gypsum-based paste you use to fill seams, smooth joints, and create textures. It’s premixed in buckets at stores like Home Depot.
Do I need drywall primer before painting new drywall?
Absolutely, yes! Drywall primer seals the super-porous surface of new gypsum boards, so your paint goes on evenly without soaking in too much or looking patchy. Skip it, and you’ll waste paint and get lousy results. One coat does the trick.
How long does drywall tape need to dry?
After bedding drywall tape with a thin layer of mud, wait 4-24 hours per coat before the next one. Humidity plays a big role; use fans in damp spots to speed it up and avoid cracks. Always check it’s rock-hard before sanding.
What’s knockdown texture vs. popcorn texture?
Knockdown texture gives subtle, scraped-down peaks, great for walls or ceilings in modern homes, like those Southwest-style houses. Popcorn texture is thicker, sprayed-on blobs that hide flaws, mostly on old ceilings. Both use drywall mud but different spray and knock techniques.
Can I apply drywall finishing over old paint?
You can, but prep first: Sand glossy paint spots, rough, clean dust, and apply drywall primer for grip. Fresh mud bonds way better to bare drywall, so scrape old layers if possible to avoid peeling later. It’s doable for repairs.
How many coats for pro drywall finishing?
Go for the classic three coats of drywall mud (thin, medium, wide), sanding between each, then one solid coat of drywall primer. This builds a smooth, strong base ready for paint or texture—no shortcuts for that factory-fresh look.
Is mesh or paper drywall tape better for beginners?
Mesh drywall tape is perfect for newbies; it’s self-adhesive, easy to apply without bubbles, and forgives mistakes. Paper tape is cheaper for huge pro jobs, but it needs perfect mud bedding. Start with mesh for stress-free seams.