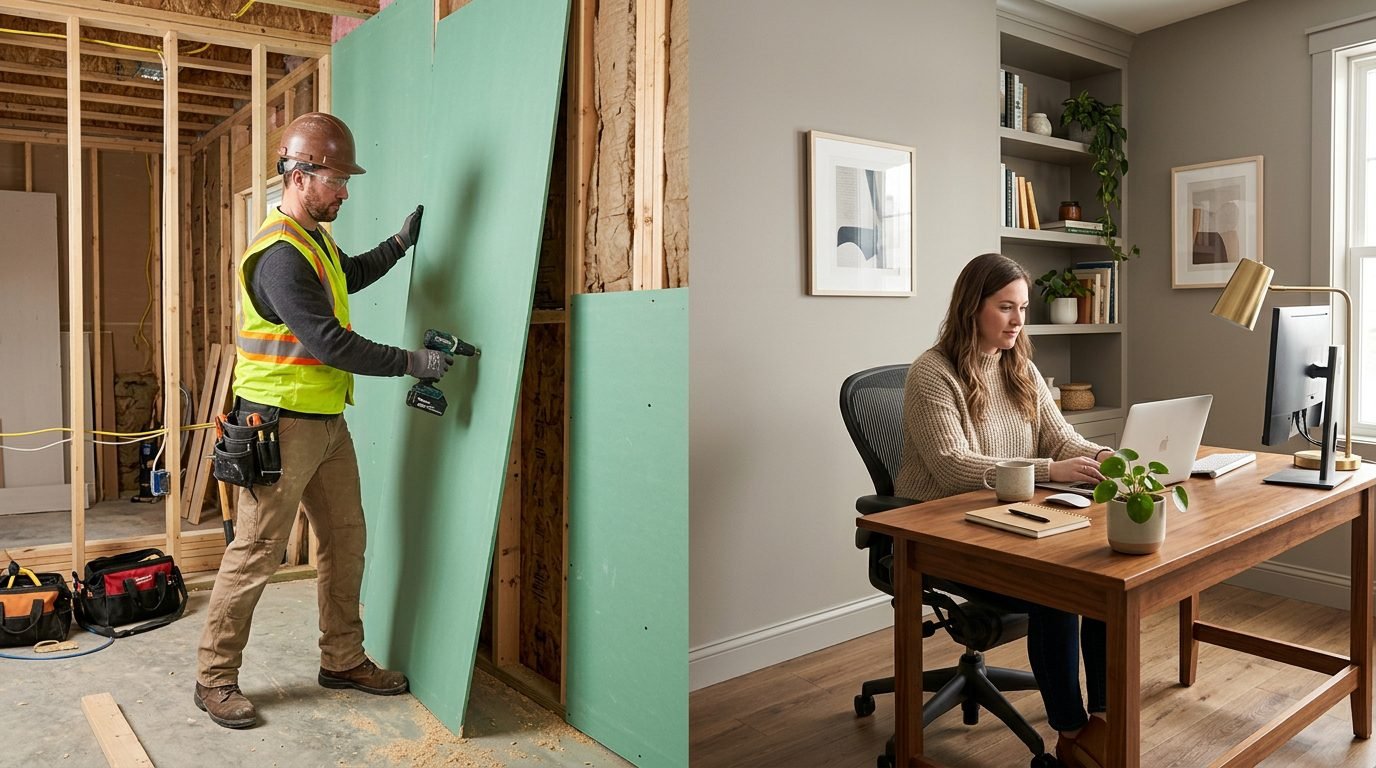

When it comes to the magic of home makeover, it is not just about the flashing paint or eye-capturing ornaments, but about the flawlessness of the walls in the background. Enter a room, and the walls are glowing with perfect smooth and elegant look, there are no bumps, no bubbles, it is simply a mirror that is waiting to be captured. Sounds like a dream, right? Well, the picture-perfect finish is not limited to professionals only, anyone can master the trick with some time and expertise. You might want to have a smooth and modern appearance or simply want to save some money by doing your walls yourself, but the key to this is how to achieve a smooth finish on drywall that will make your home shine. And are you meant to make your walls smoother than royal? Let’s dive into the ultimate guide that transforms beginner’s bumps into flawless, pro-level smoothness!
Understanding Drywall Finishing
The nature of drywall finishing is that bare gypsum boards, which are husks of the skeleton of the building, are made into smooth and seamless canvases that are ready to be painted or wallpapered. It is the ritual of concealing punctures, covering up the holes in nails, and smoothing the maze of joints with the sacred substances of mud and tape.
Why does this matter? Since the beauty of smooth drywall is beyond the looks; it is instrumental in the attainment of the perfect finish desired in modern designs. A half-complete wall is a murmur of carelessness in the daylight light, the fuel of cracks, chipped paint, and unsightly dark shadows.
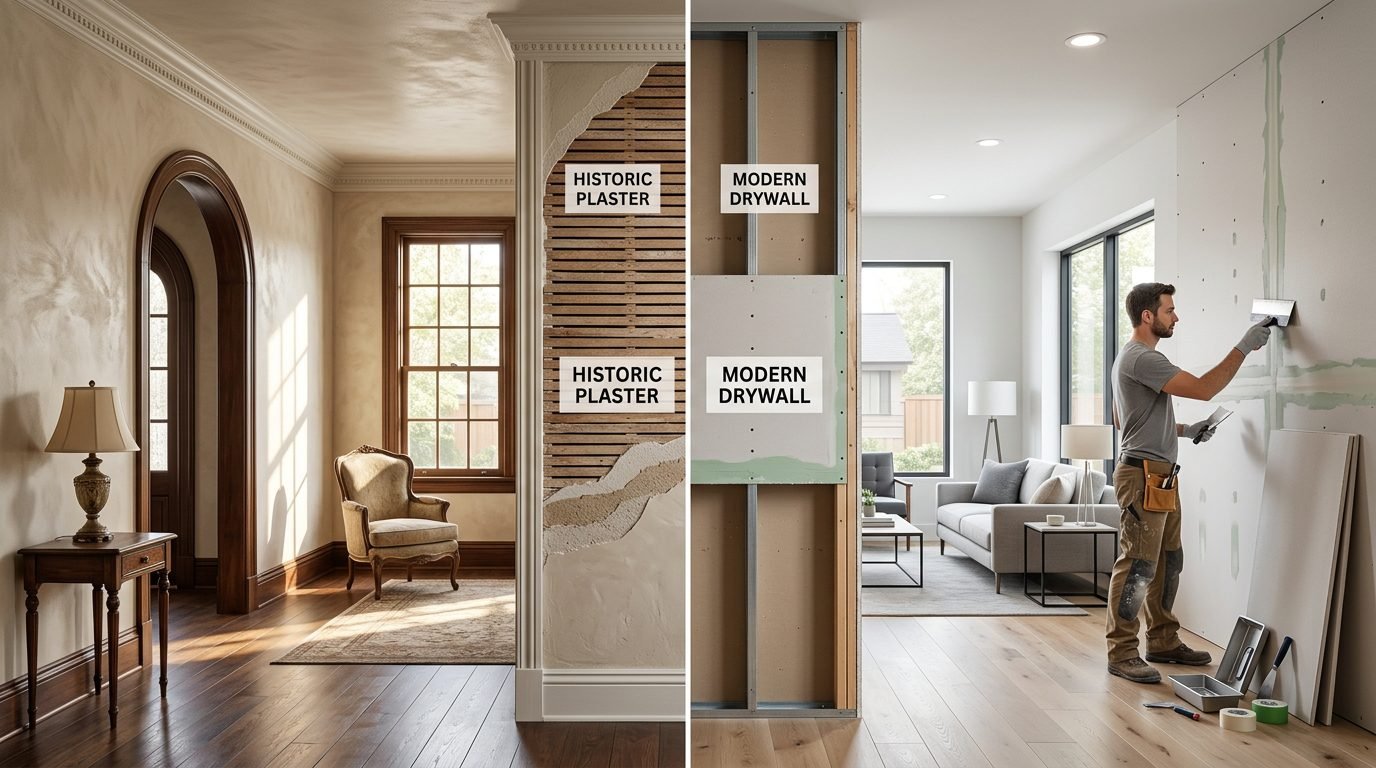
A smooth finish, in contrast to a textured drywall finish, that provides the visual depth with stipples or patterns, requires a purity and precision that is smooth and untreated and provides light and color with an added dimension. The contrast is sharp and extreme: one side of the process is the imperfection that is cuddled by the texture, and the other is the flawless refinement with a smooth finish.
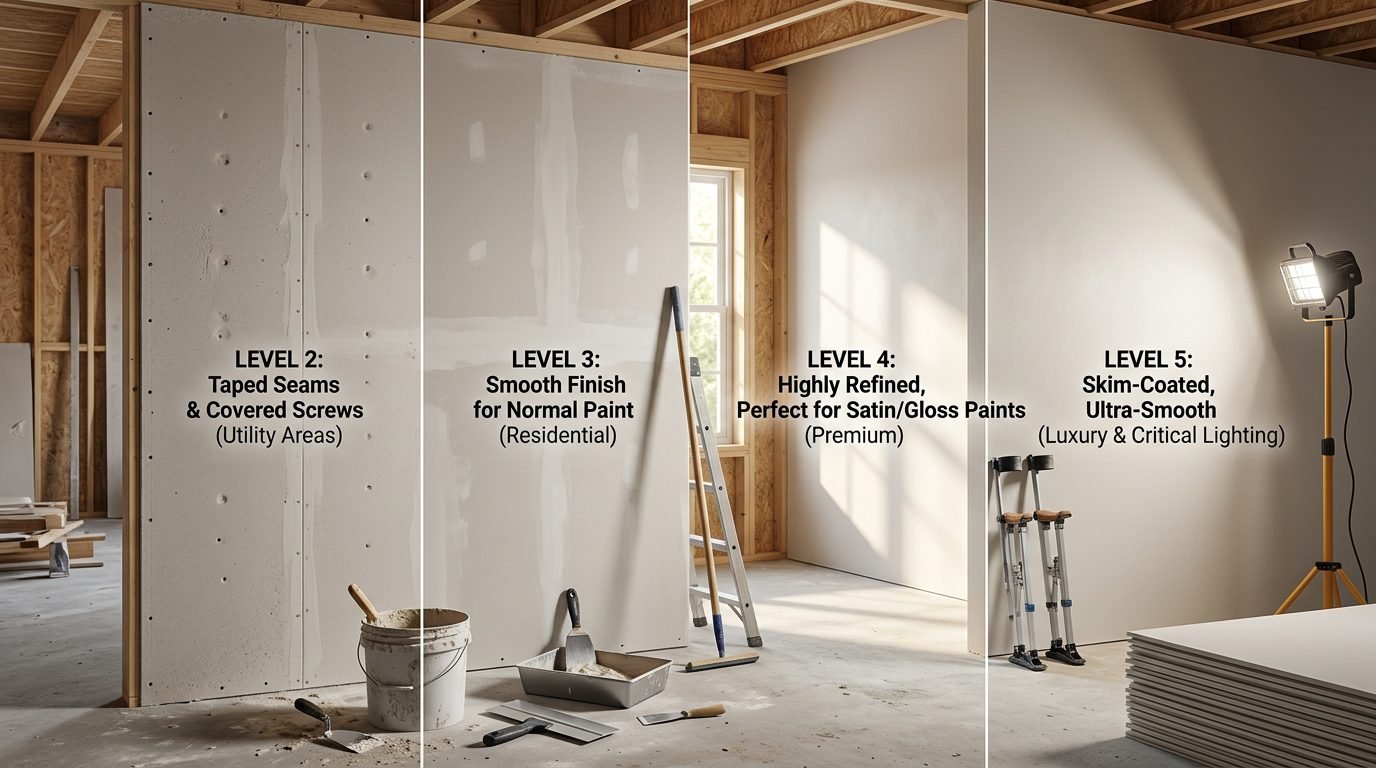
Drywall Finishing Levels Explained
The drywall finishing industry does not cry foul but rather in degrees between Level 0 and Level 5.
- Level 0 is untreated, that is, crude and only suitable in hidden places such as attics.
- Level 1 has little mudding around the joints and can only be applied on temporary or buried walls.
- Level 2 and 3 initiate the work towards habitable areas such as garages or basements, yet clearly have slight flaws.
- Level 4 finishes surfaces to a smoothness that can accept flat paints normally found in living spaces.
- Level 5 is the topside and last resort of smooth finishes, the glossy paintings, and the demanding lighting that would scream otherwise.
Level 4 should be good enough in your living rooms or kitchens but when it comes to the walls that will be appreciated with the scorn of the glare of the light the Level 5 finish is the sacrament of perfection.
Step-by-Step Drywall Finishing Guide
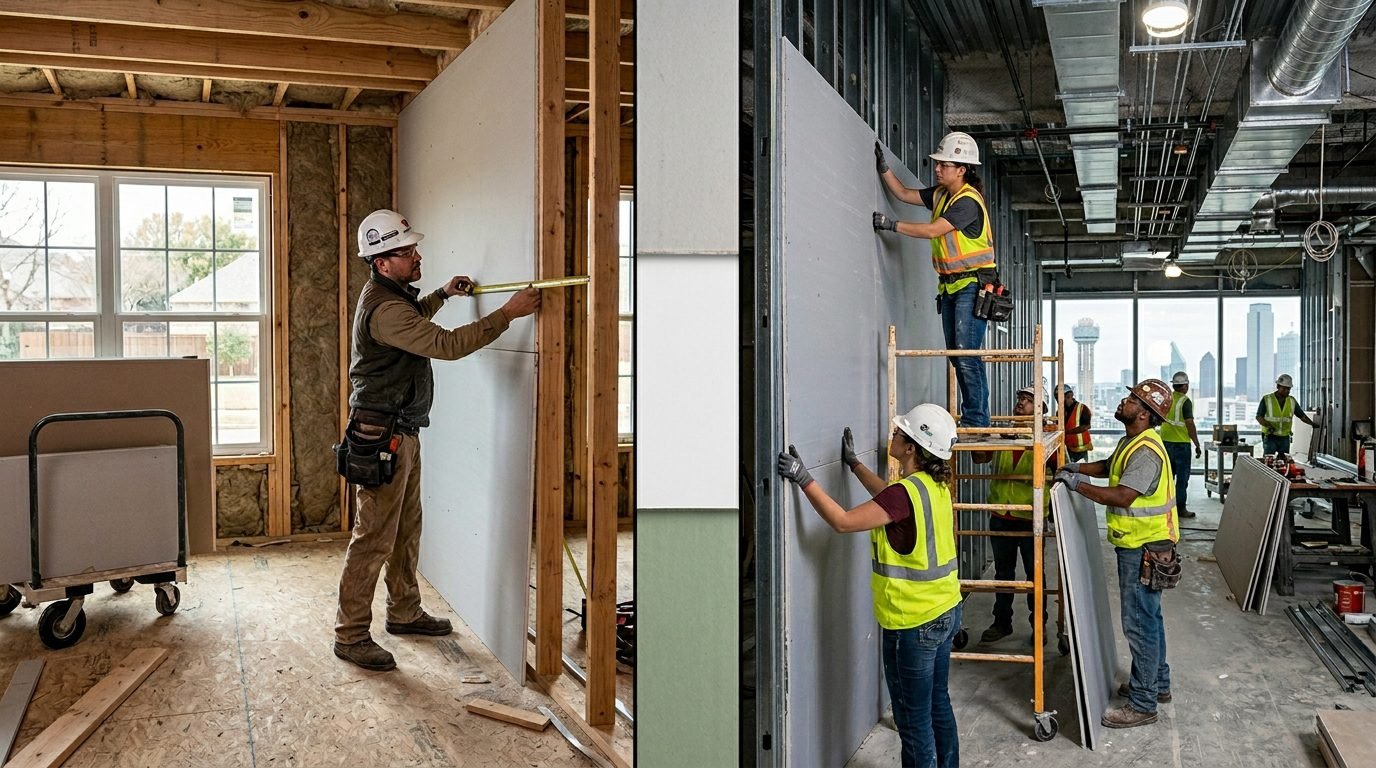
Prepare the Drywall Surface
You should prepare the altar before the mud comes against the wall. Dust has to be cleaned, seams checked as to whether they are open or screw heads are sunk beneath the surface and misaligned.
Materials and tools will have to be called: Drywall compound, mesh or paper tape, assorted-size taping knives, sanding blocks, and a heavy dust mask.
Taping and Mudding Process
Use drywall tape carefully by pressing it into the initial layer of mud so that it cannot escape to cause air blisters that will plague the rest of the surface. Slide the compound using a taping knife, rubbing out the joints in smooth, straight lines a grave dance to remove all the ridges.
Learning smooth drywall joint techniques is a matter of time, and every drywall seam must melt and disappear into the broad mass of the wall.
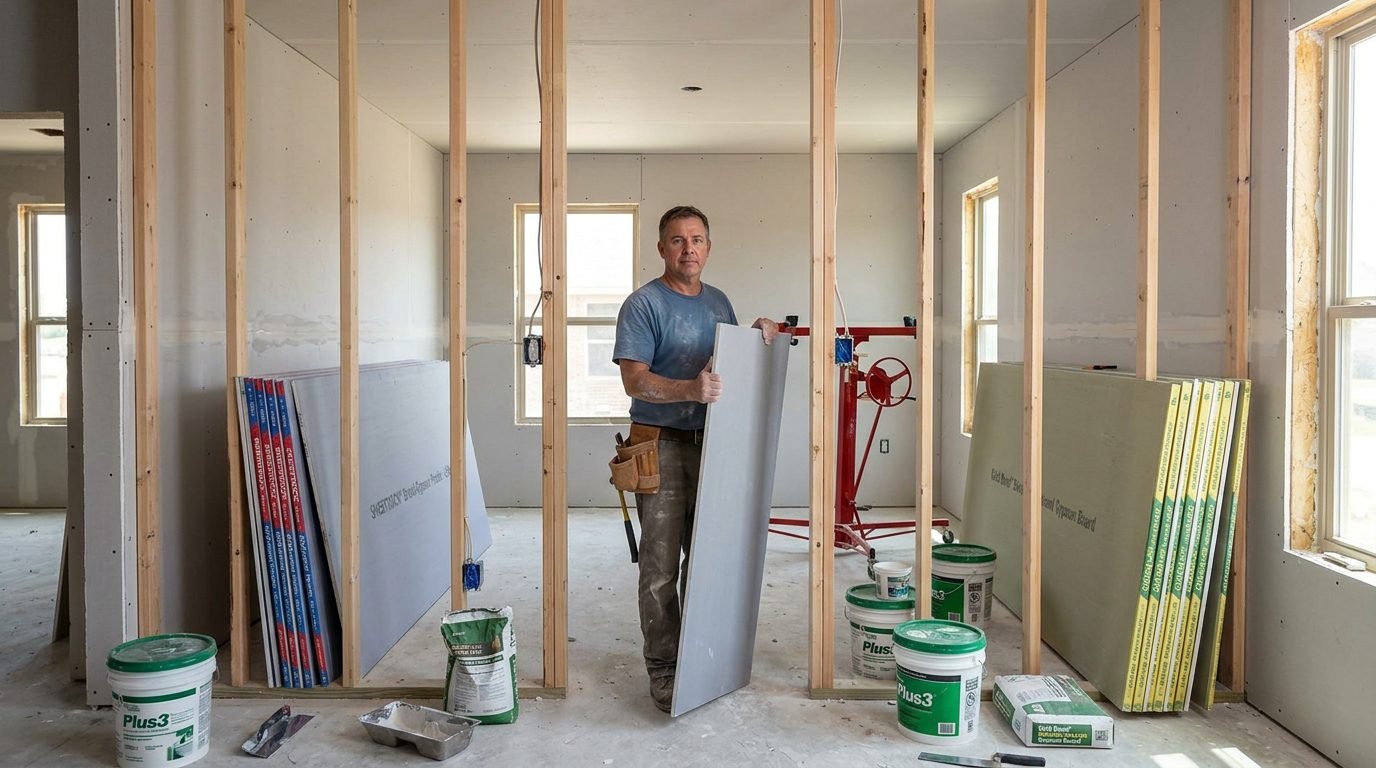
Applying the Second and Third Coats
It takes layers, two more coats to cover the seams deeper than the shallow grave.
Apply all the coats as soon as the earlier one is dry, which at times takes the patience of overnight. The success of your drywall mud is determined by the quality of your mud; lightweight and easy-to-sand mud is a blessing if you have a surface that is closer to heavenly smoothness.
Sanding Between Drywall Coats
In this case, dust rises as celestial spirits. Apply fine-grit sandpaper or sanding sponges gently without overdoing it so that you can reveal the tape underneath underneath saving you a lot of money in the process, leaving your work in the shadow.
It is gentle, patient pressure, and polishing all the surfaces to the glass-smooth silence.
Drywall Finishing Tools List
- Sticking knives of different widths and corner tools to domesticate corners.
- Protecting your lungs: Sanding poles and dust masks.
- Blending trays and paddles to achieve an ideal consistency of the compound.
- An intense light to do away with unseen flaws, the bane of genuine smoothness.

Professional Drywall Finishing Tips for Beginners
start with these precepts of yours:
- Maintain even consistency of mud, neither thick nor watery.
- As though she were painting clouds in a tempest.
- Draw long, smooth lines to tame the longest seams.
- Look at your work in a bright place to reveal the hidden evil.
- These are your armour and weapon in the struggle to how to get a smooth drywall finish.
Common Drywall Finishing Mistakes to Avoid
Beware the traps:
- The application of mud in a careless way, leaving hideous swellings behind.
- Instead, impatience without fully drying a coat and applying the next one.
- The tape is misplaced or the seams overlap to produce bumps of shame.
- Without the sands between the coats, Doom smoothness to an empty grave.
How to Fix Uneven Drywall Seams and Imperfections
When walls turn with a masonry that is harsh and spikey, do not take it to heart. The ceremony of re-sanding and re-mudding is able to remove these stains, making them smooth like the years washing away the scars.
In the case of serious vices, occasionally the whole seam has to be rewoven–a reflection of submission to perfection.
Smooth Drywall Edges and Corners
Angles have to be made like holy pillars. Corner beads should be installed with caution and the edges of the mud blended to be smooth such that they get absorbed by the wall space. And this is what you make of transitions flowing as naturally as rivers to the sea.
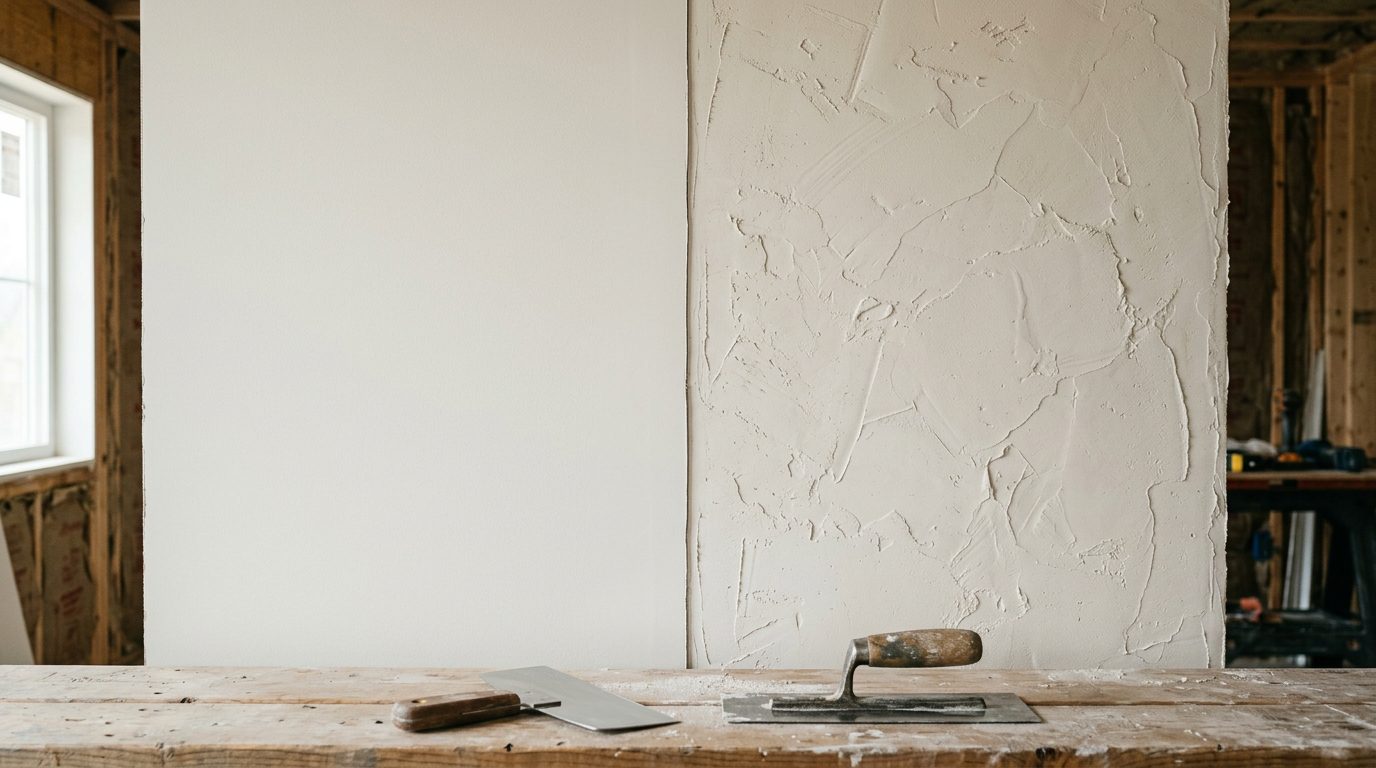
Drywall Texture vs. Smooth Finish
There is texture, which is good in rustic cabins or snug cellars. It conceals the imperfections and demands fewer efforts. However, an elegant, smooth drywall finish summons elegance, and it is appropriate where there is a need to give attention to detail in light and decor.
Keep in mind that lighting may transform an otherwise smooth wall into brilliance or it may show all the flaws; use your finish carefully.
Final Touches — From Sanding to Painting
Priming Before priming, view through a faultless eye in broad daylight. Use a quality primer to cover pores in order to produce a smooth dry wall and allow the paint to stick perfectly on it.
In painting, smooth and even strokes are to be used to keep your finish sacred, and to give your walls a noble beauty.
Conclusion:
It is to be patient, precise and disciplined to attain that ineffable perfect drywall finish. The drywall finishing secrets of the novice, the holy secrets of smooth drywall joint methods and the software of how to sand drywall to a smooth finish would all culminate in walls that are craftsmanship of skill and concern. Trust this process. Your walls will be a test of time, which will be a piece of evidence of your hard work and craft.
Believe the masters, believe the Patch Pros of North Dallas to direct and service your drywall finishing requirements.
FAQ’s
Q1: What is the best drywall mud for a smooth finish?
Setting-type muds are lightweight with ease of sanding and fine finish but all-purpose muds are universal.
Q2: How do I prevent bubbles in drywall mud?
When using mud, place a layer of tape on it, squeeze out all the air bubbles and do not make your mud too thin.
Q3: Should I sand between every drywall coat?
No, it is important to do light sanding between the coats to remove imperfections and then to apply the next coating.
Q4: How can beginners fix uneven drywall seams?
Apply mud back to low, sand to high areas and in case necessary, recoat the seam with new tape.
Q5: What’s the difference between drywall texture and smooth finish?
Texture adds visual character and hides faults, while smooth finish offers a sleek, elegant surface requiring more precision.