
Drywall may look simple once it is painted, but getting a smooth, strong wall takes real skill. Many homeowners only notice drywall when problems appear, such as cracks, dents, uneven seams, or water damage. Fixing these issues can feel stressful if you don’t understand the process.
If you are planning repairs or a new project, learning the basics of residential drywall helps you make better decisions. This guide explains the full process in simple steps, from installation to finishing, so you can understand what good workmanship looks like.
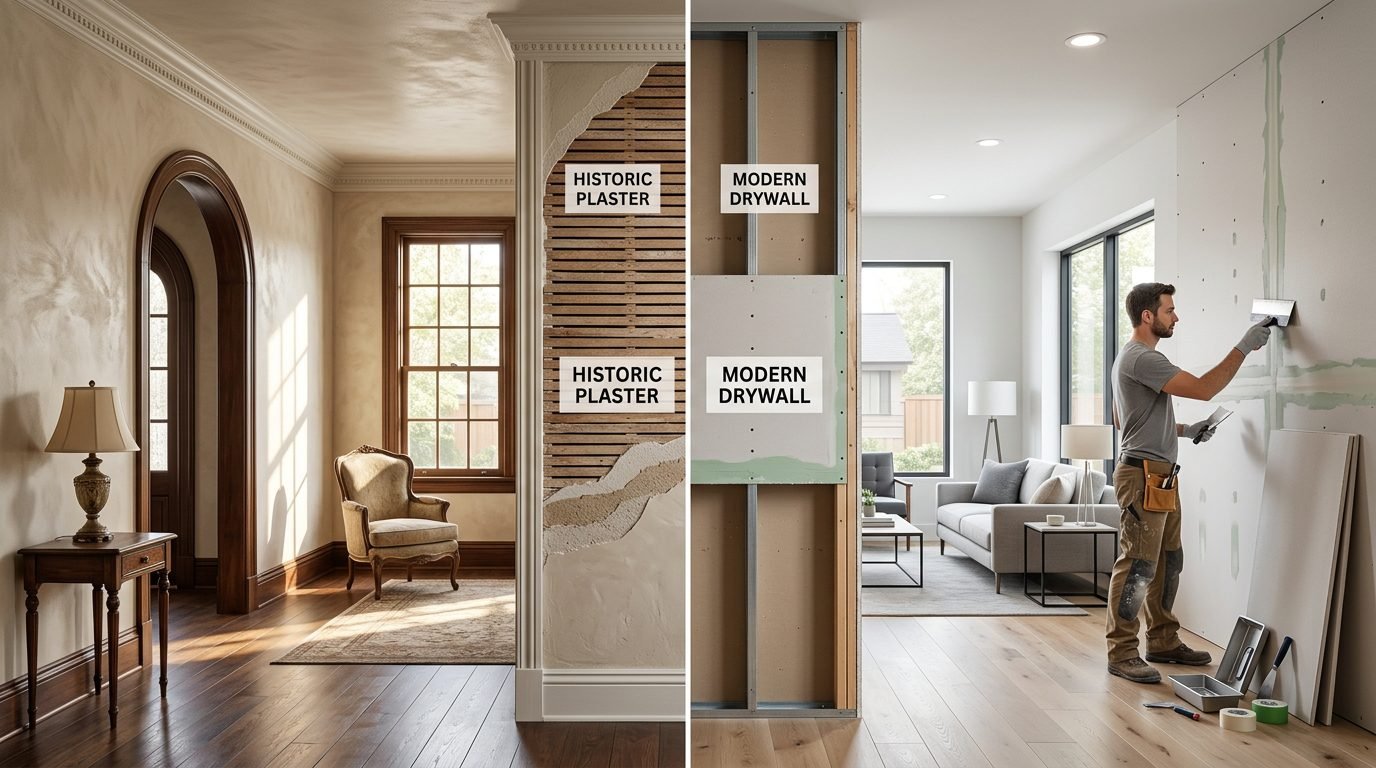
What Happens in Residential Drywall Installation?
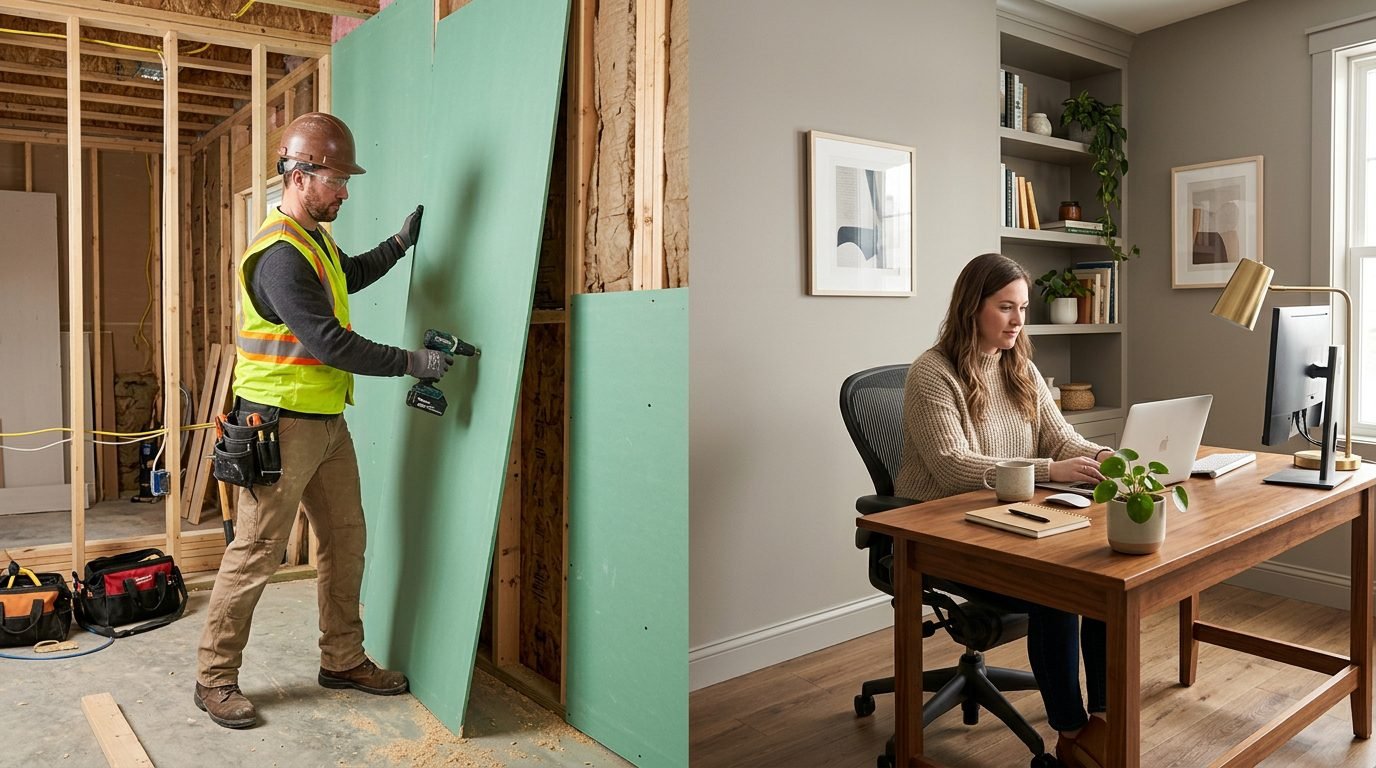
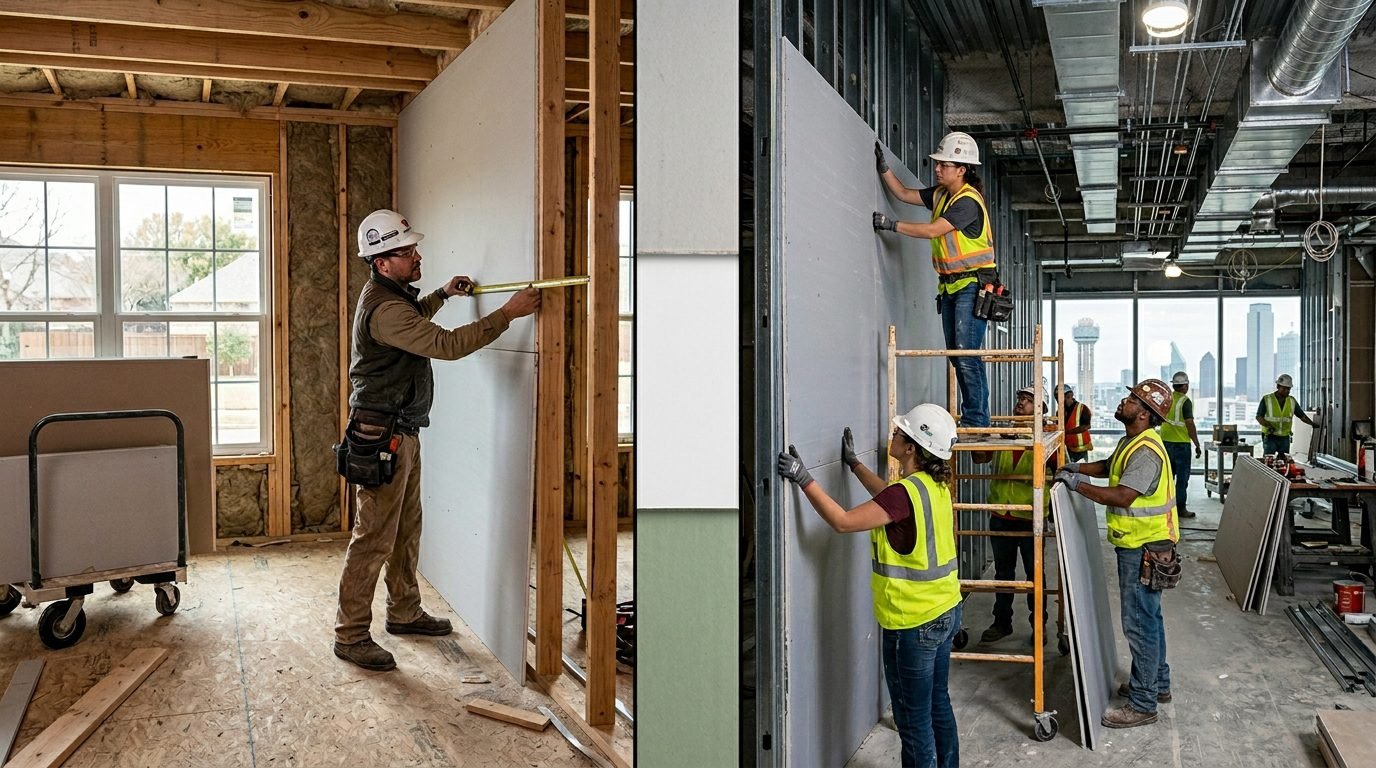
Drywall installation starts with careful planning. Workers measure the walls, cut the boards, and attach them to wooden or metal frames. If this step is done poorly, the final wall will never look smooth, no matter how good the finishing is.
Good drywall work always follows clean and simple steps:
- Measure walls correctly before cutting sheets
- Place boards tightly against the frame
- Secure them with screws at proper spacing
- Keep seams straight and even
When workers install drywall correctly, the finishing process becomes much easier and cleaner.
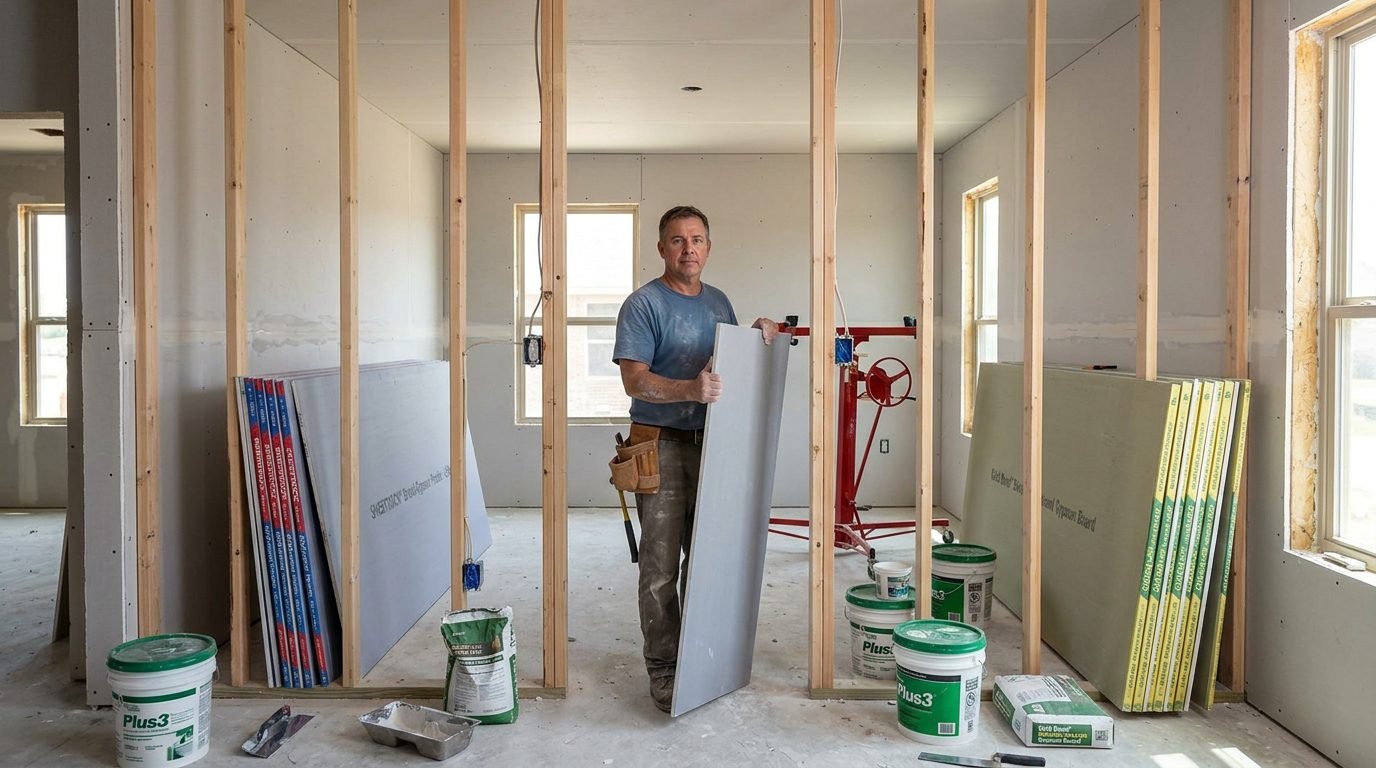
Tools and Materials Used in Drywall Work
To get a strong and clean result, you need the right tools. Professionals always use proper equipment to avoid mistakes and save time.
Common tools include:
- Utility knife for cutting drywall sheets
- Screw gun to fix boards to walls
- Joint compound (mud) to cover seams
- Drywall tape to strengthen joints
- Taping knives for smooth application
- Sandpaper or sanding tools for finishing
Good material quality matters a lot in drywall finishing. Cheap tape or weak compound often causes cracks or bumps later.
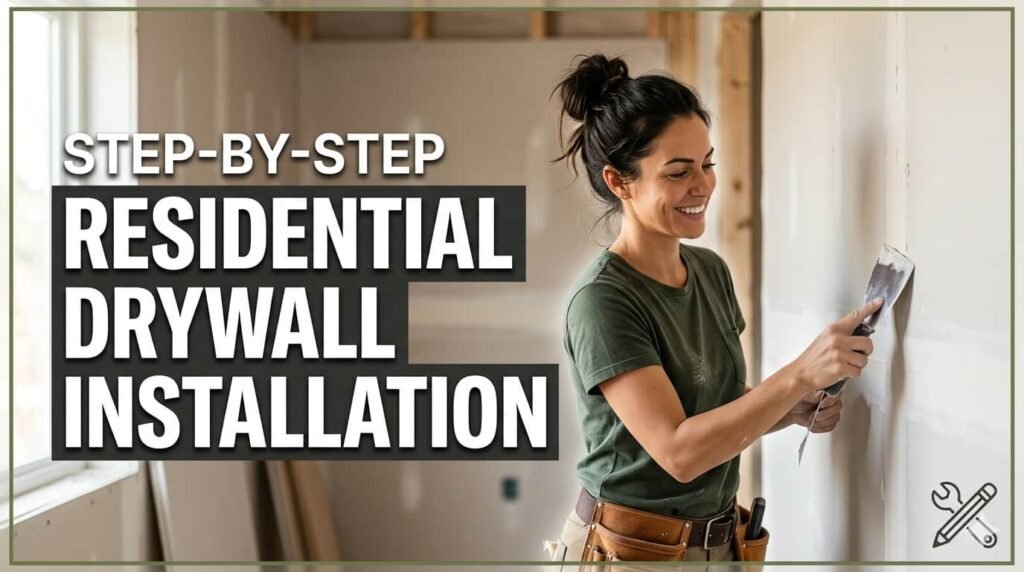
Step-by-Step Residential Drywall Installation
Let’s break the installation into simple steps.
1. Measure and Cut the Drywall
First, measure the wall carefully. Then mark the drywall sheet and cut it with a knife. Snap it cleanly along the line for a perfect fit.
2. Fix the Drywall to the Frame
Place the board on the wall and screw it into the studs. Keep screws evenly spaced. Do not push them too deep, or they will damage the surface.
3. Prepare the Joints
After installation, you will see seams and screw holes. These need filling and taping before finishing starts. This step prepares the surface for smooth work later.
Understanding how to finish drywall joint starts here because good preparation makes finishing much easier.
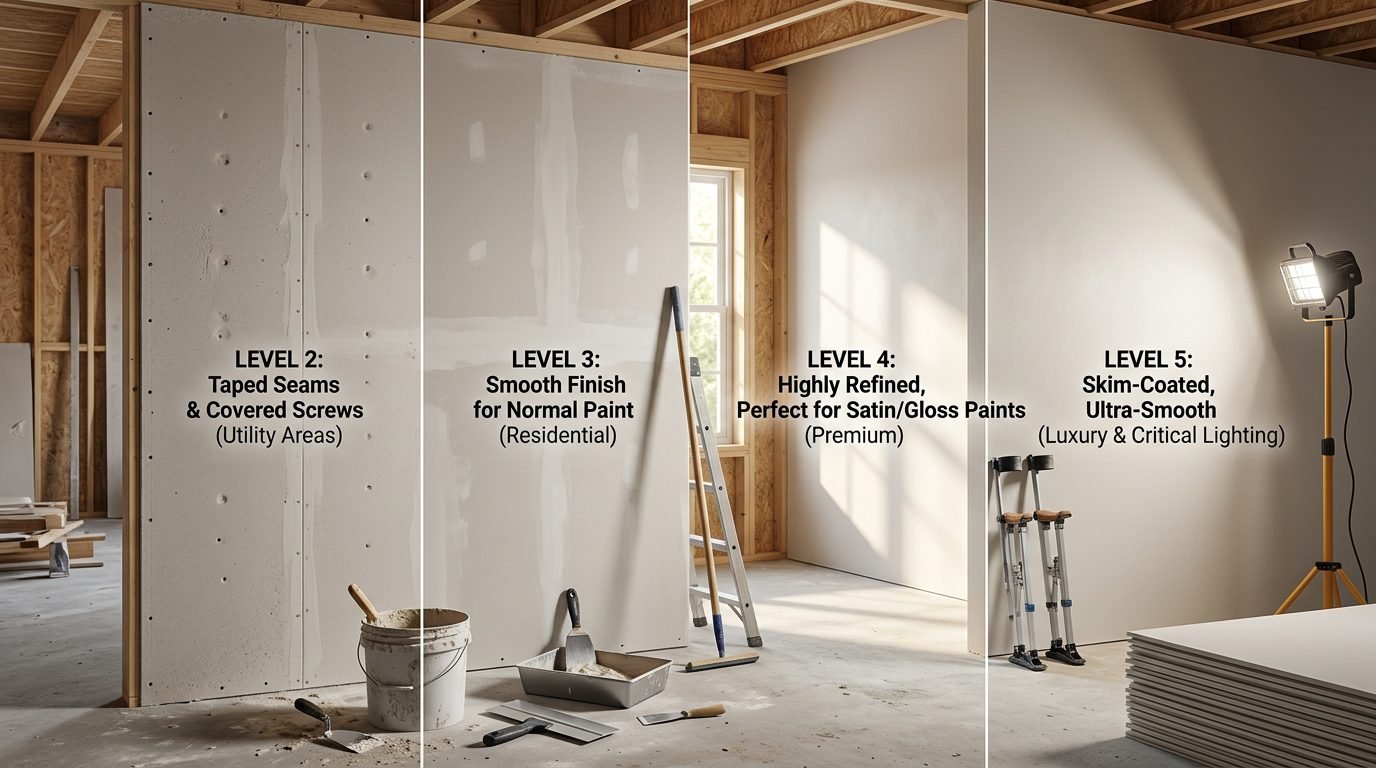
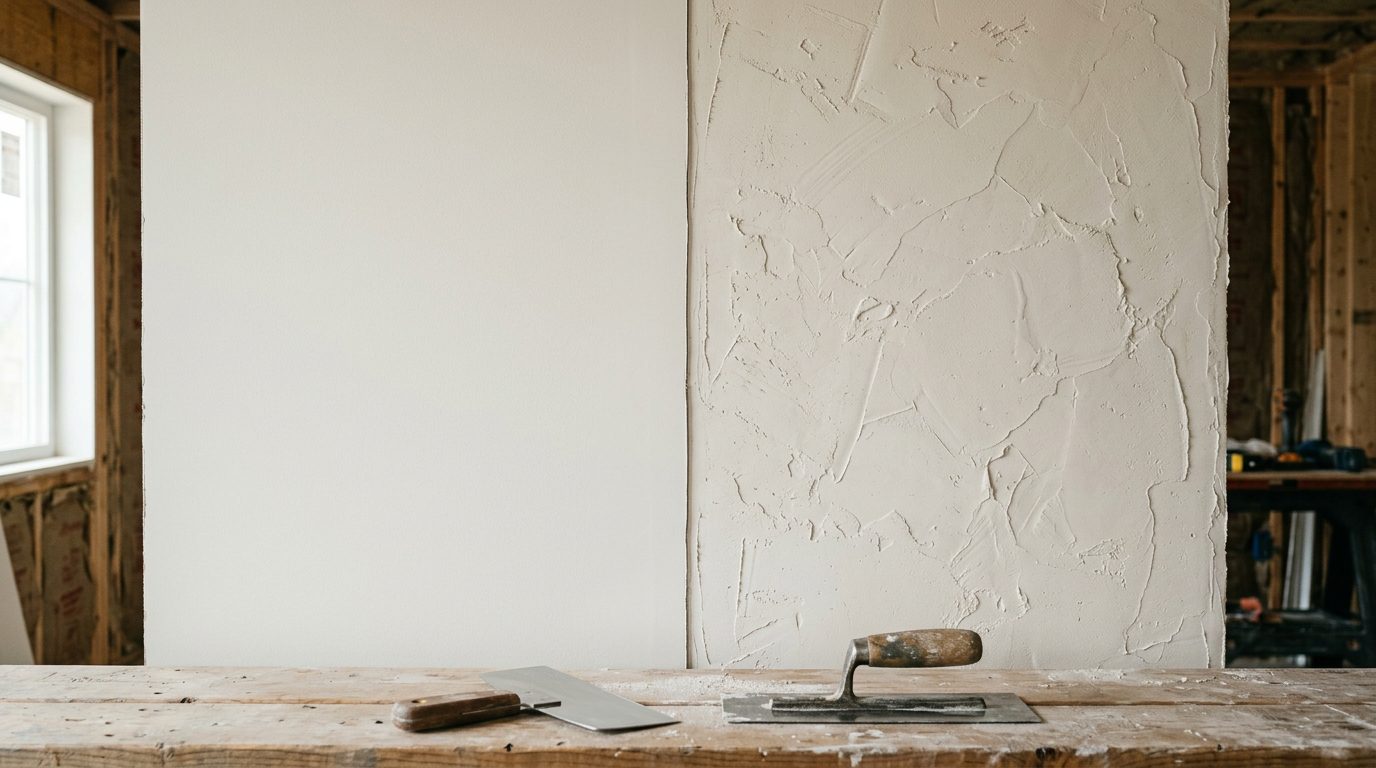
How to Finish Drywall the Right Way
Finishing turns rough boards into smooth walls ready for paint. This step needs patience and care.
Apply Tape on Seams
First, apply joint compound on the seams and press drywall tape into it. This keeps joints strong and prevents cracks.
Learning how to finish drywall joints properly is important because poor taping shows lines on the wall later.
Apply Joint Compound (Mud Coats)
Next, apply multiple layers of joint compound.
- First coat fills gaps and holds tape
- Second coat smooths the surface
- Third coat makes the wall even and clean
Each layer should be wider than the previous one to hide edges.
This stage is a big part of how to finish drywall because smooth layers create a perfect wall surface.
Sand the Surface
After the compound dries, sand the wall lightly. Use fine sandpaper and move gently to avoid damage.
Good sanding is the key step in drywall finishing because it removes bumps and creates a smooth surface for paint.

Common Mistakes in Drywall Work
Many people make simple mistakes that ruin the final result. Avoid these problems:
- Using too much compound, which creates lumps
- Skipping tape on joints
- Sanding too hard and damaging the surface
- Not letting layers dry fully before the next coat
Good residential drywall work always needs patience and proper steps.
When You Should Call a Professional
Some drywall jobs are easy, but many need expert help. Large repairs, ceilings, or water damage often require experience and special tools.
A professional service like Patch Pros of North Dallas offers complete help, including drywall installation, ceiling repair, texture matching, and water damage repair.
You should call experts when:
- The damage is large or spread across the walls
- You need perfect texture matching
- You have ceiling or water damage
- You want smooth and clean drywall finishing without stress
Professionals save time and give better long-term results.
Easy Maintenance Tips for Drywall
Once your walls are finished, take care of them to keep them looking new.
- Fix small cracks or holes quickly
- Keep walls dry and avoid moisture
- Do not hit walls with heavy objects
- Repaint when the surface looks dull
Simple care keeps your residential drywall strong for many years.
Final Thoughts
Drywall work may look easy, but every step matters—from installation to final sanding. If you understand the process, you can spot good quality work and avoid costly mistakes.
Whether you are learning how to finish drywall for a small project or planning a full home repair, following the correct steps always gives better results.
For perfect results without stress, professional help from PatchProsofnorthdallas ensures smooth walls, clean seams, and long-lasting finishes.
FAQS
1. How long does drywall installation and finishing take?
Most rooms take 2–4 days. Drying time between coats also affects the total time.
2. What part of drywall work is most difficult?
Finishing is the hardest part because it needs smooth layers and careful sanding.
3. Can I install drywall myself?
Yes, small projects are possible for DIY, but larger jobs are better for professionals.
4. Why do drywall cracks appear?
Cracks happen when joints are not taped well or when the building moves over time.
5. Do I need primer before painting drywall?
Yes, primer helps paint stick better and gives an even color on the wall.