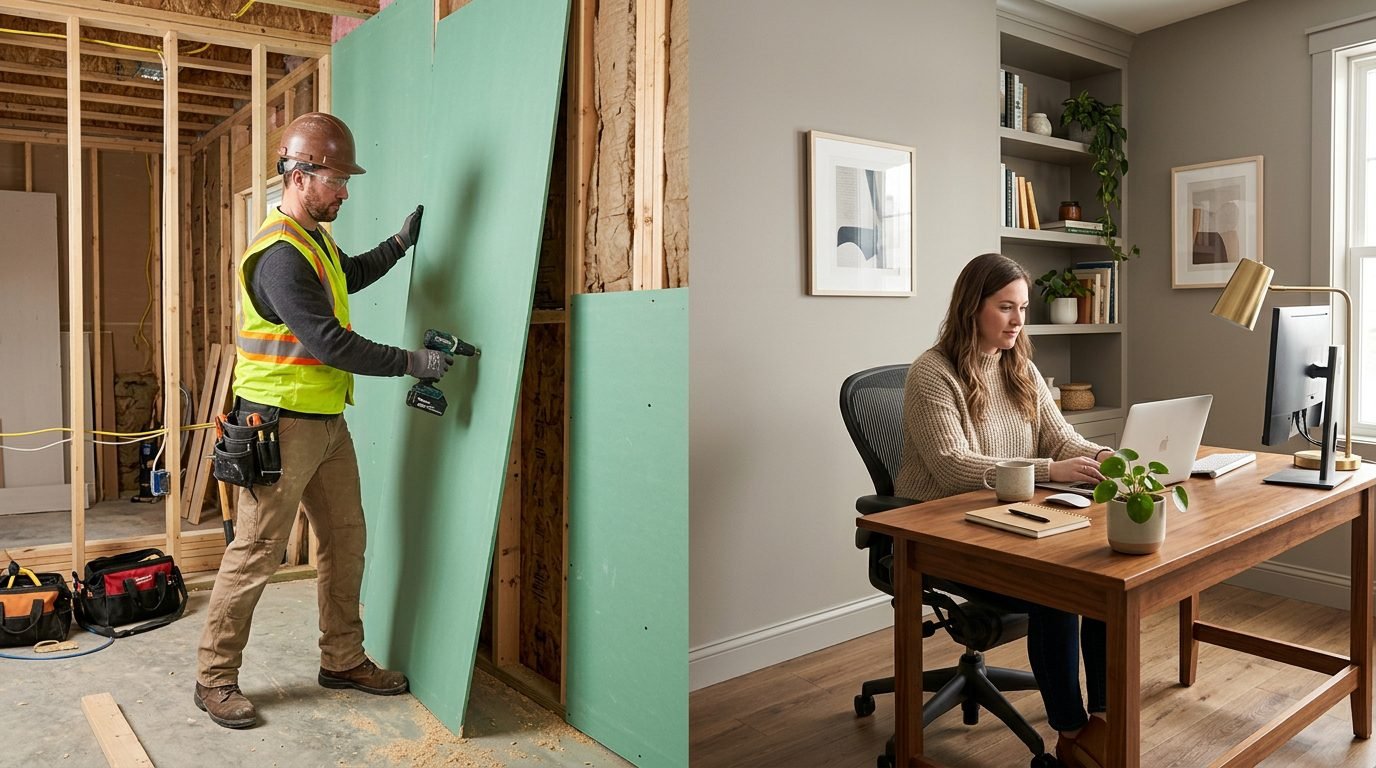
You’re getting quotes for drywall finishing. One contractor says “Level 3.” Another says “Level 4.” You have no idea what that means or if it matters.
Here’s what matters: finish level is basically how much work happens to your walls before they get painted. More work = smoother walls = higher cost. And depending on your budget, your lighting, and what you actually care about, you might not need the extra work.
This guide walks you through the finish levels (0 through 5), what each one actually looks like, what they cost, and which one makes sense for different rooms in your home. By the end, you’ll know whether you’re overpaying or underpaying for the walls you’re getting.
The Quick Version (If You Just Need an Answer)
Living room, bedroom, hallway? Level 3. It’s the standard. Looks good. Paints clean. Fair price. Done.
Primary bedroom, home office, dining room? Level 4. Smoother. Better with satin or semi-gloss paint. Worth the extra money if you spend time in the space.
Master bath, luxury spaces, high-gloss paint? Level 5. Flawless. Expensive. Only do it if lighting or finish demands perfection.
Garage, basement, utility area? Level 2. It’s fine. Nobody’s looking at it that hard.
That’s the whole decision for most people.
Everything else in this guide is just understanding what “Level 3” actually means and why it matters (or doesn’t).
What the Numbers Actually Mean
Drywall finish levels go from 0 to 5. Higher number = more coats of joint compound, more sanding, more labor, more time, more money.
Level 0: Drywall hung. Nothing else. Seams showing. Screw holes empty. You’ll never see this in a home. It’s for mechanical spaces, attics, nowhere people actually look.
Level 1: Seams taped, one coat of compound. Still rough. Still visible under light. Also not really used anymore. Just skip it.
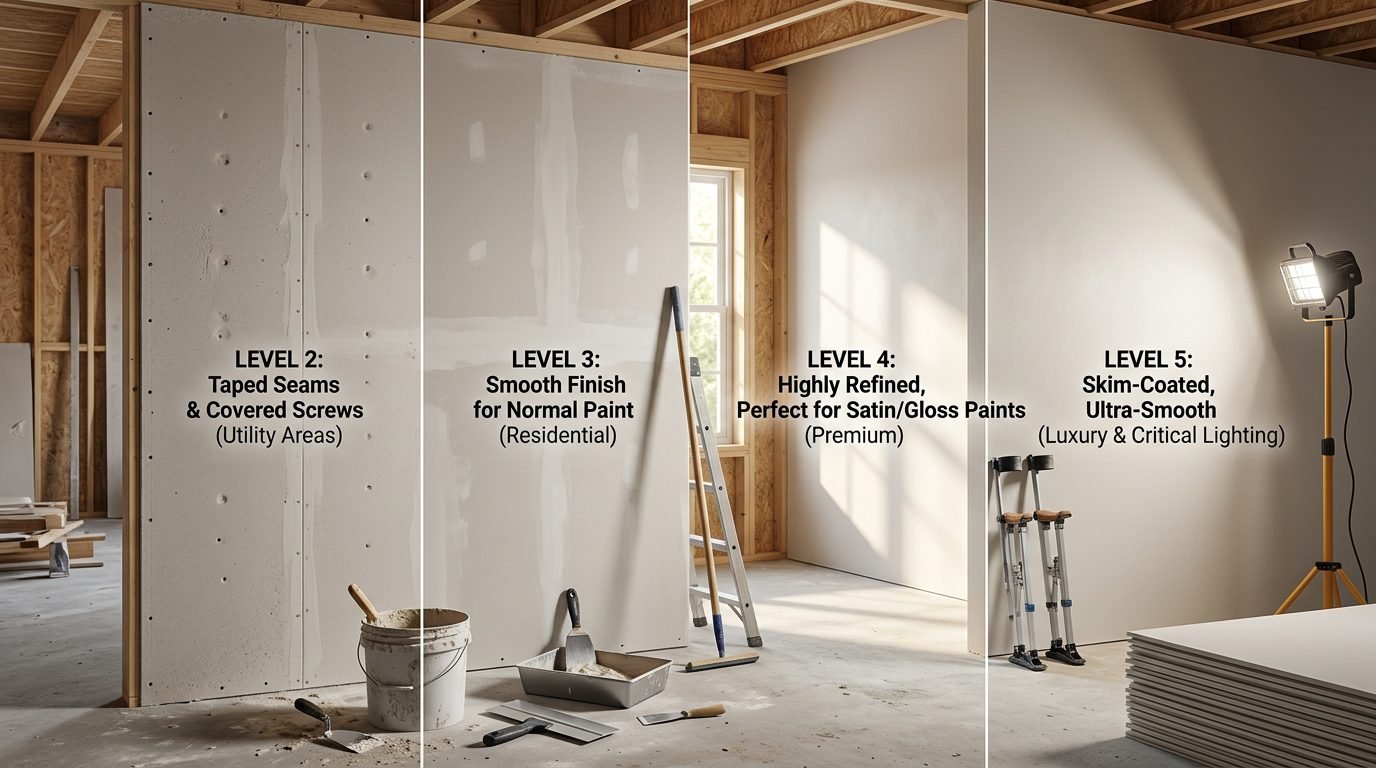
Level 2: Seams taped, one coat compound on the whole wall, screw holes filled, light sanding. Still textured and uneven. Works in a garage or basement if you’re painting it anyway. Not for living spaces.
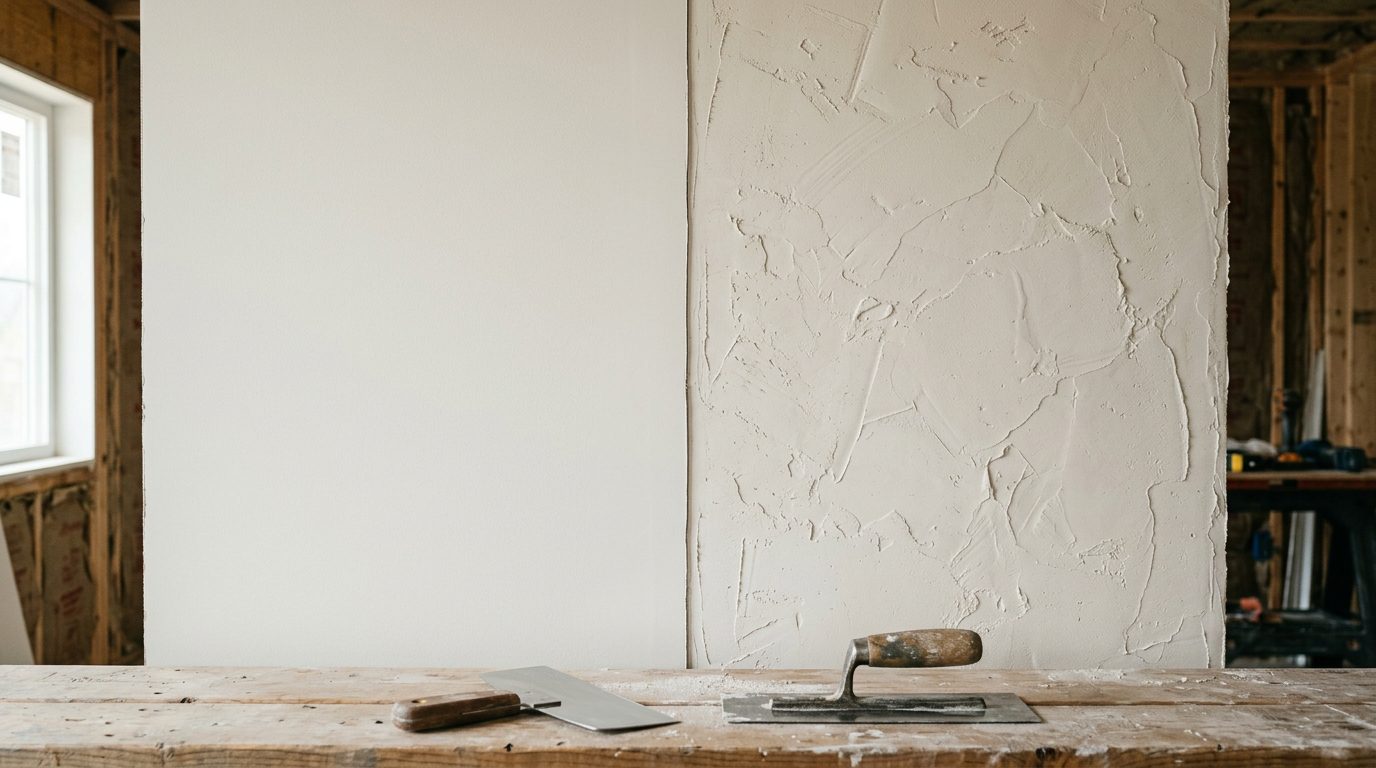
Level 3: Two to three coats of compound, careful sanding between coats, all seams and holes blended and smooth. This is what most homes get. Looks good under normal light. If you look really hard with raking light, you might see faint seams. But in everyday use? Looks great.
Level 4: Four to five coats of compound, meticulous sanding, completely invisible seams and holes even under fairly bright light. This is when walls start looking truly polished. Not necessary in most rooms. Worth it in rooms where you actually spend time or use satin/semi-gloss paint.
Level 5: Everything from Level 4, plus a thin skim coat of compound spread across the entire wall surface. Flawless. You won’t see anything. Not even under bright light. It’s an art form. Expensive. Only do it if you really need perfect.
Level 3: The Industry Standard (And Why Most Homes Use It)
Level 3 is what your contractor probably quoted unless you asked for something different.
It involves multiple coats of joint compound with sanding between them. All seams get covered. All screw holes filled. The surface is smooth and clean.
Here’s the thing: under normal home lighting (lamps, natural light from windows), Level 3 looks totally fine. Your walls won’t look unfinished or rough.
The only time Level 3 falls short? When bright light hits the wall at a low angle. Or if you’re using semi-gloss paint. Or if you’re photographing the space with professional lighting.
For 95% of homes in the Dallas area? Level 3 is the right call.
Cost: Around $800 to $1,200 for a 500-square-foot room depending on your contractor and condition.
Timeline: Several days because each coat needs to dry before sanding and the next coat.
Works great for: Bedrooms, living rooms, hallways, kitchens, most residential spaces.
Level 4: When Level 3 Isn’t Quite Enough
You spend time in the space. The walls matter. You’re using quality paint. You want them to look actually polished.
That’s when Level 4 makes sense.
More coats. More careful sanding. The result is a wall where seams completely disappear even under pretty bright light. It looks professional and clean.
You notice the difference if you’re:
- Spending hours in the room (home office, primary bedroom)
- Using satin or semi-gloss paint (which shows every flaw)
- Caring about design (this room is a feature of your home)
You probably don’t notice it if:
- You’re using flat paint (hides imperfections)
- You’re in the space for short periods
- The lighting is soft and diffused
Cost: Around $1,500 to $2,000 for the same 500-square-foot room. The extra is real, but not astronomical.
Timeline: Takes longer because of additional coats and careful sanding.
Works great for: Primary bedrooms, home offices, dining rooms, any space where the walls are part of the design.
Level 5: The “Perfect Walls” Option
Sometimes you want walls that are just… perfect.
A thin compound layer gets applied across the entire surface. Everything gets leveled out. You won’t see a single seam, line, dimple, or imperfection under any light condition.
This is expensive work. Takes skill. A bad skim coat application cracks or doesn’t blend. A good one is genuinely impressive.
When it’s worth it:
- High-gloss paint (shows every flaw)
- Dramatic lighting where light rakes across walls
- Luxury spaces where appearance is everything
- Photography/design spaces with professional lighting
When it’s overkill:
- Flat or matte paint (hides imperfections anyway)
- Normal home lighting
- Most spaces where perfection isn’t visible
Honestly? For most homes in Dallas, Level 5 is overkill. Level 4 gets you 90% of the way there for way less money.
Cost: $2,500 to $3,500+ for that same room. Sometimes more.
Timeline: A week or more because of careful application and drying time.
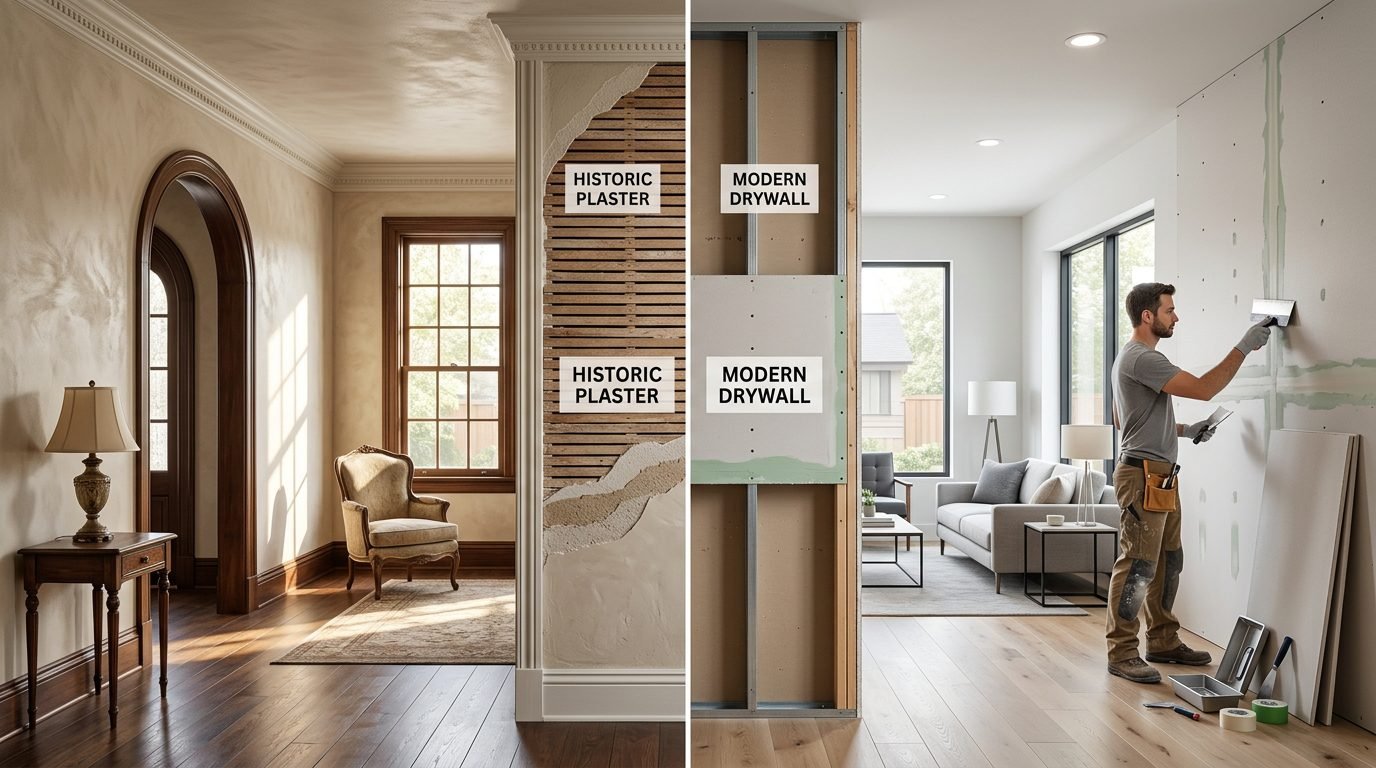
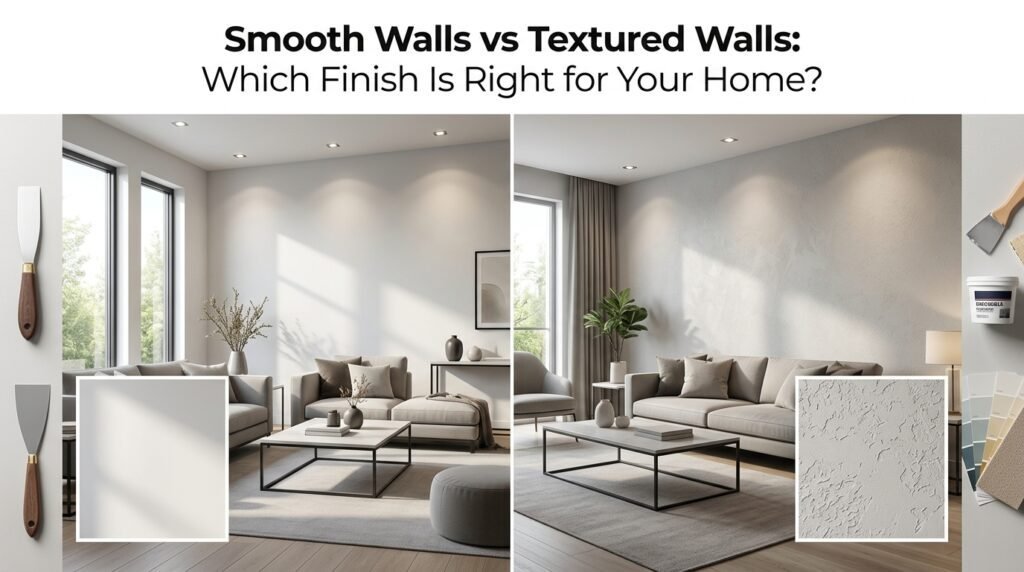
Smooth vs Textured: The Other Decision
You can have smooth walls (flat, uniform) or textured walls (bumpy patterns).
Smooth advantages:
- Clean, modern look
- Easy to wipe down and clean
- Works with any paint finish
- No dust collection
Smooth disadvantages:
- Shows every flaw in paint application
- Requires quality painter
- Requires higher finish level to look good
Textured advantages:
- Hides surface imperfections (you can use lower finish level)
- Faster and cheaper to apply
- Adds visual interest
- Hides dust and minor damage
Textured disadvantages:
- Collects dust easily
- Hard to clean
- Can look dated depending on pattern
- Covers imperfections but doesn’t fix them
Real talk: For modern homes, smooth is better. Texture was the go-to for hiding imperfections, but better finishing techniques make smooth affordable. Plus, textured walls are a pain to keep clean.
That said, if you’re going with textured walls, you don’t need Level 4 or 5 finishing underneath. Texture covers everything. Level 2 or 3 is fine.
Common Texture Types (If You Go That Route)
Popcorn texture is the thick, bumpy stuff from the ’60s through ’90s. It hides everything. It also collects dust, gets damaged easy, and looks dated. Most people are removing it, not adding it.
Orange peel texture is more subtle. Bumpy but not aggressive. Looks practical without being heavy. Common in commercial buildings. Fine if you like the look.
Knockdown texture gets sprayed on then partially flattened before drying. Soft, irregular pattern. Modern looking. Way more popular in newer McKinney and Frisco homes. If you’re doing texture, this is the move.
Spray texture is just light, thin stuff applied fast with a hopper gun. Practical. Quick. Common commercially.
Finish Level and Paint: They Have to Work Together
Here’s something people don’t always realize: finish level and paint type need to match.
Flat or matte paint? Works fine with Level 2 or 3. Flat paint doesn’t reflect light, so imperfections don’t show.
Satin or semi-gloss paint? Needs Level 4 or higher. That sheen catches imperfections. Use Level 3 and you’ll see every seam.
High-gloss paint? Needs Level 5 or you’re going to regret it.
Before you get quotes, think about what paint finish you want. Then tell your contractor so they recommend the right drywall finish to support it.
This coordination before work starts saves you from repainting the whole room later because you didn’t coordinate.
The Real Cost Breakdown
Level 2: $200 to $400 for that 500-sq-ft room Level 3: $800 to $1,200 Level 4: $1,500 to $2,000 Level 5: $2,500 to $3,500+
These are ballpark. Your actual cost depends on:
- Wall condition (more damage = more prep work)
- Room size and complexity
- Your contractor’s rates
- Local market (Dallas area vs smaller towns in Collin County)
Getting clear on which level is in each quote lets you compare contractors fairly instead of guessing why one bid is higher.
Timeline: How Long This Actually Takes
Level 2: A day or two. Simple.
Level 3: Several days. Each coat of compound needs to dry fully before sanding and the next coat. Dallas heat and humidity slow this down.
Level 4: About a week. More coats, more careful sanding between them.
Level 5: A week or more. The skim coat is an art form. Can’t rush it.
If you’re working against a deadline, dropping from Level 5 to Level 4 can save you several days without sacrificing much. Under normal lighting, most people won’t see the difference.
The Real Decision: Which Level for Which Room?
Master bedroom? Level 4. You’re in there multiple hours a day. Worth the extra smoothness.
Guest bedroom? Level 3. Fine. Looks good. Costs less.
Home office? Level 4. You’re working there, lighting matters, quality finish matters.
Living room? Level 3. Most homes do this. Looks great.
Hallway? Level 3. Nobody’s sitting in a hallway studying walls.
Kitchen? Level 3 minimum. Level 4 if it’s a designer kitchen. It’s visible so don’t cheap out, but Level 5 is overkill.
Bathroom? Level 3 minimum. Level 4 if it’s a master bath. Bathrooms are small and people look at the walls, but normal moisture-resistant finishing is enough.
Garage/basement/utility? Level 2. Nobody cares. Paint and move on.
The pattern: higher finish in spaces where you spend real time or where appearance matters. Lower finish in spaces where durability and function matter more.
Frequently Asked Questions
Can you change the finish level after painting?
Technically yes. Practically? It’s a mess. You’d have to strip the paint, prep the surface, apply more compound, sand, and prime/paint again. All the cost of doing it right the first time, plus the hassle of stripping paint first. Decide on finish level before work starts and communicate clearly to your contractor. Changing mid-project or after painting is always more expensive.
Does texture hide water stains better than smooth?
Texture makes stains less obvious initially. But hiding a stain isn’t fixing it. Water stains mean moisture got in somewhere. That source needs to be fixed, or the stain comes back regardless of what’s on top. A good contractor fixes the moisture problem first, repairs the damage, then refinishes. Don’t let anyone texture over a water stain as a shortcut. That’s a patch, not a real repair.
Is Level 5 always worth it for high-end homes?
Not necessarily. Level 5 makes the biggest difference in rooms with bright lighting, high-gloss paint, or angles where light rakes across walls. In a room with soft lighting and flat paint? Level 4 is nearly invisible from Level 5. Most luxury homes in Dallas and Frisco hit the sweet spot with Level 4: excellent quality without paying for perfection you can’t see under normal conditions.
Can you add texture after the walls are smooth?
Yes. Texture can be sprayed or applied over smooth drywall after the fact. It’s straightforward for a contractor with equipment. But it’s an extra step, extra cost, and an extra timeline delay. Decide before finishing if you want texture so it gets included in the original work. Doing it after means paying for labor on a wall already done.
How long does quality drywall finishing last?
The finish itself lasts forever when done right. The paint on top? That needs refreshing every five to ten years depending on traffic and wear. The drywall underneath only gets redone if there’s damage: a hole, water leak, or structural movement that cracks the surface. A well-finished wall in a Dallas home should hold up decades without attention if the underlying drywall is sound.
What’s the real difference between Level 4 and Level 5?
In normal lighting? Subtle. Both look smooth and clean. Where Level 5 shows is under harsh or raking light: bright overhead fixtures, low-angle sunlight, or professional photography lighting that catches imperfections. Level 4 walls can show faint seam lines under those conditions. Level 5 eliminates them completely. For most homes under most lighting? Level 4 is more than enough. Level 5 is for situations where the lighting or application demands absolute perfection.