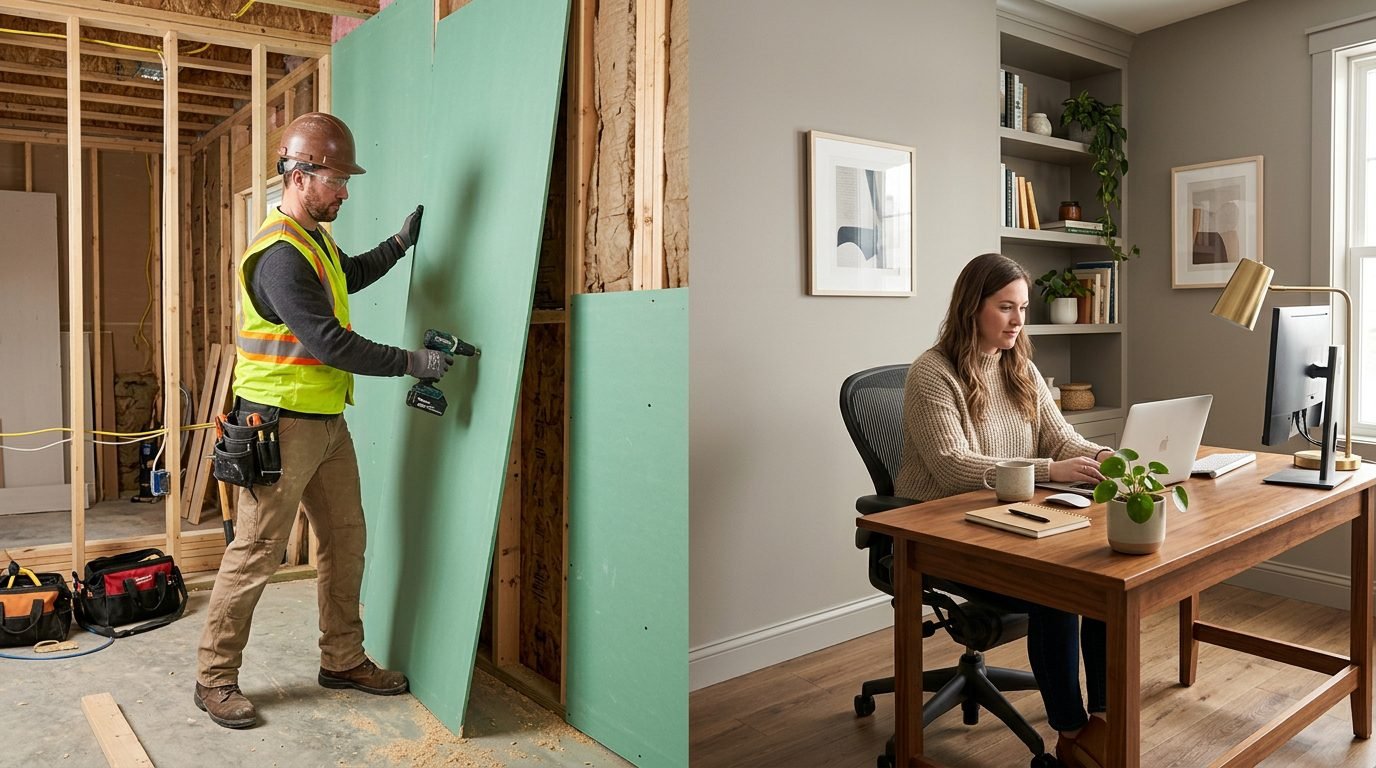
There’s nothing worse than walking into your living room and spotting a fist-sized hole staring back at you. Maybe the kids got rowdy during a game of indoor catch, or that doorknob finally punched through after years of abuse. Whatever caused the damage, you’re now stuck looking at crumbling gypsum and frayed paper facing that seems to mock your home’s otherwise clean appearance. Most homeowners freeze at this point, unsure whether to grab a tube of spackle and hope for the best or call in reinforcements.
The good news? You don’t need to be a contractor to handle most drywall patch jobs. With the right approach, some patience, and a few tools from the hardware store, you can make that wall look like nothing ever happened. This guide walks you through the process from start to finish, including the texture matching tricks that separate amateur work from professional results.
Start With the Right Damage Assessment
Before you even touch any instrument, you must know what you’re doing. The tiny nail holes in frames for pictures require a different method than an area of damaged sheetrock due to water repair. Closely examine the area that is damaged and gently push it around the edges. If the drywall around it is spongy or soft, you could have water issues that lurk behind the drywall.
If the hole is smaller than one dime, a simple repair using a spackle can complete the task. Anything from a dime to about six inches is a good indication for mesh joint compound and drywall tape. Larger holes will require a more complex patching process, including cutting back to the studs before placing a new piece of board. Being aware of your starting point prevents temporary fixes for problems that need structural solutions.
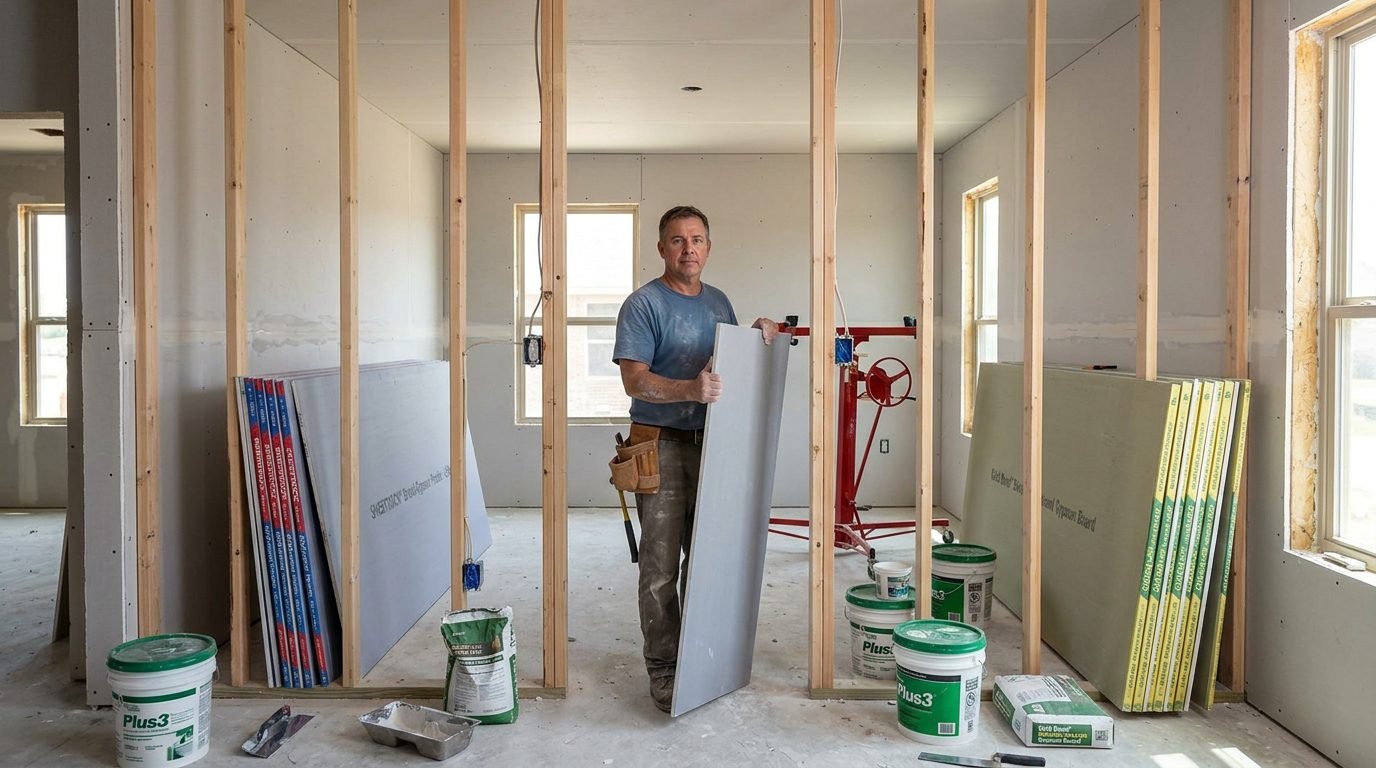
Gather Your Materials Before You Start
Nothing stops momentum faster than going to the store halfway through a project. To do a typical patch, you’ll require joint compound (not lightweight spackle for anything beyond pinholes), mesh or paper drywall tape, and a set of putty knives ranging from four to twelve inches. You’ll also need a sanding block with fine-grit paper and an appropriate primer.
If you’re cutting new boards, take a drywall saw and a stud finder to ensure precise placement. Don’t forget texture materials. Whether your walls have knockdown, orange peel, or smooth finishes, you’ll need the right tools to match them properly.

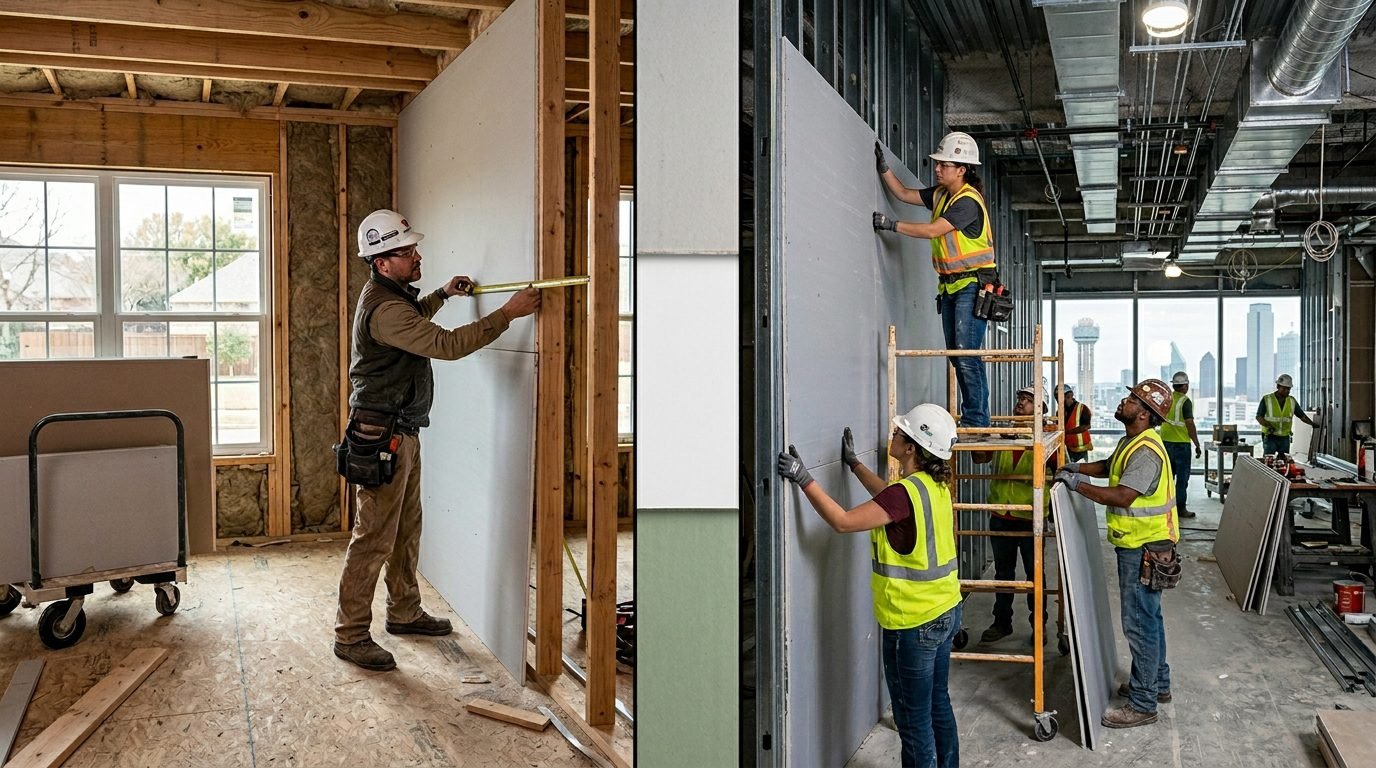
Cut Clean and Square for Larger Repairs
If you’re dealing with a large hole, avoid patching it as-is. Instead, use a drywall saw to cut the damaged section into a neat square or rectangle. Straight edges give you a solid surface to work with.
Use a stud finder to locate framing on both sides of the cut. Secure your replacement board to at least two studs—ideally four. Attach it with drywall screws set slightly below the surface. These will be covered later during finishing.
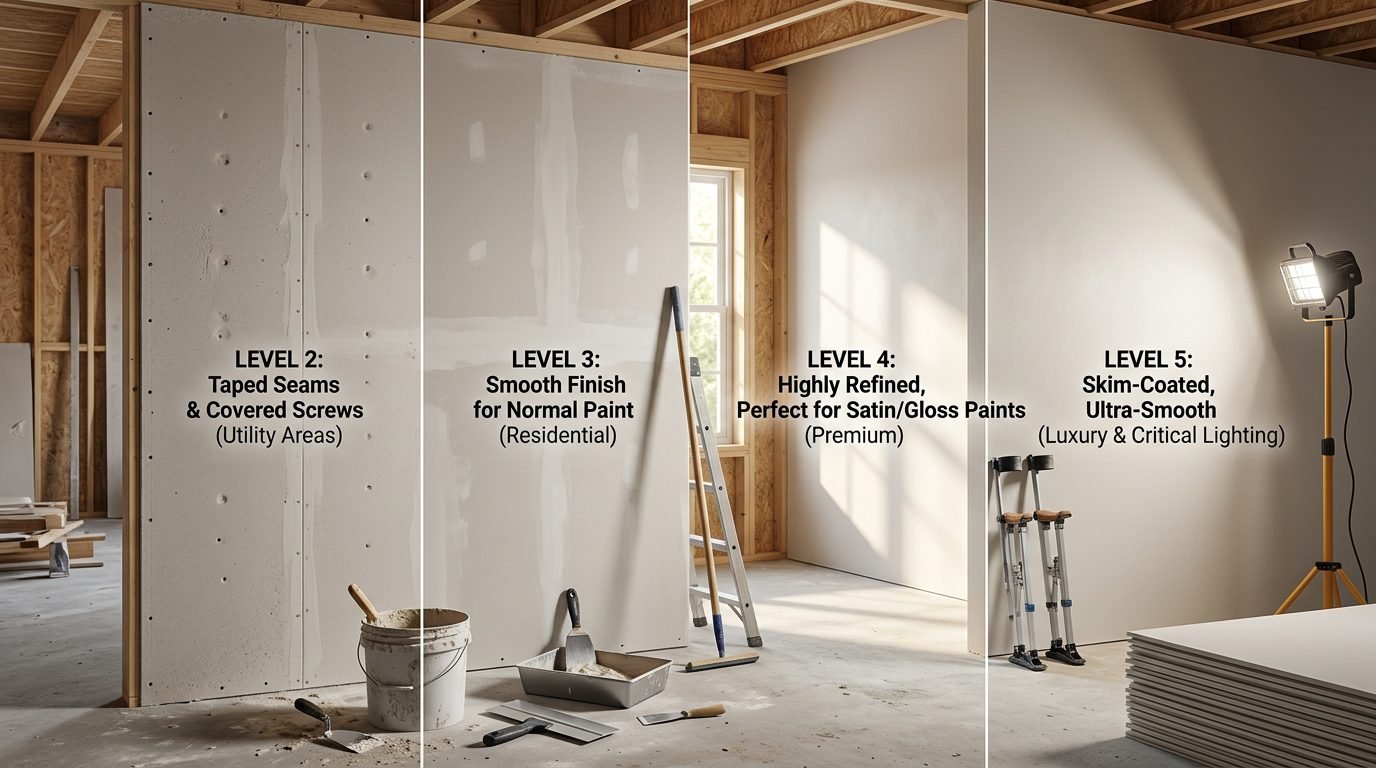
Use Joint Compound Like a Craftsman
Applying joint compound properly is what separates clean work from messy results.
Apply Thin Layers
Begin with a smooth base layer over the seam. Press drywall tape firmly into the compound.
Feather the Edges
Use a putty knife at a slight angle to remove excess compound while keeping the tape covered.
Build in Coats
Apply multiple thin coats rather than one thick one. Let each layer dry fully before adding the next. Most repairs need at least three coats for a seamless finish.
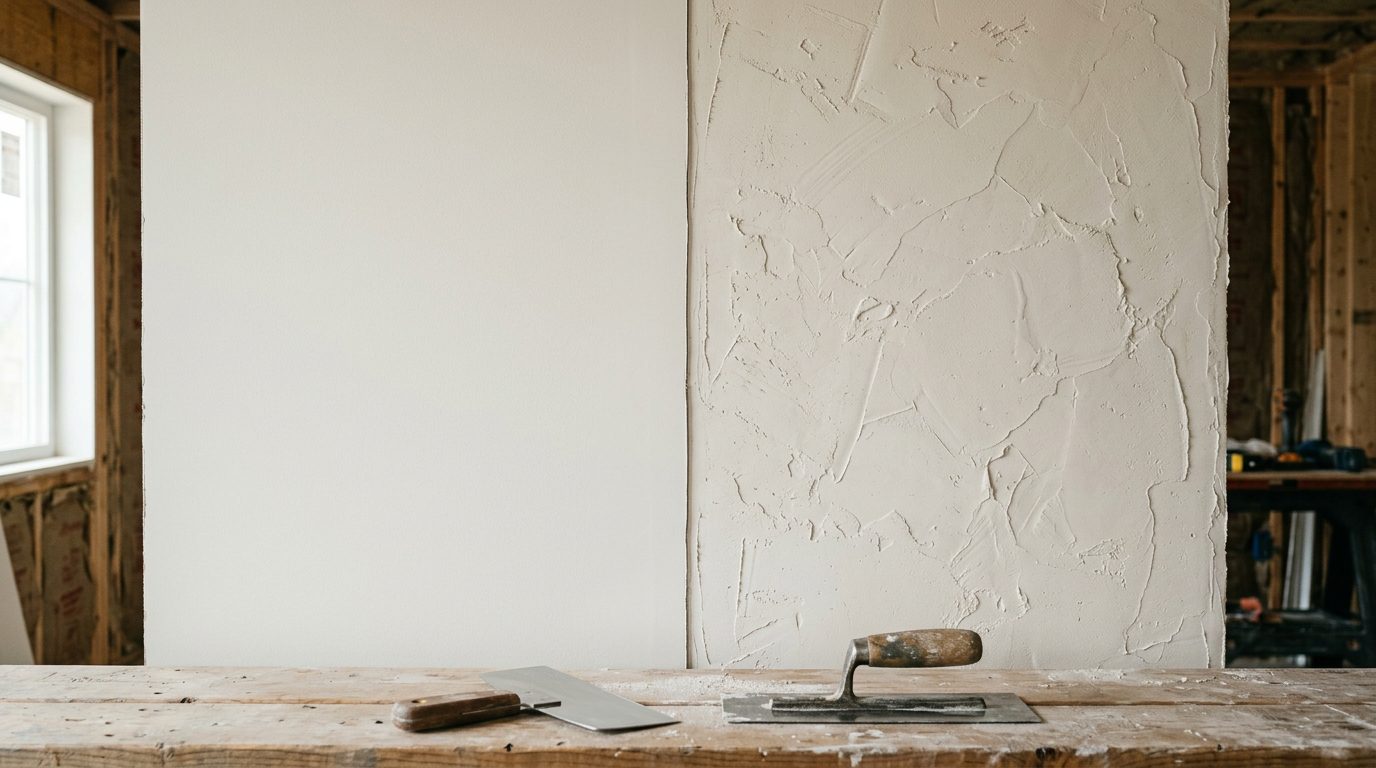
Master the Art of Feathering and Sanding
This step requires patience.
Sand Smoothly
Use a sanding block in circular motions once the compound dries.
Use Lighting to Spot Flaws
Hold a work light against the wall to reveal imperfections.
Check by Touch
Run your hand across the repair area. If you feel ridges or dips, sand more or apply another coat.
A properly feathered patch should blend invisibly into the surrounding wall.
Nail the Texture Matching Step
This is often the hardest part for homeowners.
For Small Repairs
Use a spray texture can and practice on cardboard first.
For Complex Textures
Knockdown or custom textures may require specialized tools like a hopper gun.
The goal is to match the size, density, and pattern of the existing texture. If unsure, it’s often best to hire a professional for this step.
Prime Before You Paint—Always
Skipping primer leads to uneven paint results.
Why Primer Matters
Fresh joint compound absorbs paint differently, causing visible patches.
Proper Application
Use a high-quality primer-sealer and extend it beyond the repair area. Let it dry fully before painting.
A second coat of primer can help eliminate minor inconsistencies.
When to Know It’s Time for Professional Help
Some situations require expert intervention.
Call a Pro If You See:
- Black mold
- Extensive water damage
- Structural issues
Other Cases
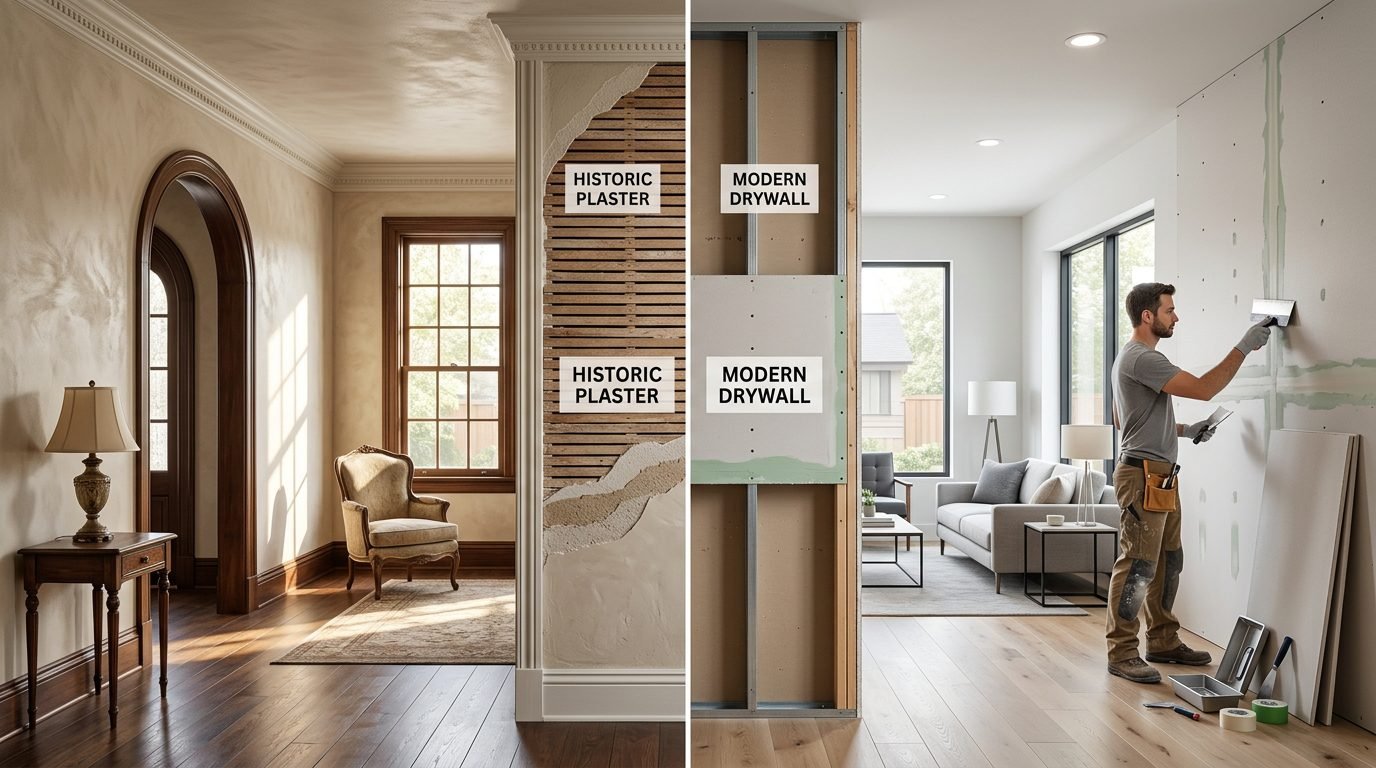
Ceiling repairs, large installations, and older plaster walls often need professional tools and experience.
Ready to Get Your Walls Back to Perfect?
Patch Pros of North Dallas handles everything from small hole repair to full-room drywall installation. Whether you’re dealing with minor dents or major renovations, their team delivers professional results with seamless texture matching.
Frequently Asked Questions
How long does a typical drywall patch take to complete?
Most small repairs take two to three days due to drying time between coats.
Can I use spackle instead of joint compound for larger holes?
No. Spackle is best for small holes, while joint compound is better for larger repairs.
Why does my patched area look different after painting?
This usually happens when primer is skipped or the compound wasn’t feathered properly.
What’s the difference between mesh tape and paper tape?
Mesh tape is easier for beginners, while paper tape provides stronger, long-lasting seams.
How do I match my wall texture if I can’t identify the pattern?
Take a photo to a hardware store or consult a drywall professional for accurate matching.