
You stare up at your ceiling and spot a hairline crack spreading across the paint. Or maybe a water stain has turned brown and soft in one corner. These issues hit hard in North Dallas homes, where humidity and shifting soil create constant pressure on sheetrock ceilings. You wonder if you can patch it yourself or if you need real help before it gets worse.
The truth is, ceiling drywall repair demands skill that most weekend fixes miss. One wrong cut or mismatched texture turns a small job into a bigger eyesore. Pros know exactly how to handle ceiling crack fix work so the repair blends in and lasts for years. They turn stress into a clean, smooth ceiling you stop noticing.
Why Ceiling Problems Pop Up in North Dallas Homes
Moisture and Water Damage
Ceiling drywall problems rarely happen overnight. A heavy downpour or leaking pipe often triggers repairs to damaged ceilings. Water softens the gypsum core and weakens the surface, leading to long-term damage.
Soil Movement and Structural Shifts
North Texas soil expands and contracts with weather changes, pulling framing joints apart. This movement leads to recurring ceiling cracks that worsen if only painted over.
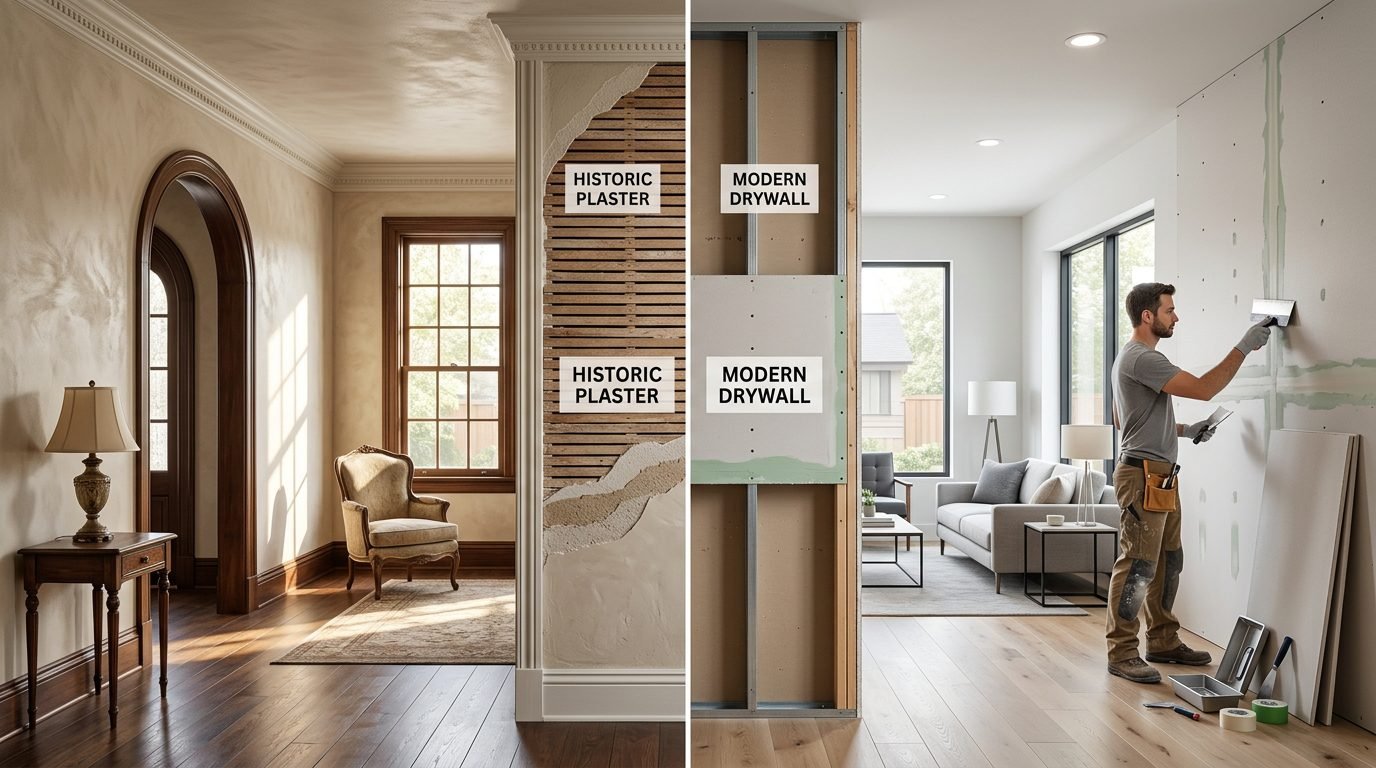
Aging Materials and Installation Issues
Older homes with popcorn ceilings hide minor issues until they grow. Poor installation, temperature changes, and foot traffic upstairs also contribute to visible damage.
Signs It Is Time for Ceiling Drywall Repair
Visible Cracks and Expanding Lines
Small cracks that grow after rain often indicate deeper moisture issues inside the ceiling structure.
Stains, Discoloration, and Mold
Brown or yellow stains suggest hidden leaks. Mold or musty smells confirm moisture problems that need immediate attention.
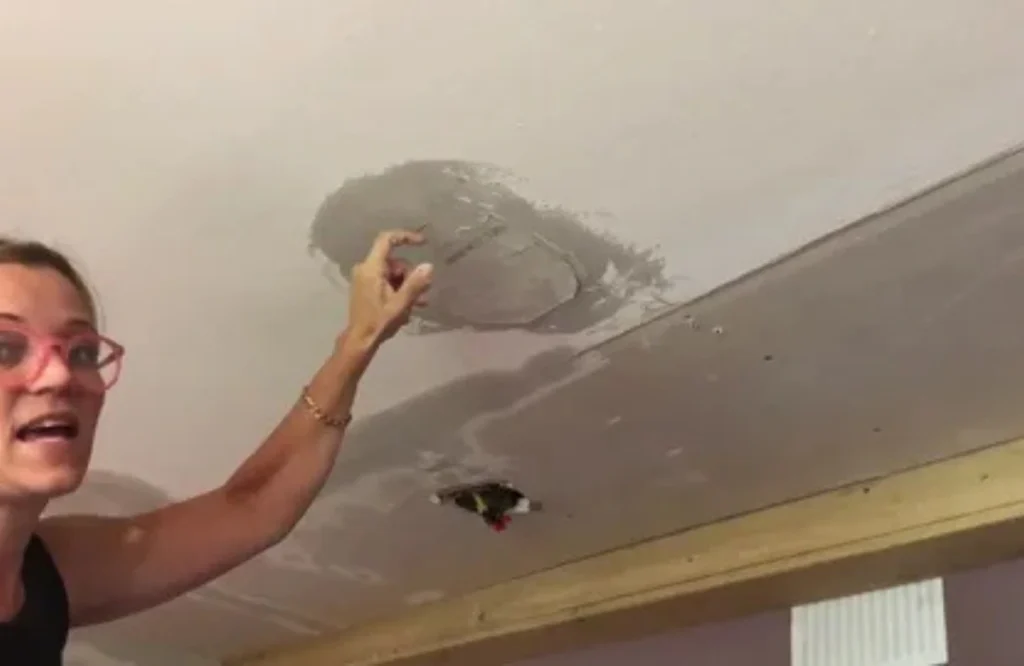
Sagging or Bulging Sections
When drywall begins to sag or feel soft, the inner structure has weakened and requires professional repair.
How Pros Assess Damage Before Repair
Surface and Depth Inspection
Experts examine the ceiling closely to determine how far the damage extends beyond what is visible.
Source Detection
They check attics, plumbing lines, or roofing systems to identify the root cause and prevent repeat damage.
Repair Planning
After evaluation, professionals explain the issue clearly and create a targeted repair plan based on actual conditions.
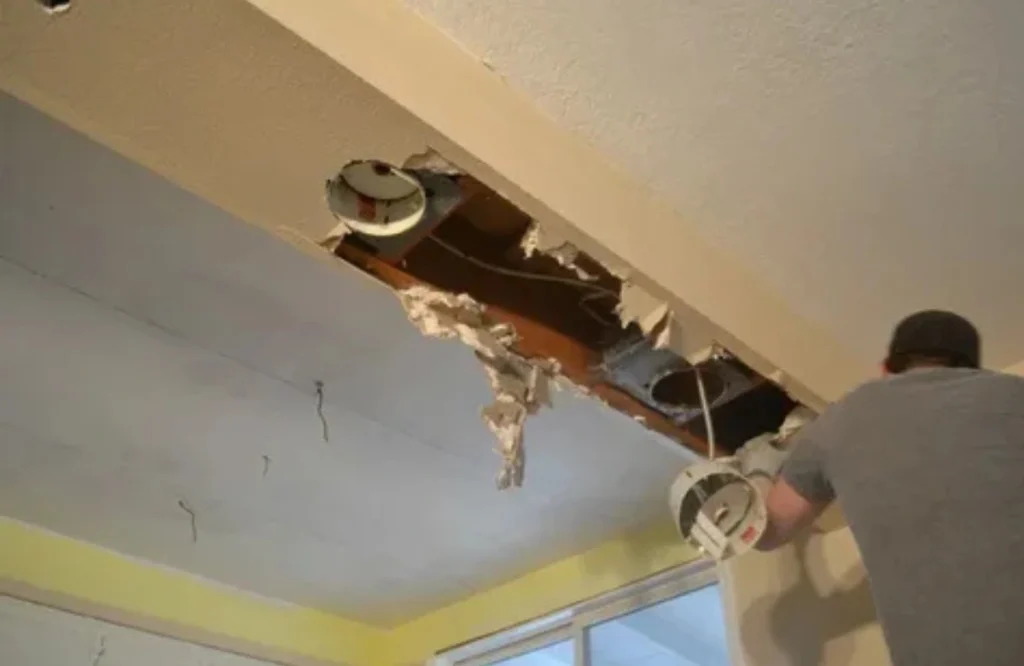
Removing the Damaged Section Safely and Cleanly
Precision Cutting Techniques
Pros cut damaged drywall into clean shapes like squares or rectangles for easier patching.
Dust Control and Protection
Drop cloths and protective gear are used to keep your home clean during removal.
Safety Measures
Masks, goggles, and controlled cutting methods prevent dust spread and ensure safe working conditions.
Installing the New Drywall Patch
Proper Fit and Alignment
A new drywall piece is cut and installed to fit perfectly into the opening without gaps or bumps.
Secure Fastening
Screws are anchored into joists or backing support to keep the patch strong and stable.
Material Matching
Drywall thickness is matched to the existing ceiling for consistent strength and appearance.
Drywall Seam Taping and Joint Compound Finishing
Seam Taping Application
Tape is applied over joints to create a strong foundation for a smooth surface.
Layered Compound Work
Multiple thin coats of joint compound are applied and feathered outward for seamless blending.
Drying and Patience
Each layer is fully dried before sanding and reapplication to ensure durability.
Drywall Sanding and Smoothing
Fine Sanding Techniques
Professionals use fine-grit sandpaper and pole sanders for even, smooth results.
Dust Management
Dust is controlled and cleaned between sanding stages to maintain air quality.
Final Surface Check
The surface is inspected under light from different angles to ensure perfection.
Ceiling Texture Repair and Matching
Texture Replication
Pros recreate patterns like knockdown or popcorn ceiling textures to match existing surfaces.
Spray and Application Techniques
Special tools are used to apply consistent texture across the repaired area.
Seamless Blending
Proper matching ensures the repaired section becomes invisible after painting.
Ceiling Primer and Painting Finishing Touches
Stain-Blocking Primer
Primer seals repaired areas and prevents old stains from showing through paint.
Even Paint Application
Two coats of ceiling paint are applied for a clean, uniform finish.
Final Detailing
Edges and small imperfections are corrected for a flawless final appearance.
Water-Damaged Ceiling Repair Considerations
Moisture Removal and Drying
All damaged material is removed, and the area is fully dried before repair begins.
Mold Prevention
Affected areas are treated to prevent mold growth and future health risks.
Moisture-Resistant Materials
Special drywall is used in high-risk areas like kitchens and bathrooms.
Why DIY Ceiling Patch Repair Often Fails
Incorrect Materials and Methods
DIY fixes often skip taping or use incorrect compounds, leading to repeated cracking.
Texture Matching Challenges
Without professional tools, matching ceiling texture is extremely difficult.
Structural Oversights
Hidden joist issues or moisture problems are often missed, causing long-term failure.
Conclusion
Ceiling drywall repair is more than surface fixing. It requires diagnosing the cause, preparing the structure, and rebuilding the surface with precision. Professionals Patch Pros of North Dallas ensure the damage does not return and the ceiling looks untouched.Visit to get professional service today .
FAQ
How long does ceiling drywall repair take?
Small repairs usually take one to two days, while larger or water-damaged areas may take longer depending on drying time.
Can popcorn ceilings be patched?
Yes, professionals can match popcorn texture precisely so repairs blend seamlessly.
Why do ceiling cracks return?
Improper taping, settling foundations, or moisture issues are common causes of recurring cracks.
Is water damage covered by insurance?
It depends on the policy and whether the damage was sudden or gradual.
What affects repair cost?
Size of damage, texture type, and water involvement all influence pricing.