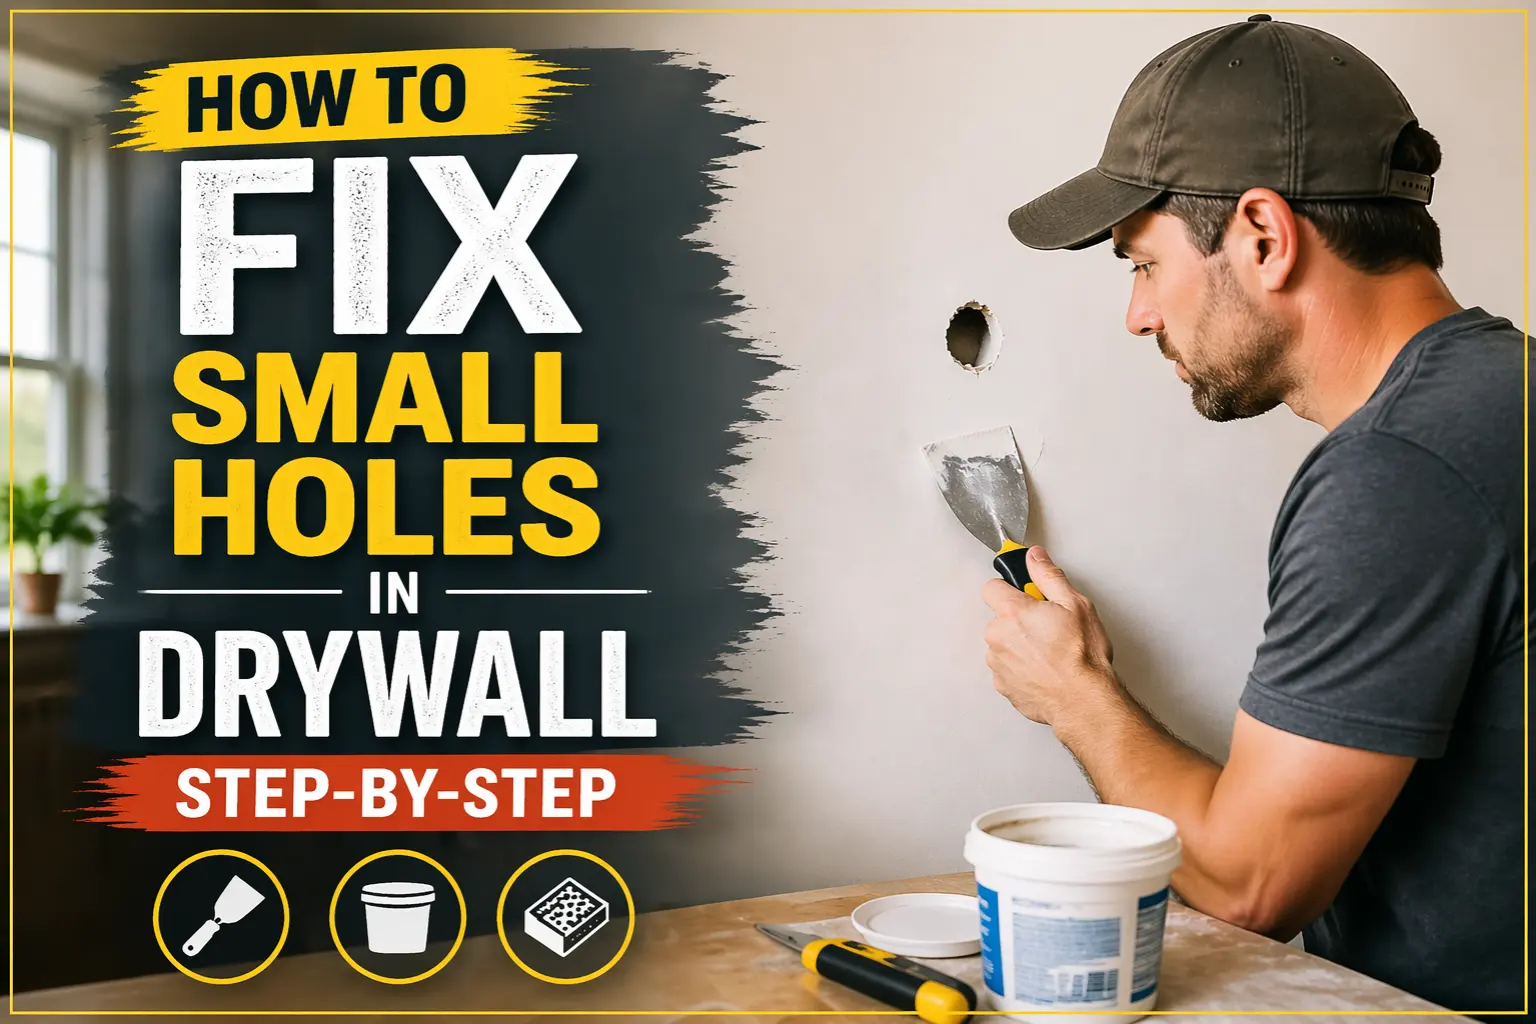
You walk into the living room and there it is — a hole in the wall where a doorknob swung too hard, or a cluster of nail holes left behind after you rearranged your gallery wall. It’s one of those small things that somehow makes the whole room feel unfinished. The good news? Small drywall holes don’t have to stay that way for long.
Fixing small holes is a job most homeowners can handle with the right materials and a little patience. But there’s a big difference between a patch that holds up for years and one that cracks, sags, or looks blotchy by next month. This guide walks you through the process the right way — the same way professionals approach it.
What You’ll Need Before You Start
Getting the right supplies upfront saves you two extra trips to the hardware store. The materials you need depend on the hole size, but for most small repairs, your list is pretty short.
For holes under half an inch (nail holes, screw holes):
- Lightweight spackling compound
- Putty knife
- Fine-grit sandpaper (220 grit)
- Primer and matching paint
For holes between half an inch and 4 inches:
- A drywall repair patch kit (self-adhesive mesh patches work well here)
- Joint compound (also called mud)
- Putty knife or drywall knife
- Sandpaper (120 grit, then 220 grit)
- Primer and matching paint
A high-quality repair kit for drywall typically bundles the patch and the compound and is a good idea when you’re trying something for the first time. Don’t use bargain-bin alternatives The thin mesh patches won’t keep joint compound in place uniformly, and you’ll see it when the paint is dry.
Step-by-Step: How to Fix Small Holes in Drywall
Step 1 — Clean Up the Damaged Area
Clean Up the Damaged Area Before anything can go onto the walls, the opening has to be prepared. Clean any loose drywall or edges that are crumbling within the gap. If there are walls anchors, or nail holes you can pull them completely. Wipe the surface clean with dry cloth to get rid of dust. Wall surface preparation sounds easy and is indeed -however, ignoring it is among the most common reasons that patches fail. Compounds will not bond well with an oily or dusty surface.
Step 2 — Fill Nail Holes and Small Dings
Fill Nail Holes and Small Dings If you need tiny holes less than one-quarter inch in size, the spackle should be the choice. Put a knife in the compound, then press it down into the hole and then drag it straight across the surface in a smooth movement. The aim is to fill the hole, not to fill it completely. Spackle shrinks when it dries and a tiny amount of the material is just perfect. Allow it to dry completely, light spackle typically dries within 30 to 60 minutes, depending on the humidity.
Step 3 — Apply a Patch for Medium Holes
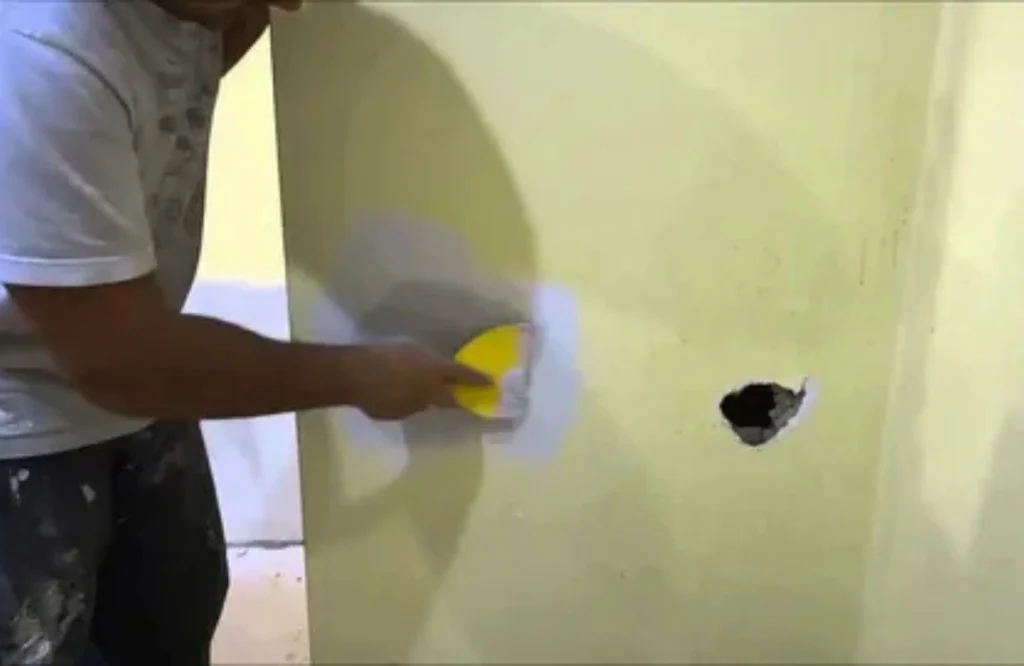
Apply a Patch for Medium Holes For holes that range from half-an-inch and 4 inches the repair patch kit for drywall can make the job easier. Peel off the backing of the self-adhesive mesh and then place it over the hole by pressing it flat against the wall.
Step 4 — Apply Joint Compound in Thin Coats
This is where most DIYers rush — and regret it. Joint compound application works best in thin layers. Load your putty knife with a modest amount of mud and spread it over the patch in smooth, overlapping strokes.
Feather the edges outward a few inches beyond the patch. This blends the repair into the surrounding wall so you don’t end up with a visible bump. One thick coat looks messy and cracks. Two or three thin coats look professional.
Let each coat dry completely before adding the next — usually 4 to 6 hours, or overnight if your space is humid.
Step 5 — Sand the Surface Smooth
When the final coat is dry, it’s the time to start smoothing the surface of your drywall. Begin with 120-grit sandpaper and eliminate any ridges and then follow up with 220-grit to create smooth surfaces. Sand using gentle, circular motions. Don’t press the surface too hard.
You can run your hands over the area after you’ve sanded. You shouldn’t feel the point where your patch finishes and where the wall begins. If you still detect a ridge, you can add another thin layer of compound, allow it to dry and then sand it again.
Clean the area that has been sanded with only a small amount of water to eliminate any dust prior to making the initial preparation.
Step 6 — Prime Before You Paint
A lot of people skip primer and go straight to paint. Don’t. Primer sealing is what prevents the patched area from absorbing paint differently than the surrounding wall — that telltale “hot spot” that shows up even when the colors match.
Use a drywall primer or a PVA primer on the patched area. One coat is usually enough. Let it dry for the time listed on the can, then move on to your paint touch-up.
Step 7 — Paint to Match
Apply the wall paint over the patch that has been primed. If the paint has sat for a long time and you have not stirred it enough,it can appear a little different in the sheen or color. Paint the patch with a brush that extends over the edges of the patch, so it blends into the surrounding. Based on the age of your wall color, the full repaint of your wall could provide a better color match over a simple touch-up. However, for walls that are freshly painted applying a clean brush typically does the trick.

Tips for a Cleaner Finish Every Time
- Don’t skip the primer. It’s the most commonly skipped step and the most visible mistake.
- Thin coats always beat thick ones. Three thin coats dry faster and look better than one heavy coat.
- Match your sheen. Flat paint hides patches better than satin or semi-gloss on textured walls.
- Let everything fully dry. Rushing any step — from compound to primer to paint — shows up after the fact.
When the Hole Is Too Big to DIY
For holes that are larger than 4 or six inches in diameter, the simple repair kit for larger holes might not be able to repair it. In that case the repair requires an additional backer board or California patch to provide the repair with an even base. If you’re experiencing cracks in your structure, water damage as well as holes that are constantly appearing it’s a different story entirely. The repairs are more than patching; they must be able to identify the cause of the issue initially.
Let the Pros Handle It — Call Patch Pros of North Dallas
If the hole is large, the damage keeps coming back, or you just want it done right without spending your weekend sanding walls, Patch Pros of North Dallas is ready to help. We serve homeowners and businesses across McKinney, TX and the surrounding North Dallas area with expert drywall repair, drywall patchwork, and full drywall installation.
Whether it’s one hole or a full room, we show up with the right materials and the experience to make your walls look like nothing ever happened. Request a free estimate and get your walls back to perfect.
Frequently Asked Questions
How do I fix small holes in drywall without making it obvious?
The key is thin coats of joint compound, proper sanding, and always priming before paint. Skipping primer is the most common reason patches look different from the surrounding wall.
What’s the best drywall repair kit for small holes?
For holes under 4 inches, a self-adhesive mesh patch combined with lightweight joint compound works well. Kits that include both the patch and compound save time and ensure the materials are compatible.
How long does a drywall patch take to dry before painting?
Joint compound typically takes 4 to 6 hours per coat, but humidity slows that down. Give the final coat overnight to dry, prime it, and then paint the next day for the best results.
Can I use spackle instead of joint compound?
Yes — for small nail holes and dings, lightweight spackling compound works great. For larger holes with a mesh patch, joint compound is a better choice because it adheres more strongly and sands more smoothly.
When should I call a professional instead of patching it myself?
If the hole is larger than 6 inches, shows signs of moisture or mold, or keeps cracking back open, it’s worth calling a pro. Those issues often have an underlying cause that a surface patch won’t fix.