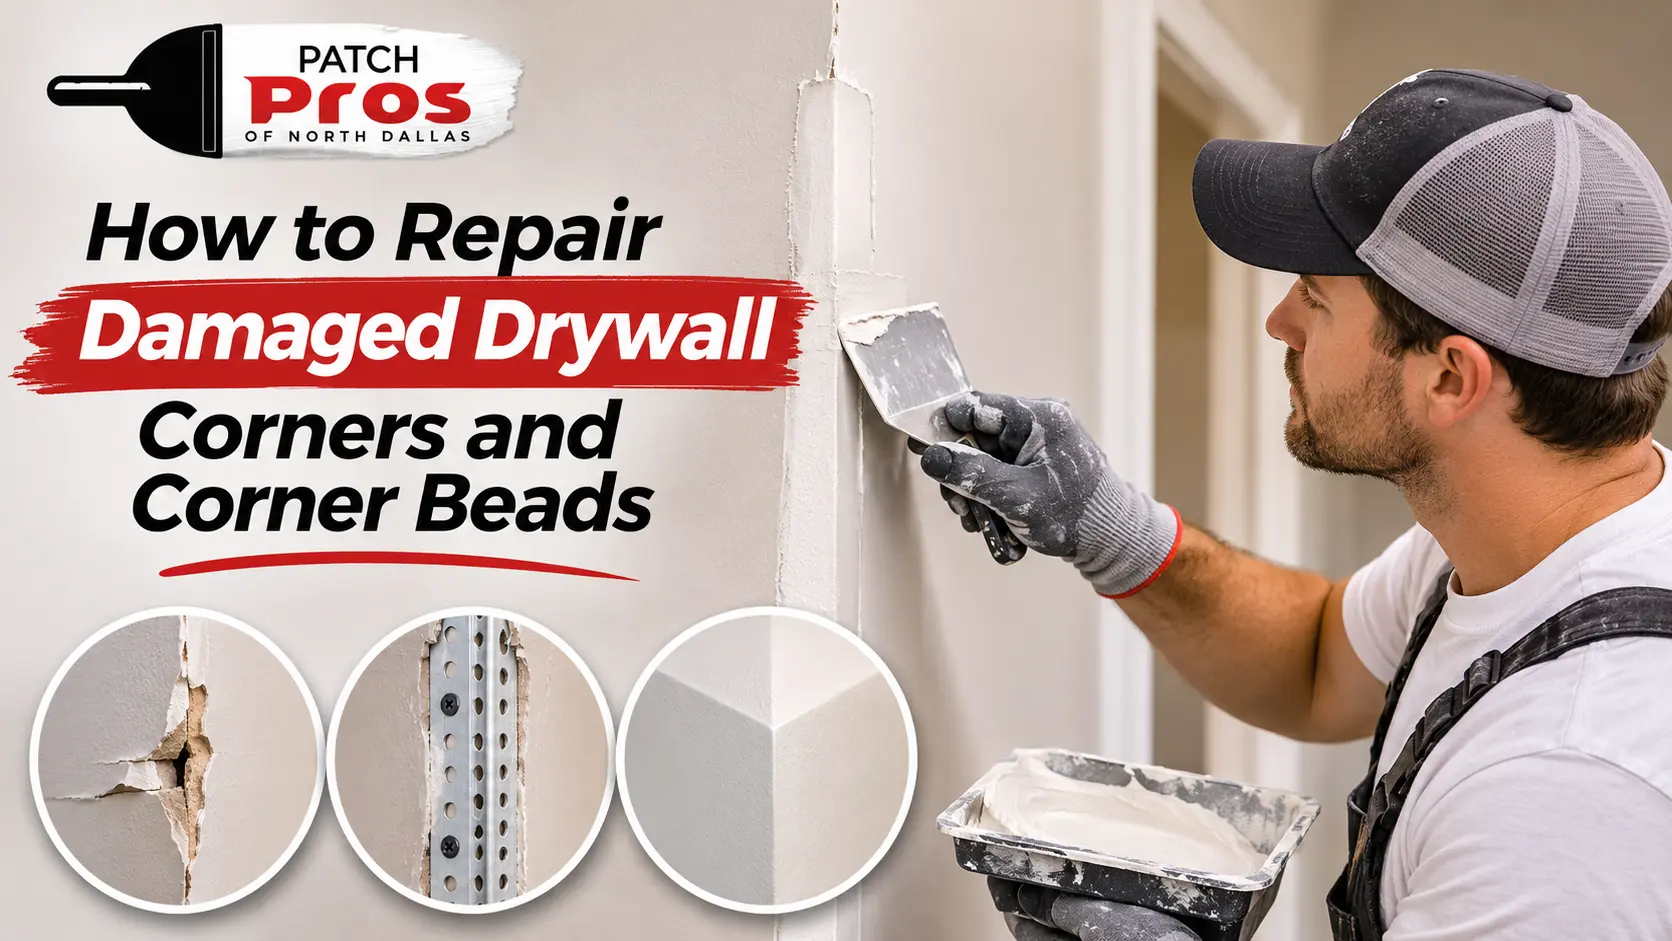
Furniture can chip drywall compound or bend the corner bead underneath. The right repair starts by finding out which layer has failed. Successful corner bead repairs depend on addressing these underlying issues first.
Some corners need only a patch; others need replacement trim. Here is how to tell the difference and choose the right repair.
What Causes Drywall Corner Damage?
Outside corners are easy to hit when moving furniture, appliances, or boxes. Vacuum cleaners, pets, door edges, and rolling carts can also chip compound or dent the bead.
Fasteners may loosen, drywall edges may crumble, or the bead may have been poorly secured. If the trim moves, cracks often return after patching.
Identify the Damage Before Choosing a Repair
Inspect the full corner and press gently along both sides. A firm bead may have surface damage; movement, a sharp bend, rust, or a split flange points to trim failure.
| Sign of damage | Best next step |
| Small chip; bead is firm | Patch compound |
| Crack or moving bead | Check fasteners and trim |
| Bent, crushed, or rusted bead | Replace damaged section |
| Broken drywall at the flange | Repair board, then reinstall bead |
Metal bead is rigid and commonly fastened with nails or screws. Vinyl resists rust and may use adhesive, staples, or compound. Paper-faced metal has a paper surface that bonds with compound. Follow the product instructions for fastening. Some beads are designed for compound embedding, while others require mechanical fasteners or adhesive.
Tools and Materials to Prepare
Gather the supplies that match the repair:
- Utility knife, putty knife, and taping knife
- Joint compound and sanding block
- Primer and matching paint
- Replacement bead, tin snips, and suitable fasteners
- Safety glasses and dust mask
| Helpful note: Long or serious damage may extend beyond the visible patch. Make sure the surrounding drywall and underlying support are stable before proceeding. |
Repair a Small Dent or Chip
Use this method only if the bead is straight and secure.
- Clean the area: Score cracked compound and scrape away loose flakes without cutting the bead.
- Fill the dent: Press joint compound into the depression, keeping the first coat thin.
- Allow drying: Follow the label; many ready-mix products need 12 to 24 hours. Thick patches may take longer.
- Feather the surface: Apply a wider, thinner coat with a taping knife.
- Sand and inspect: Sand lightly when dry. Add another thin coat if needed.
- Prime and paint: Remove dust, prime, and match the wall’s color and sheen.
Replace a Loose or Bent Corner Bead
Do not cover a shifting, sharply bent, or split bead with compound. Secure or replace the failed trim.
- Expose the flange: Cut through compound along the bead edges to reveal the fasteners.
- Remove damaged trim: Pull out fasteners and cut the bead with suitable snips. Protect the drywall around it.
- Repair the base: Remove crumbled board and fill gaps so the new bead has firm support.
- Fit and secure: Cut replacement bead to length, align it, and fasten it as the manufacturer directs.
- Check the line: Look down the corner for twists or gaps before finishing.
- Apply finish coats: Cover the flanges, feather each coat wider, and let it dry. Sand, prime, and paint.
A sharply kinked bead or torn flange should be replaced, not forced back into shape.
Keep the Corner From Getting Hit Again
Consider what caused the damage. A corner guard helps in busy hallways, garages, and playrooms. Use care when moving large furniture and fix loose drywall instead of repeatedly filling the same crack.
Repeated cracking along the corner may point to an issue with the underlying support or installation. Patch Pros of North Dallas can assess recurring damage and restore the finish.
Frequently Asked Questions
Can I patch a dented corner bead without replacing it?
Yes, if the bead is straight and secure. Replace it if the metal is sharply bent, the flange is torn, or the trim moves. Compound cannot make an unstable bead secure.
Is metal or vinyl corner bead better?
Metal gives a rigid edge; vinyl resists rust. Choose according to the location and the product’s fastening instructions.
How long should joint compound dry before sanding?
Many ready-mix compounds need 12 to 24 hours. Thickness, temperature, airflow, and humidity affect timing, so check the label and ensure the coat is dry before sanding.
Do I need primer after repairing a drywall corner?
Yes. Bare compound absorbs paint differently. Primer helps prevent a dull or uneven patch from showing through the finish.
When should a damaged corner bead be replaced?
Replace a bead that is bent, cracked, rusted, detached, or no longer straight. Repair broken or crumbling drywall before installing new trim.
Final Thoughts: Fix the Bead Before Finishing the Wall
A lasting repair starts beneath the compound. Patch small chips when the bead is secure, but replace trim that is bent or loose. Sound drywall, proper fastening, thin coats, and full drying create a straight finish. Patch Pros of North Dallas can help with damage beyond a simple patch.