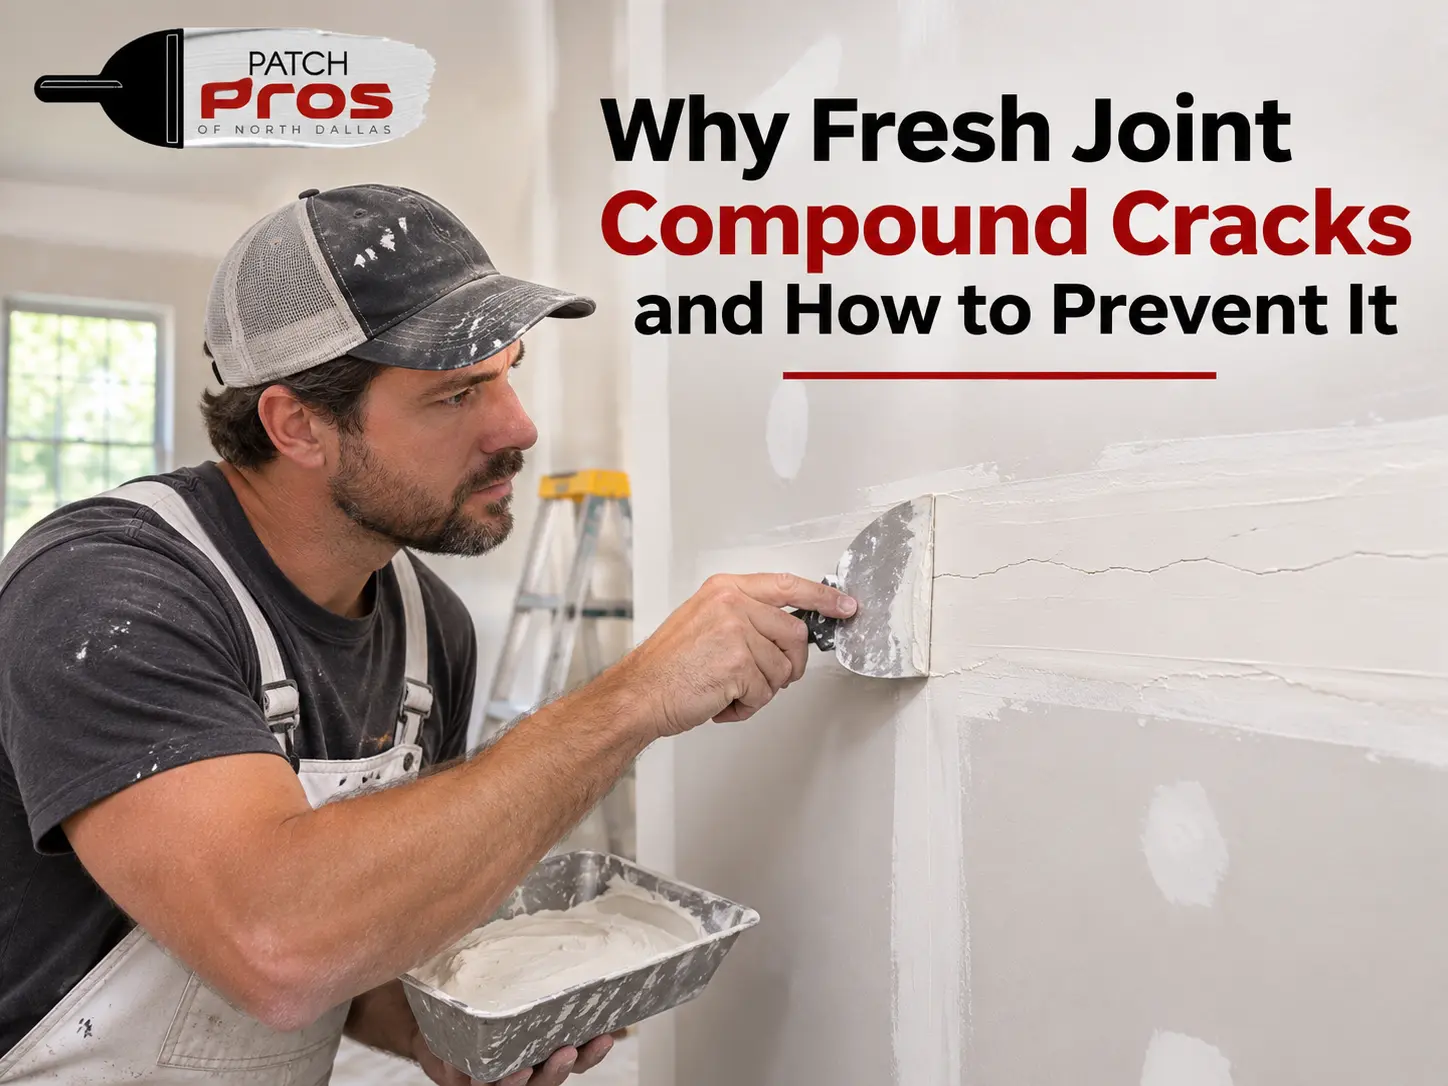
Fresh joint compound should dry into a smooth, solid surface that is ready for sanding and painting. However, small cracks sometimes appear as the material dries, leaving drywall joints uneven and requiring additional work. These problems can occur even when the compound looks smooth immediately after application.
Joint compound cracking usually results from shrinkage, thick applications, poor mixing, or unsuitable drying conditions. In some cases, the cracks indicate movement behind the drywall rather than a finishing mistake. Understanding the difference helps you correct the problem and avoid repeating it during drywall installation or repair.
What Causes Joint Compound to Crack After Drying?
As joint compound dries, its water content gradually evaporates, allowing the material to harden. This process causes some shrinkage, which is normal. Problems develop when the compound shrinks unevenly, loses its bond, or cannot accommodate movement around the drywall joint.
Several application and environmental issues can increase the risk.
Applying Compound Too Thickly
Thick joint compound layers take longer to dry because moisture must escape from the material. The outer surface may appear dry while the deeper layer remains damp. As the remaining moisture evaporates, the compound shrinks and may develop visible cracks.
This often happens when someone tries to fill a deep gap with one heavy application instead of building up the surface gradually.
Applying Another Coat Before the First Dries
Ready-mixed joint compound dries through evaporation. Applying another layer before the previous coat has dried can trap moisture and create uneven shrinkage.
The upper coat may also appear ready for sanding while the material underneath remains soft. Allowing each layer to dry fully helps create a more stable finish.
Poor Mixing or Incorrect Consistency
Improper mixing can leave lumps, dry particles, or an inconsistent texture. Adding too much water to ready-mixed compound may also weaken its working consistency and increase shrinkage.
Follow the manufacturer’s mixing instructions and add water only in small amounts when the product allows it. Use clean tools and remove dried compound particles before applying the material.
Temperature and Humidity Problems
Drying conditions affect how quickly joint compound loses moisture. High humidity slows evaporation, while excessive heat or direct airflow can cause the surface to dry unevenly.
According to USG guidance, maintaining temperatures of at least 55°F during drywall finishing helps support proper compound performance. Its guidance also identifies high humidity and cold conditions as factors that extend drying time and increase the risk of finishing problems.
In Dallas, TX, indoor humidity and air-conditioning conditions may vary throughout the year. Keep the work area ventilated, maintain stable indoor temperatures, and avoid directing heaters or fans straight at freshly applied compound.
How to Tell What Is Causing the Cracks
The location and appearance of a crack can help identify the problem. However, visual signs alone cannot confirm every underlying cause.
| Crack pattern | Possible cause |
| Fine cracks across a thick patch | Excessive application and drying shrinkage |
| Cracks along a taped joint | Poor tape embedding or joint movement |
| Repeated cracks in the same location | Movement in the drywall assembly |
| Cracks with loose or peeling compound | Poor bonding or surface contamination |
| Cracks appearing after rapid drying | Uneven drying conditions |
Small surface cracks in a thick patch may be cosmetic. However, recurring cracks along the same seam deserve closer inspection. Loose drywall panels, inadequate fastening, framing movement, or poorly embedded tape may be responsible.
Does the Type of Joint Compound Matter?
Yes. Different joint compound types have different working and drying characteristics.
Ready-mixed compound: This product dries as water evaporates. It works well for many taping and finishing applications but requires adequate drying time between coats.
Setting-type compound: This powder-based material hardens through a chemical setting reaction. It is available in products with different setting times, such as 20, 45, or 90 minutes. Setting time does not mean the material is completely dry or ready for every finishing step.
Choosing the right product for the application helps reduce shrinkage-related problems. ASTM C475/C475M covers all-purpose, taping, and finishing compounds, along with paper and glass-mesh joint tape. Check product specifications to confirm compatibility with the tape and finishing system.
How to Repair Cracked Joint Compound
The correct repair depends on whether the crack is limited to the compound or connected to a damaged drywall joint.
Follow these steps for minor finishing cracks:
- Remove loose material: Scrape away cracked or poorly bonded compound without damaging the drywall facing.
- Inspect the joint: Check whether the drywall tape remains firmly attached and whether the panels move.
- Prepare the surface: Remove dust and debris so the new compound can bond properly.
- Apply a thin coat: Spread compatible joint compound over the affected area and feather the edges.
- Allow it to dry: Follow the product instructions before applying another coat.
- Sand and finish: Smooth the repaired area, remove dust, and prepare it for primer and paint.
If the tape has separated or the crack keeps returning, simply covering it with another coat will not solve the underlying problem. The damaged section may need to be retaped or secured before finishing. Patch Pros of North Dallas helps homeowners address drywall finishing defects, cracked compound, and joint problems with repairs suited to the condition of the surface.
How to Prevent Cracks During Drywall Finishing
Good application practices reduce the likelihood of joint compound shrinkage and recurring cracks.
- Apply several thin coats instead of one excessively thick layer.
- Allow each coat to dry according to the manufacturer’s instructions.
- Mix compound to the recommended consistency.
- Embed drywall tape properly in the bedding compound.
- Maintain stable temperature and humidity during finishing.
- Avoid direct heat or strong airflow on wet compound.
- Check that drywall panels are securely fastened before taping.
These steps help create a more consistent surface and reduce unnecessary repair work.
Frequently Asked Questions
Is it normal for joint compound to shrink as it dries?
Yes. Ready-mixed compound loses moisture during drying, which causes some shrinkage. Excessive shrinkage, deep cracks, or repeated separation may indicate thick application, poor bonding, or movement.
Can you paint over cracked drywall mud?
No. Painting over cracked compound does not correct the damaged surface. Remove loose material, repair the affected area, allow it to dry, and sand it before priming and painting.
Does setting-type compound crack less than ready-mixed compound?
Setting-type compound generally experiences less drying shrinkage because it hardens through a chemical reaction. However, incorrect mixing, poor application, or movement behind the drywall can still cause cracks.
How long should joint compound dry between coats?
Drying time depends on compound type, layer thickness, temperature, and humidity. Some thin coats may dry overnight, while thicker applications or humid conditions require longer. Follow the product instructions rather than relying on a fixed schedule.
Why do cracks keep appearing along the same drywall joint?
Recurring cracks may indicate loose panels, framing movement, inadequate fastening, or failed drywall tape. Inspect the joint and its support instead of repeatedly applying fresh compound.
Final Thoughts: Getting a Smooth, Lasting Drywall Finish
Joint compound cracking often starts with application or drying problems, but recurring cracks may point to movement behind the drywall. Using suitable materials, applying thin coats, and allowing proper drying time helps prevent common finishing defects. Patch Pros of North Dallas can help identify the cause and restore a smooth, properly finished surface.