A wall can look acceptable in ordinary room lighting but reveal every flaw once paint goes on. Raised seams cast narrow shadows, shallow dents interrupt the finish, and thick patches create visible outlines. Painting over these defects rarely makes them disappear; it often makes the uneven surface easier to notice.
The repair depends on what is out of level. A dent, raised joint, and wall that bows between studs need different fixes. Inspect the surface before deciding whether to patch, feather, skim coat, or correct the installation. This prevents unnecessary compound buildup and repeated sanding.
Diagnose the Type of Unevenness First
Hold a straightedge against the wall and move it horizontally, vertically, and diagonally. Use a work light close to the surface to reveal shadows, ridges, and depressions. Mark defects lightly with a pencil, then check whether they are isolated finishing flaws or part of a wider change in the wall plane.
| What you find | Likely issue | Best starting point |
| Narrow raised line at a seam | Excess joint compound or poor feathering | Reduce the ridge and widen the feather |
| Small dent or shallow dip | Missing or compressed compound | Fill with thin coats |
| Bump over a screw | Proud or loose fastener | Reset the fastener and patch |
| Wide hollow across several feet | Uneven board or framing | Check with a longer straightedge |
| Repeated crack or moving joint | Movement, moisture, or failed attachment | Find the underlying cause first |
| Quick distinction: A finishing defect changes the surface texture. A framing or installation problem changes the wall plane. Joint compound can smooth the first; it cannot reliably straighten the second. |
Prepare the Wall and Choose the Right Materials
Cover the floor and protect nearby vents before sanding. Scrape loose paint and flaking compound without tearing the drywall paper. If the paper face is damaged, seal it with a suitable problem-surface sealer before applying compound to help prevent bubbling.
Most repairs need:
- Taping knives, joint compound, and a sanding sponge
- Straightedge, pencil, work light, primer, and dust protection
Do not coat a damp wall, soft drywall, or a stain that may indicate an active leak. Fix the moisture source and replace damaged board first; covering deteriorated material can lead to peeling or recurring stains.
Fix High Spots and Raised Joints
Raised seams often come from excess compound or poor feathering. Reduce the ridge gradually with a drywall knife or sanding block. Work carefully around the tape; cutting through it turns a surface correction into a larger joint repair.
Blend the area:
- Scrape or sand only the raised material. Keep the tool flat and avoid exposing the tape.
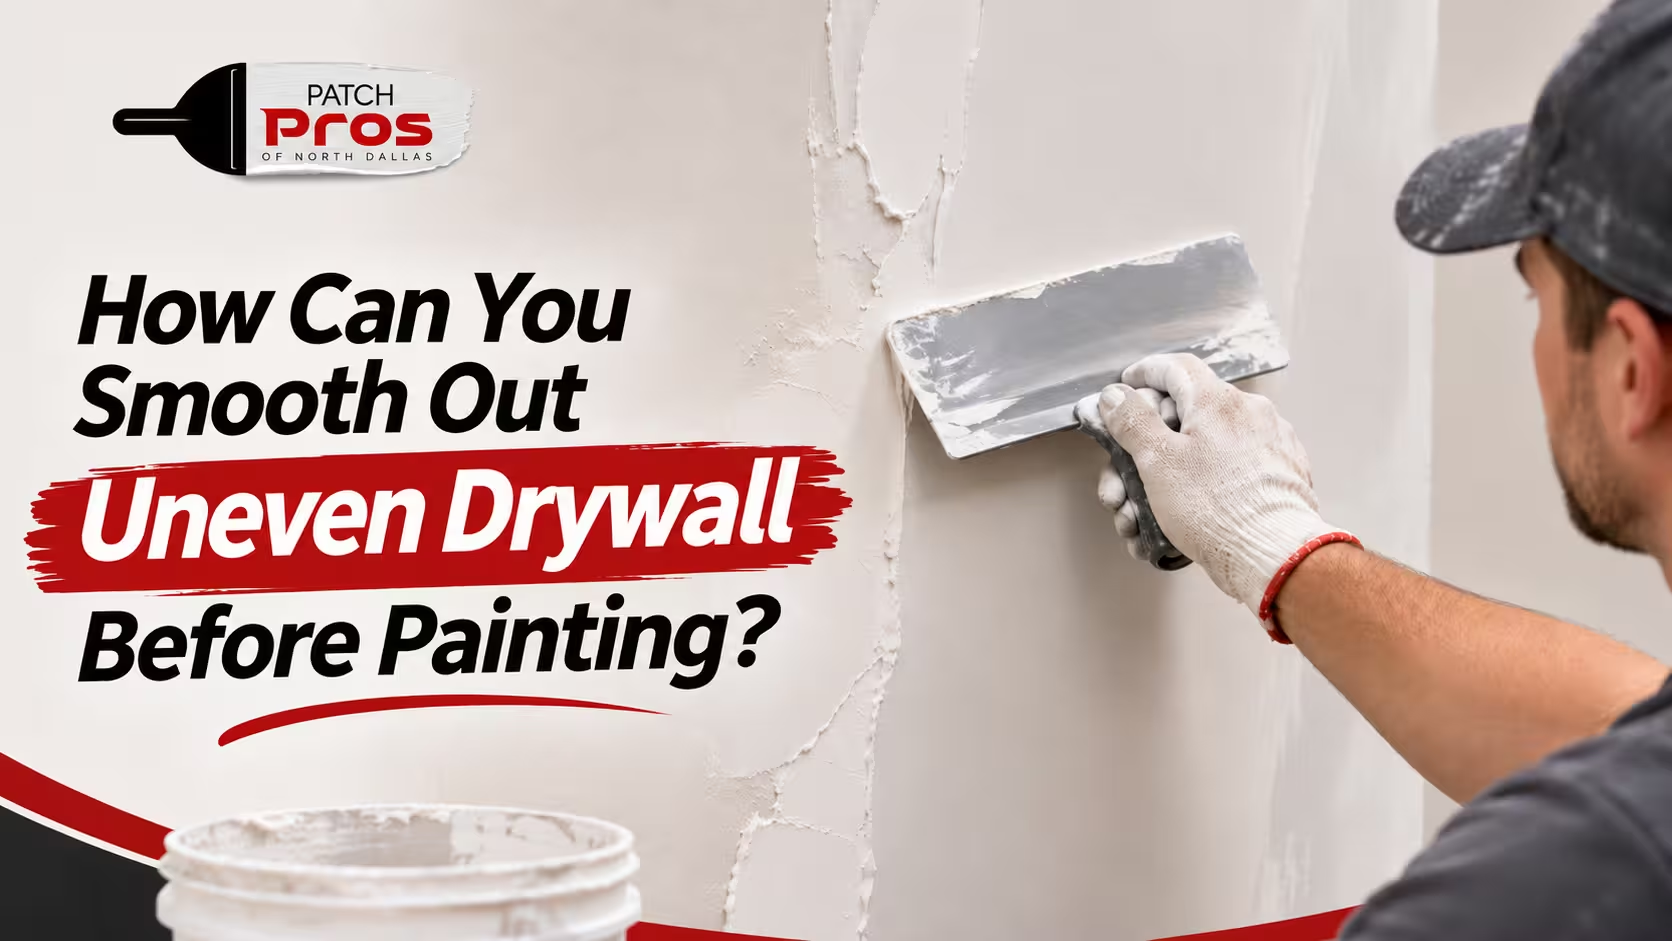
- Apply a thin coat of compound over the seam with a wider knife.
- Extend each edge beyond the previous coat to create a gradual transition.
- Let the compound dry as directed, then check the area with angled light.
- Add another thin coat if the ridge remains rather than applying one heavy layer.
Fill Dents and Low Areas
Fill a shallow dent rather than sanding aggressively. Press compound into the low area, then pull the knife across the surface to remove excess. Keep the first application thin because thick patches can shrink and leave a visible raised outline.
For a deeper depression, build the repair in separate coats and widen the edges each time. If the hollow covers a large section, check for loose drywall or uneven framing before adding more compound.
When to Skim Coat the Whole Wall
Spot repairs suit isolated defects. Many shallow dips, old patches, or inconsistent textures may leave a mottled surface when fixed separately. A skim coat spreads a thin layer of joint compound across a broader area to create a more consistent finish.
For example, a wall with several old patches and sanding marks may retain different textures after spot repairs. A thin skim coat can blend those transitions, provided the underlying drywall is secure and reasonably flat.
For a controlled skim coat:
- Work in manageable sections rather than spreading compound across the entire wall at once.
- Keep the layer thin and use overlapping passes.
- Use a steady knife angle to create a smoother finish without visible ridges.
- Allow the coat to dry fully before sanding or adding another pass.
A skim coat cannot fix a pronounced bow, loose board, or uneven studs.
Sand, Prime, and Inspect Before Painting
Sand only enough to remove ridges and knife marks. Keep a fine sanding screen or sponge flat to avoid cutting through the paper. Remove dust as the primer manufacturer directs so residue does not spoil the finish.
Before painting, check the wall under side lighting, feel for abrupt patch edges, and confirm seams are smooth. Allow the compound to dry fully before removing any remaining sanding residue. After priming, look again for patch outlines or uneven absorption.
Primer matters because compound and painted drywall absorb paint differently. Spot prime small patches; widespread repairs may need the full wall primed. Follow the product label and inspect again before painting.
When Uneven Drywall Needs More Than Compound
If a straightedge shows a broad bow or the wall moves when pressed, more compound will not solve it. Loose fasteners, uneven framing, damaged board, or moisture-related movement may require securing or replacing the drywall. Investigate recurring cracks instead of patching them again.
For larger defects, the repair decision should be based on the wall’s condition, not just how much compound is available. Patch Pros of North Dallas can assess whether the issue is limited to surface finishing or whether the drywall installation needs a more substantial correction.
Frequently Asked Questions
Can paint hide uneven drywall?
Paint may soften the appearance of very minor texture differences, but it will not reliably hide raised seams, dents, or broad low spots. Sheen and lighting can make defects more noticeable. Once the surface is even, prime it before putting on the final paint coat.
Should I skim coat the entire wall?
Not always. Skim coating is useful when shallow imperfections and patch marks cover a broad area. A few isolated dents usually need spot repairs. If the wall bows or moves, correct the underlying issue instead of covering it with compound.
How many coats of joint compound are needed?
How much work is needed depends on the defect’s depth and the extent of the damage. A small dent may need one or two thin coats, while a wide low area or joint may need several. Let each coat dry and inspect before adding more.
Do I need primer after repairing drywall?
Yes, repaired areas should be primed before painting because joint compound absorbs paint differently from finished drywall. For extensive repairs, priming the full wall may help create a more uniform surface. Follow the product instructions for coverage and drying time.
Final Thoughts: Match the Repair to the Wall
A smooth paint finish depends on fixing the actual cause of unevenness, not simply covering every flaw with compound. Check the wall plane, repair high and low areas with the right method, and inspect under angled light before painting. Patch Pros of North Dallas can help when surface repairs are not enough.