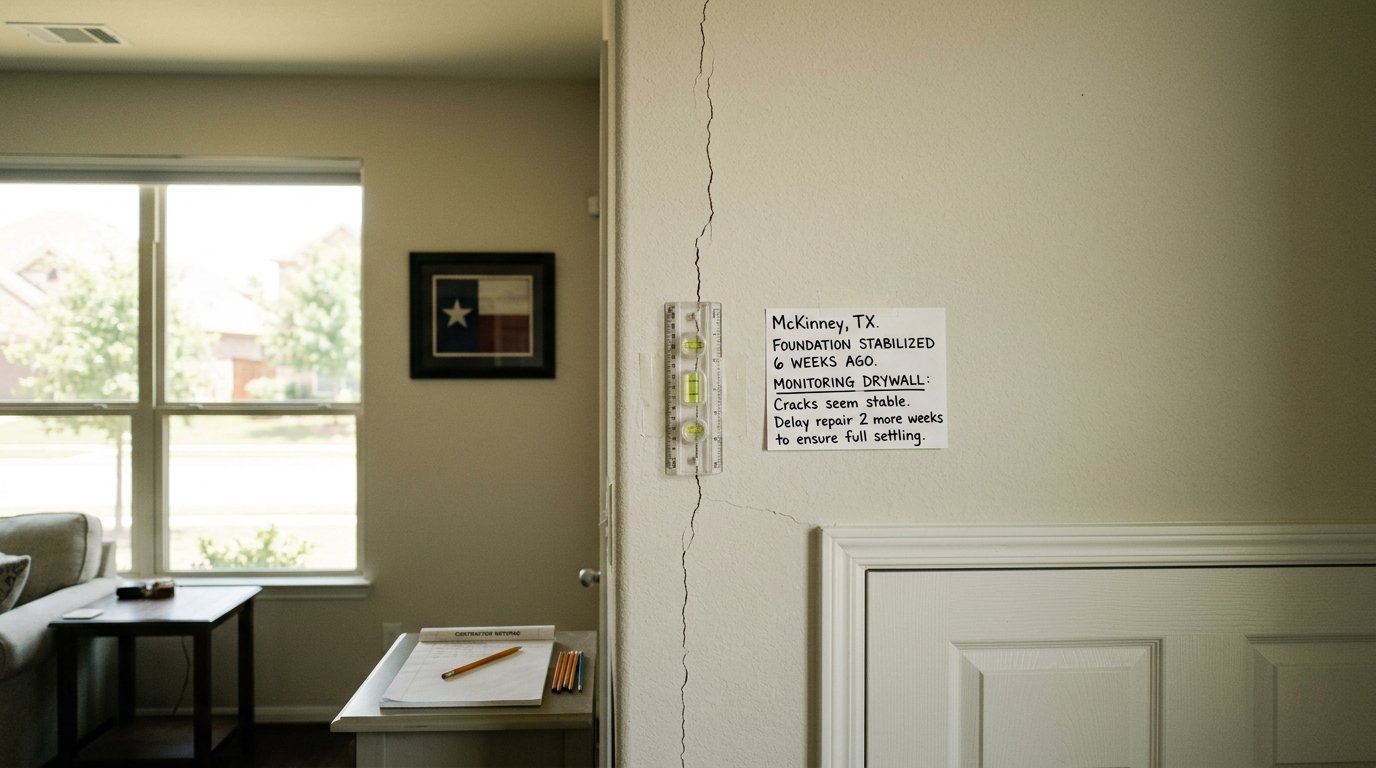
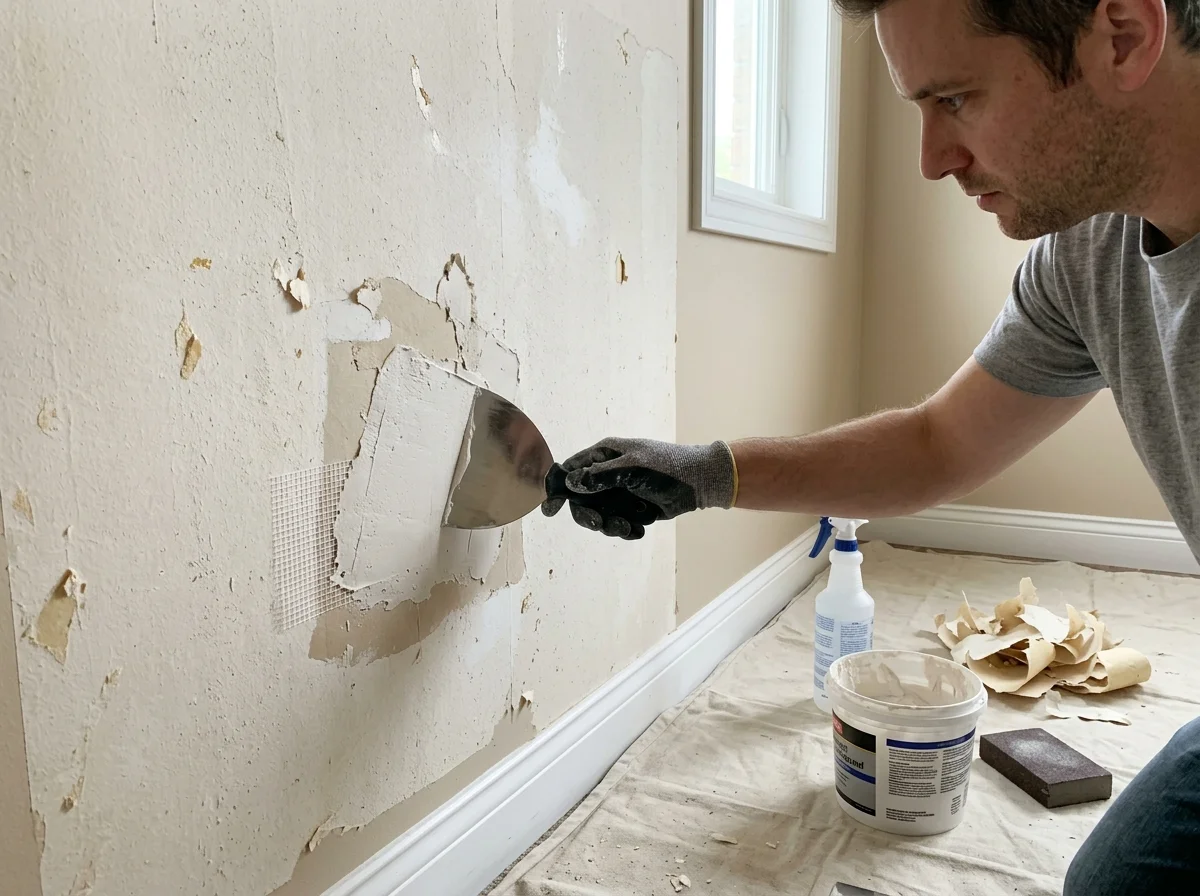
When it comes to wallpaper removal, it can completely transform the look of any Dallas home, but the wall underneath might not be ready for paint. Both the wallpaper adhesive and the removal of the paper can ruin the drywall facing and can leave residue.
This is why drywall repair after wallpaper removal is often necessary before painting. The right repair process will depend on the extent of the damage, whether drywall paper is exposed, or if there are holes, dents, cracks, or irregular sections of the wall.
There are also major temperature shifts and humidity levels in Dallas year-round. Dallas/Fort Worth has an annual normal precipitation of approximately 37 inches, and summer temperatures are commonly in the 90s. It is therefore crucial to prepare the surface properly if the interior walls are to be restored.
What Happens to Drywall During Wallpaper Removal?
Wallpaper is glued to the wall and can occasionally cause the thin paper facing on drywall to pull. If the wallpaper is securely attached or has been on the wall for years, strong removal methods may result in the exposure of the gypsum board beneath.
You may notice several types of wall damage after wallpaper removal, including:
- Torn or loose drywall paper
- Adhesive buildup
- Peeling layers
- Small holes and dents
- Gouges from scraping
- Uneven wall texture
- Exposed gypsum core
- Surface cracks
All damaged areas are not treated alike. If there is minor damage, the drywall may just need a skim coat; if the damage is extensive, it may need to be sealed, patched, or a portion of the drywall may need to be replaced.
Step 1: Remove Remaining Wallpaper Adhesive
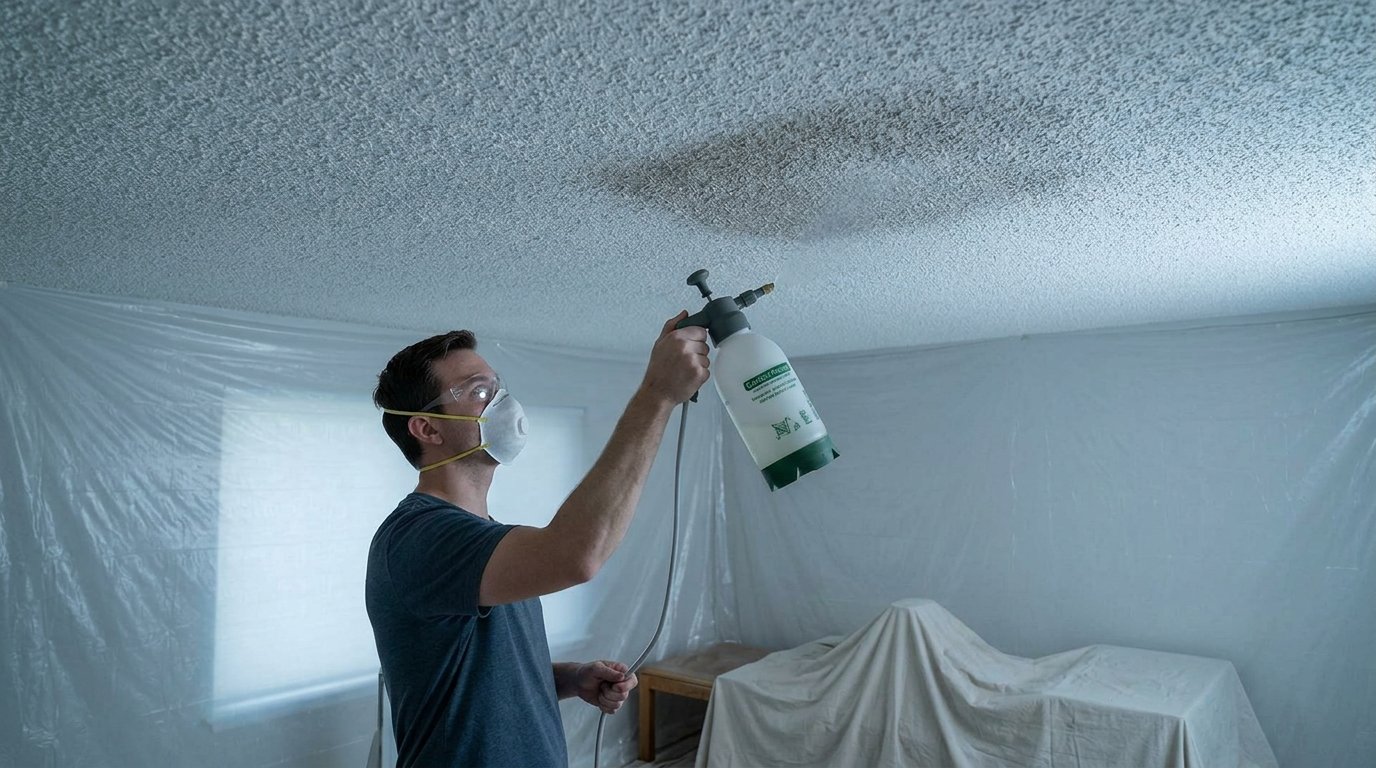
Try to clean up as much wallpaper paste as you can before fixing the wall. Adhesive residue can cause problems with joint compound, primer, and paint. Follow the instructions on the wallpaper remover and use it properly. Don’t aggressively scrape the wall, as it can start to rip through the drywall facing and make more tears.
After the adhesive has been removed, let the surface dry thoroughly. After that, you should be able to see the real condition of the wall instead of attempting to repair areas where there is residue still present.
Step 2: Inspect the Drywall for Damage
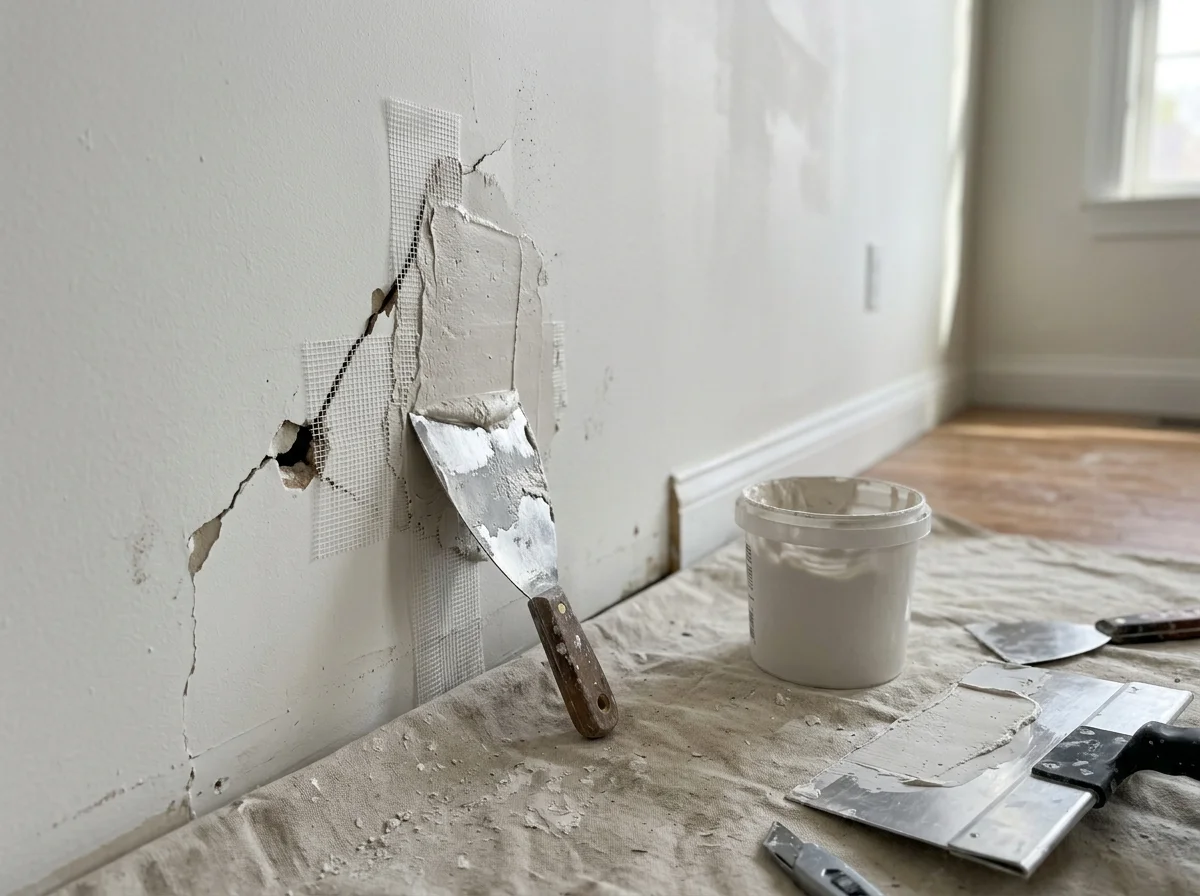
A thorough inspection helps determine what type of wallpaper damage wall repair is needed. Check carefully for loose drywall paper, exposed gypsum, soft spots, deep gouges, nail holes, and cracks. Look for other places around corners, seams, and places where the wallpaper might have been especially hard to remove.
Know When Damage Is More Serious
Before covering the drywall, check for moisture: if it is soft, swollen, or discolored. When it comes to water-damaged drywall, it’s not a good idea to just seal and paint the surface over the issue, as the root of the problem could be present. But in most cases of a normal wallpaper removal project, you will only have surface damage and can fix it without having to replace the wall.
Step 3: Repair Torn or Exposed Drywall Paper
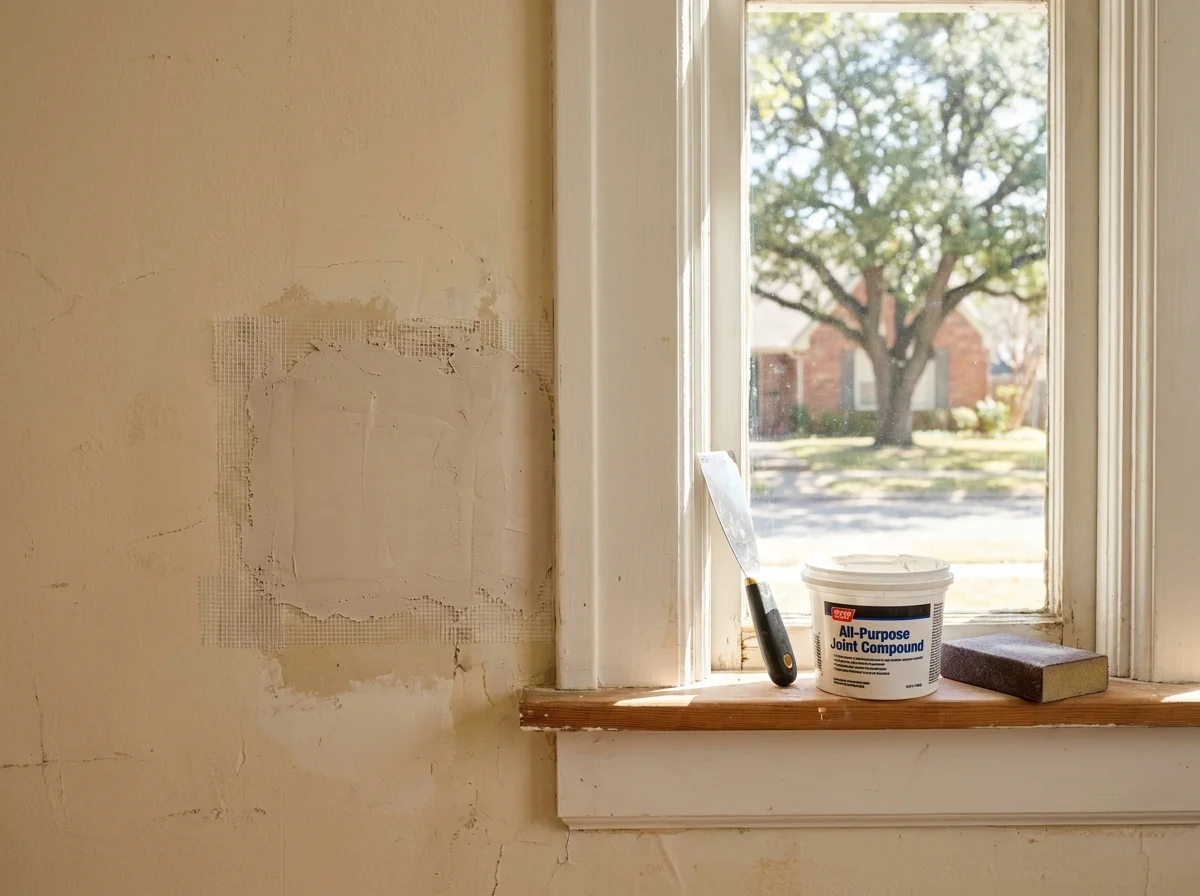
One of the most significant aspects of damaged drywall repair is tackling damaged drywall paper prior to using joint compound. Care needs to be taken to either remove or secure loose edges so that they do not continue to peel. When the gypsum core is damaged, the sealer or primer must be used correctly to close the damaged area first, and then the compound again.
Joint compounding over unstable or exposed drywall paper is important because the paper may bubble, peel off, or create other issues on the surface.
Why Sealing the Paper Matters
If the moisture content of a water-based compound or paint comes in contact with an exposed gypsum paper surface, moisture may be absorbed by the gypsum paper and cause it to become unstable. This is especially significant if you’re looking for a finished repair that will not show through paint.
Step 4: Fill Gouges, Holes, and Uneven Areas
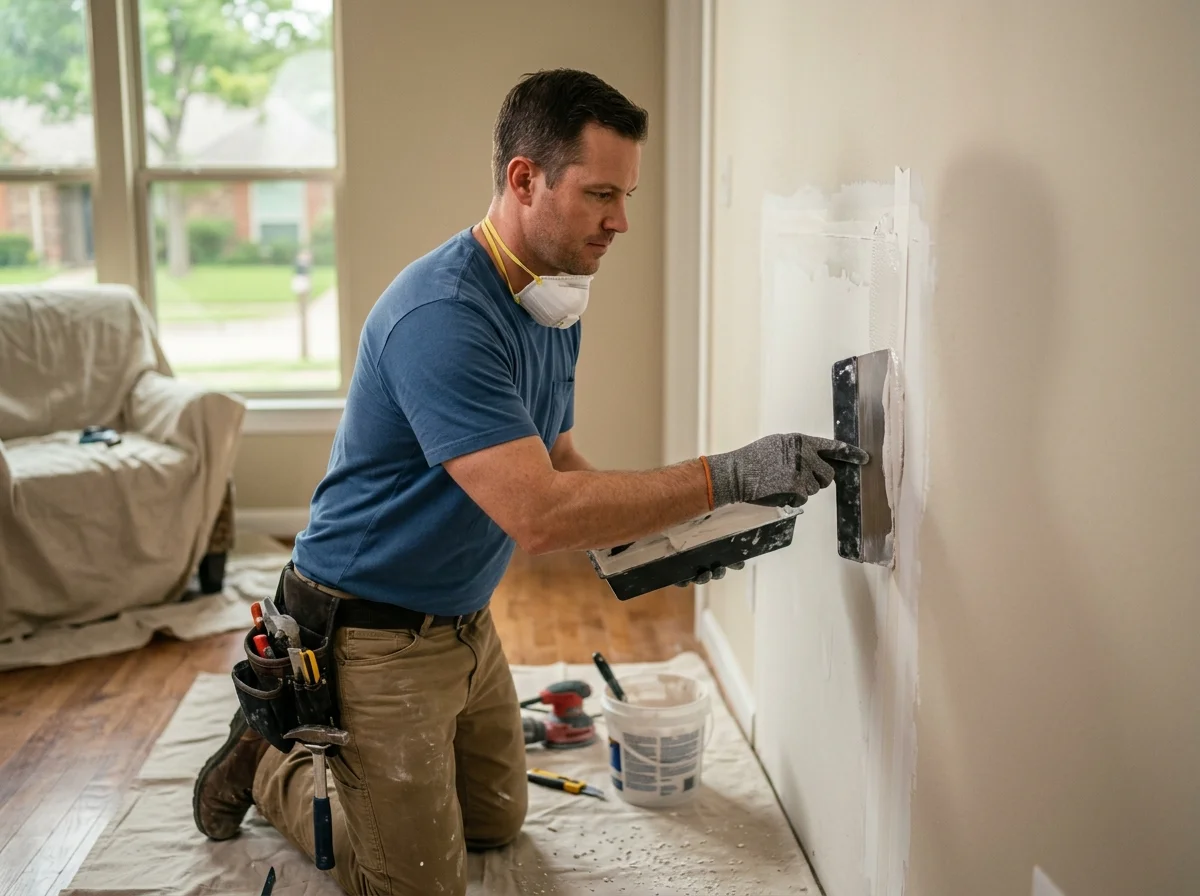
Once the paper has been stabilized, any other imperfections can be patched with an appropriate drywall mud or patching compound. The amount of compound needed will vary depending on how small the nail holes are and how shallow the dents are. If it is a larger hole or a damaged area, it may need a drywall patch, and depending on the size, it may need to be reinforced or replaced.
The goal is not simply to fill the damaged area. The repaired surface should blend in with the surrounding wall surface and should be hard to detect after paint is applied.
Step 5: Apply a Skim Coat When Needed
Sometimes, after removing wallpaper, entire wall surfaces are left with an odd, uneven texture and not just a few spots. In that situation, spot repairs may not be enough. A thin coat of joint compound is applied to a large area using a skim coat. It can be used to help fill in drywall that has been scraped when there are numerous texture differences, shallow drywall gouges, or an irregular area.
You may need more than one coat for extensive damage. All layers should be allowed to dry thoroughly between applications.
Step 6: Sand the Repaired Surface Smooth
Once the compound has dried, the repaired areas need careful sanding. The goal is to have an easy transition from the repair to the original drywall.
Do not sand too aggressively, causing more damage or re-exposing the drywall paper. Rather, use the proper sanding tool and progressively soften the surface until you are no longer able to feel the edge of the repaired surface.
Good sanding of drywall patches is especially important when the wall will receive a light-colored or satin paint, because imperfections can become more noticeable under certain lighting.
Step 7: Prime Before Painting
Don’t go from drywall repair to painting without taking any time for cleanup. By applying primer, you will create a uniform surface and minimize variations in absorption at the repair site and the existing drywall. Depending on the condition of the wall and the presence of adhesive, stains, or exposed paper, a suitable drywall or stain-blocking primer may be appropriate.
Check for Imperfections Before Painting
After priming, inspect the wall from different angles. Dallas homes can receive strong natural sunlight, and directional light can make shallow ridges or uneven patches much easier to see. If you notice remaining imperfections, correct them before applying the final paint.
How Long Does Drywall Repair After Wallpaper Removal Take?
The timeline depends heavily on the amount of damage. If you’ve only got a few trouble spots, you can fix those pretty fast. But if your walls have leftover adhesive and need sealing, several coats, sanding, and priming, you’re in for a longer process.
One thing you can’t rush is the drying time between coats. If you throw on another layer before the last one’s dry, you end up with bumps and headaches when you try to finish.
For a whole room with extensive wallpaper damage, expect the project to take longer than a basic drywall repair service involving a few small holes.
When Should You Hire a Dallas Drywall Repair Contractor?
You can get away with DIY for small stuff, but calling in a pro makes sense when wallpaper pulls off big patches of drywall paper or the whole wall needs to be resurfaced. A professional can determine if you need patching, skim coating, partial replacement, or even bigger fixes. They save you time, especially when you’re mixing different repairs all in one room.
Before you jump into repairs, be sure you don’t have a moisture issue hiding under the surface. If you cover that up, it’ll just come back later. For homeowners looking for a professional drywall repair service in North Dallas, Patch Pros of North Dallas can evaluate the damaged surface and determine the appropriate repair approach.
Does Every Wall Need Full Drywall Replacement?
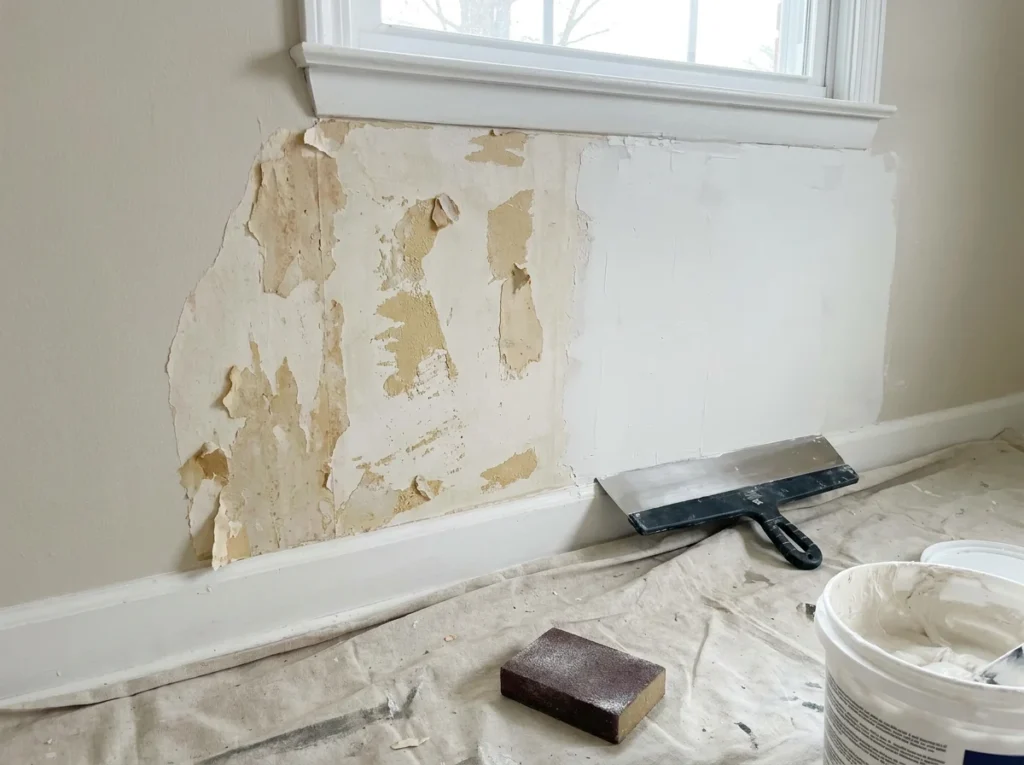
No. Wallpaper damage often looks worse than it actually is. If your drywall is still solid and the mess is only on the surface, stuff like leftover adhesive, small holes, cracks, or shallow gouges, repairs usually get it back in shape. Full replacement just makes sense when big sections are trashed, softened by moisture, or not worth saving.
The decision should depend on the condition of the existing drywall rather than automatically replacing the entire sheet.
Frequently Asked Questions
Can wallpaper removal damage drywall?
Yes. If the wallpaper is firmly stuck, peeling it away could strip the drywall’s paper surface, especially when you scrape too hard or apply excessive moisture. That leaves you with torn paper, exposed gypsum, gouges, and rough patches you’ll need to address before painting.
How do you fix drywall paper tears after removing wallpaper?
Start by clearing away all the loose bits and stabilizing the torn paper. Exposed spots usually need sealing before any joint compound goes on. Then you patch, skim coat, sand, and prime until it’s smooth enough for paint.
Can you paint directly after removing wallpaper?
Usually, no. You will likely have leftover adhesive, torn paper, gouges, and weird textures after getting the wallpaper off. Fix all that first, then prime. If you paint too soon, every flaw shows up even more.
What primer should be used on damaged drywall?
Depends on your wall. If you’ve got exposed drywall paper or stains, you’ll want a sealer or stain-blocking primer. Match the primer to the surface, and follow the directions when you apply it.
How do professionals fix walls after wallpaper removal?
They strip away adhesive, inspect the drywall, stabilize any torn paper, fill in deeper flaws, skim coat big uneven spots, sand it all down, and prime before they paint. The method shifts depending on how rough the wall is.
Final Thoughts: Restore Your Walls Before You Paint
Getting rid of wallpaper is just step one. If the walls are left with torn paper, sticky residue, gouges, or rough textures, you need proper repairs before you can think about paint.
For Dallas homeowners dealing with extensive wallpaper damage or multiple repair areas, Patch Pros of North Dallas can help determine whether the wall needs patching, skim coating, sealing, or more extensive restoration. Taking time to prepare the surface properly can make a major difference in the final appearance of your room.