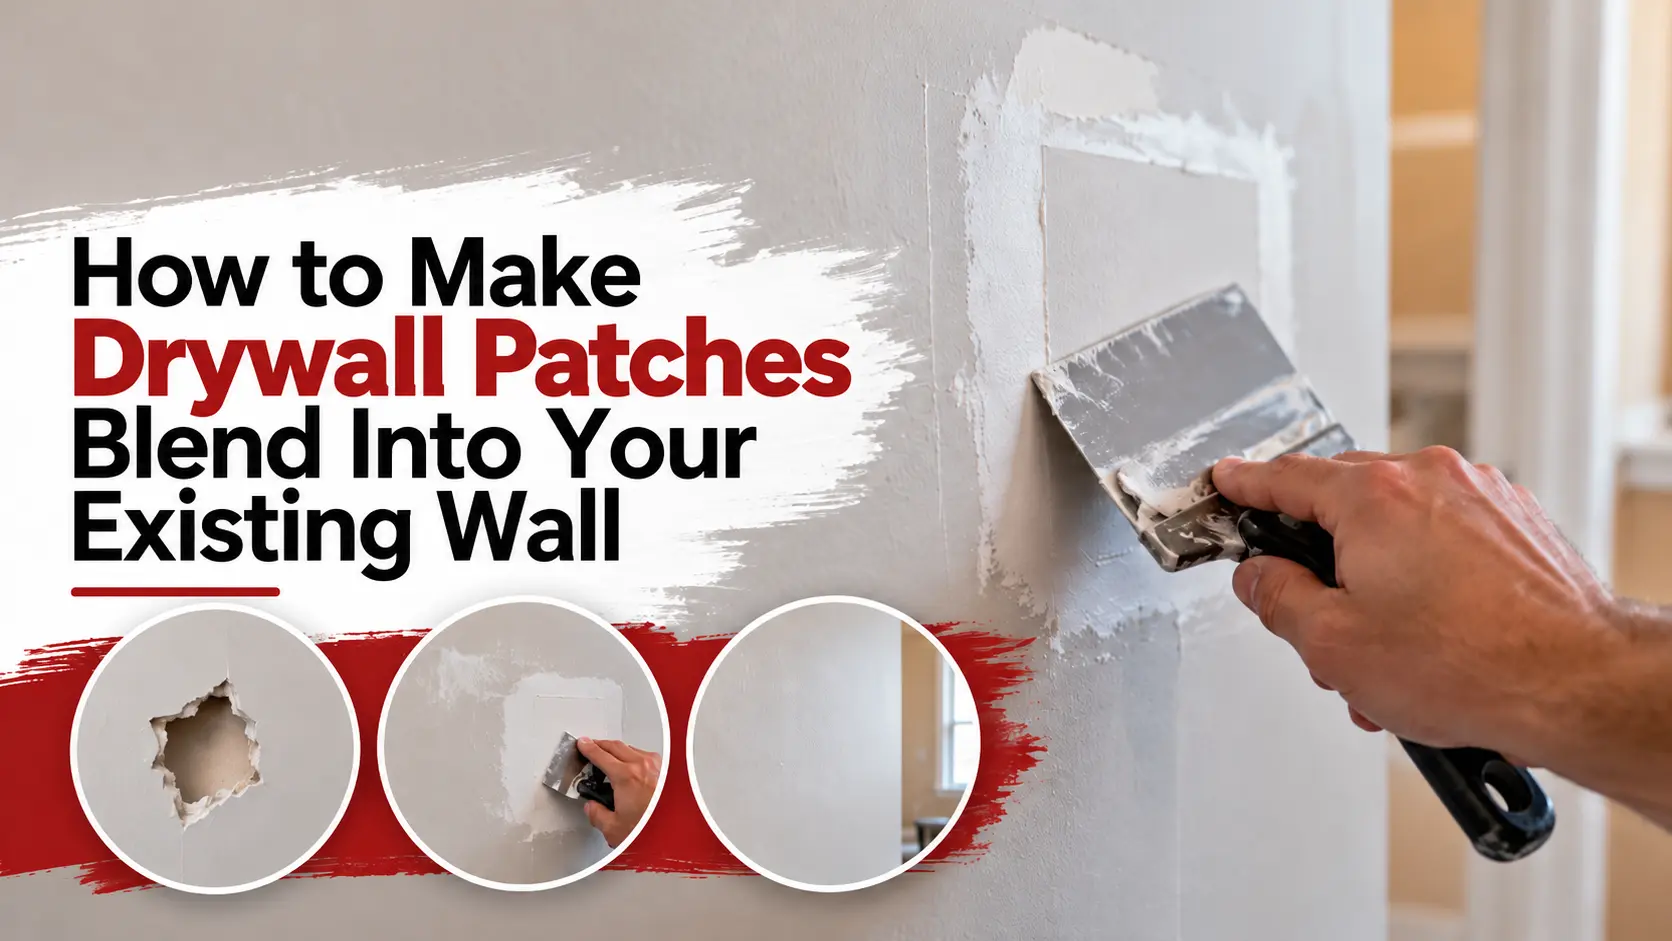
You finish repairing a hole, sand the joint compound, and apply fresh paint, only to discover that the patch still stands out. It might look shinier than the surrounding wall, show a faint outline, or reflect light differently. These problems are common when the repair is smooth, but the surface preparation and painting are incomplete.
Learning how to paint repaired drywall properly means treating the patched area and the existing wall as one continuous surface. With the right primer, texture, paint sheen, and application technique, you can achieve a much more seamless finish.
Why Drywall Patches Remain Visible After Painting
Paint does not automatically conceal differences between fresh joint compound and an older painted wall. Compound absorbs moisture differently, while variations in surface height and texture change how light reflects across the finish.
| What you notice | Likely cause | Best correction |
| Dull or flat-looking patch | Primer was skipped, or absorption is uneven | Prime the repaired area |
| Visible ring around the patch | Repair edges were not feathered | Sand and smooth the transition |
| Shiny spot after drying | Paint sheen or application differs | Match the finish and repaint consistently |
| Bumpy or rough surface | Dust, ridges, or texture mismatch | Sand, clean, and recreate the texture |
| Patch shows under side lighting | Uneven surface or raised edges | Inspect with angled light and correct imperfections |
Identify the problem before adding another coat. More paint may improve coverage, but it will not level a ridge or recreate missing wall texture.
Prepare the Repaired Surface Before Painting
A smooth finish begins with careful preparation, not the paint roller. Make sure the joint compound has dried completely according to the product instructions. Thick applications may need longer than thin finishing coats.
Once dry, hold a work light close to the wall and shine it across the repaired area. This side-lighting technique reveals shallow dips, scratches, and raised edges that ordinary room lighting can hide.
Sand the patch without damaging the drywall
Use a fine-grit sanding sponge to smooth the repair and feather its edges into the surrounding wall. Avoid aggressive sanding, which can expose drywall paper or damage the joint tape.
If you find small depressions, apply another thin layer of joint compound, allow it to dry, and sand again. Afterward, remove dust with a vacuum brush attachment or soft brush. Dust left on the wall can interfere with primer adhesion and create a gritty finish.
Prime Repaired Drywall to Prevent Flashing
Flashing occurs when a repaired section looks different from the surrounding painted surface, often because the materials absorb paint unevenly or reflect light differently. Fresh joint compound is particularly absorbent, making primer an essential part of painting patched walls.
Choose a drywall primer designed for new joint compound. Apply it evenly across the repair and slightly beyond the edges, following the manufacturer’s coverage and drying instructions. Do not confuse ordinary patching with water damage. If the repair followed a leak, resolve the moisture problem and confirm the wall is dry before painting. Water stains may require a suitable stain-blocking primer rather than standard drywall primer.
Match the Existing Wall Texture Before Applying Paint
Even a perfectly sanded repair can remain visible when its texture does not match the rest of the wall. A smooth finish, orange-peel texture, and knockdown texture each scatter light differently.
For a smooth wall, concentrate on keeping the patch level and its edges invisible. For a textured wall, recreate the surrounding pattern using a compatible texture product and suitable application tool. Let the texture dry completely before priming and painting.
Test an unfamiliar texture technique on scrap material first. Trying to hide a texture mismatch with extra paint usually makes the surface heavier without making it more consistent.
Choose the Right Paint, Roller, and Sheen
Whenever possible, use the original paint or confirm its brand, color, and finish from the can. Matching the color alone is not enough: flat, eggshell, satin, and semi-gloss finishes reflect different amounts of light. A paint store may be able to match a sample, but older painted walls can fade over time. That means a newly mixed color might still look different beside the existing finish.
For application, select a roller nap appropriate for the wall’s texture. A smoother wall generally needs a shorter nap than a heavily textured surface. Use a brush for corners and edges, then roll the surrounding area consistently to avoid leaving a visible border.
Apply Paint in a Way That Blends the Repair
Follow this sequence for a more uniform finish:
- Stir the paint thoroughly. Make sure the color and finish are consistent throughout the can.
- Paint beyond the patch. Avoid creating a sharply defined painted circle around the repair.
- Use thin, even coats. Heavy application can leave ridges, roller marks, or uneven sheen.
- Maintain a consistent rolling pattern. Use similar pressure and finish each section in the same direction.
- Allow the first coat to dry. Check the appearance under normal lighting before applying the next coat.
- Add a second coat if needed. Follow the product label and reassess coverage after drying.
For small repairs, these steps may be enough. For larger patches, aged paint, or walls exposed to strong window light, repainting the entire wall from corner to corner often produces a more consistent result.
What Dallas Homeowners Should Know About Painting Conditions
Dallas summers can make indoor painting conditions less predictable, especially when air conditioning runs frequently, or a room becomes unusually warm. The National Weather Service’s 1991-2020 Dallas-Fort Worth climate normals report average July and August highs of 95.6°F and 95.8°F, respectively, with approximately 20 days per year reaching 100°F.
These are outdoor climate averages, not recommended indoor painting temperatures. The practical lesson is to control indoor conditions and follow the paint and primer labels. Keep the room within the manufacturer’s specified temperature and humidity ranges, and avoid directing strong airflow straight at a freshly painted wall.
Do not judge readiness by touch alone. A surface can feel dry before the coating has fully cured.
Final Inspection: Check These Details Before Calling It Done
Before putting away your supplies, inspect the wall from different angles and under both daylight and artificial lighting.
- The patch feels level with the surrounding wall.
- No sanding dust, pinholes, or raised edges remain.
- Primer covers the repaired compound.
- The wall texture matches the surrounding surface.
- Paint color and sheen look consistent after drying.
- No obvious roller marks or hard paint borders remain.
If a patch is still visible after two finish coats, stop and identify the cause. Repeatedly applying paint without correcting the underlying issue can waste material and make the finish less uniform.
Frequently Asked Questions
Can I paint over a drywall patch without primer?
It is not recommended. Unprimed joint compound can absorb paint unevenly, leaving a dull or noticeable patch. Use a compatible drywall primer before applying the finish coats.
How many coats of paint does a drywall repair need?
Most repairs need primer followed by one or two finish coats, depending on the paint, coverage, and surrounding wall. Follow the product instructions and evaluate the finish after each coat dries.
Why does my patch look shiny after painting?
The sheen may not match the surrounding wall, or the paint may have been applied unevenly. Confirm the finish type and use consistent application techniques. Large or prominent repairs may require repainting the entire wall.
Final Thoughts: Make the Repair Blend Into the Wall
A seamless drywall repair depends on more than choosing the right paint. Proper sanding, dust removal, primer, texture matching, and consistent application all contribute to a finish that looks natural. If the patch keeps showing through, Patch Pros of North Dallas can correct the underlying issue and deliver the smooth, seamless finish your wall needs.