
So you’re looking at your ceiling and thinking this popcorn stuff has got to go. It’s ugly. It’s outdated. Dust gets trapped in it constantly. You’re tired of looking at it. I get it. A lot of people reach this point. They want a clean, modern ceiling that doesn’t look like something from 1987. The question becomes, do I try to do this myself or hire someone?
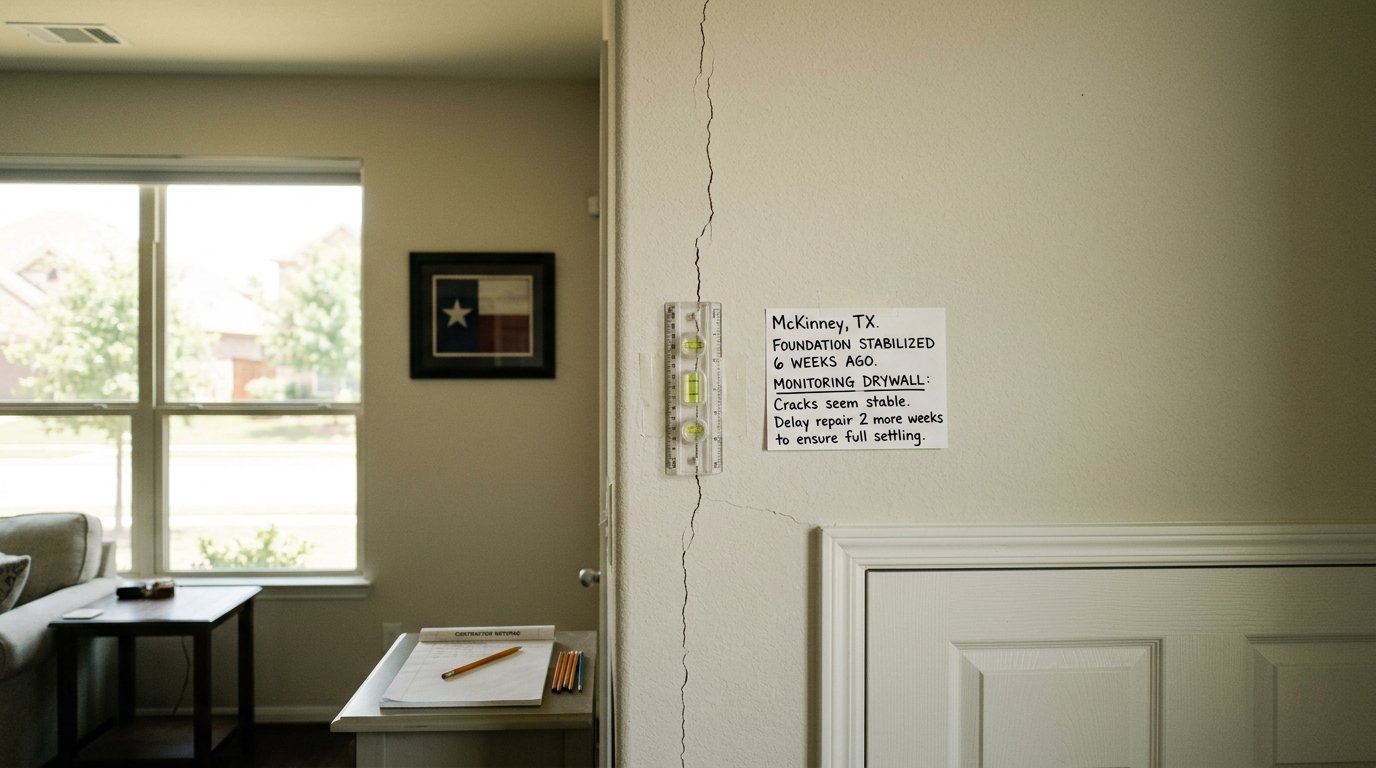
This guide walks you through what actually happens when you remove popcorn ceiling. Not the pretty version you see in videos where everything goes smoothly. The real version where you’re covered in dust, standing on a ladder for hours, and wondering halfway through why you didn’t just call a contractor. We’re going to talk about how do I remove popcorn ceiling, what tools you need, what can go wrong, and how to finish it properly so it actually looks good when you’re done. Ceiling texture removal is one part of professional drywall repair in McKinney, which can also involve water damage, cracks, loose seams, holes, and damaged ceiling drywall.
Testing Your Ceiling Before You Touch Anything
The first and most important thing you need to do before you even think about scraping is get your ceiling tested. I’m serious about this. If your house was built before 1989, or especially if it was built in the 1960s, 1970s, or 1980s, there’s a real possibility your popcorn ceiling contains asbestos. This isn’t something to guess about or ignore. You need to do ceiling testing on older homes because asbestos is genuinely dangerous when you disturb it.
The testing process is simple and not expensive. You collect a small sample of the texture, put it in a bag, send it to a lab, and they analyze it. Takes a few days. Costs around two hundred dollars. Absolutely worth it. If the test comes back positive, you have different options and different procedures to follow. If it comes back negative, you can proceed with removal knowing you’re safe. Don’t skip this step. Don’t assume it’s fine. Get it tested if your house is older.
What You’re Actually Looking At
The ceiling you’ve got is called popcorn ceiling but technically it’s acoustic ceiling texture sprayed onto drywall. It’s basically a coating that gets sprayed on in a thick, bumpy pattern. The reasons people originally put this stuff up were legitimate enough at the time. It absorbed sound. It hid imperfections in the drywall underneath. It was cheap to install. Nobody cared what it looked like as long as it worked.
Now, decades later, people want it gone because tastes have changed and honestly, it just looks dated. Before you start scraping, check whether your popcorn has been painted over at some point. If someone painted your painted popcorn texture white or whatever color, removal becomes significantly harder. Paint seals the texture. Water doesn’t penetrate as well. You can’t just spray and scrape like you could with unpainted popcorn.
If it’s painted, you’re looking at either a tougher removal process or maybe deciding to hire someone else to handle it. Look at your ceiling carefully. Is it the original texture color? Or does it look painted and crisp? That matters for how you’ll proceed with scraping and water application.
Preparing Your Room For The Mess
Here’s something people underestimate: this project creates a tremendous amount of dust and mess. Your room is going to be absolutely destroyed during this process. I mean that literally. There will be texture dust everywhere. Ceiling pieces will fall. Your floors will be covered. Your furniture will have a layer of dust if you don’t protect it properly.
You need to do floor protection before you start anything. Get plastic sheeting and tape it down. Cover everything on the ground. Move your furniture out of the room if you can. If you can’t move it, cover it completely with plastic sheeting or tarps. This isn’t optional. This is essential.
You also need to think about furniture protection because dust will find its way into crevices and fabric and places you never expected. Open your windows. Turn on fans. Create airflow out of the room. You want the dust leaving the space, not settling back down. This isn’t just about comfort while you work. It’s about managing the dust.
Getting Started With Wet Removal
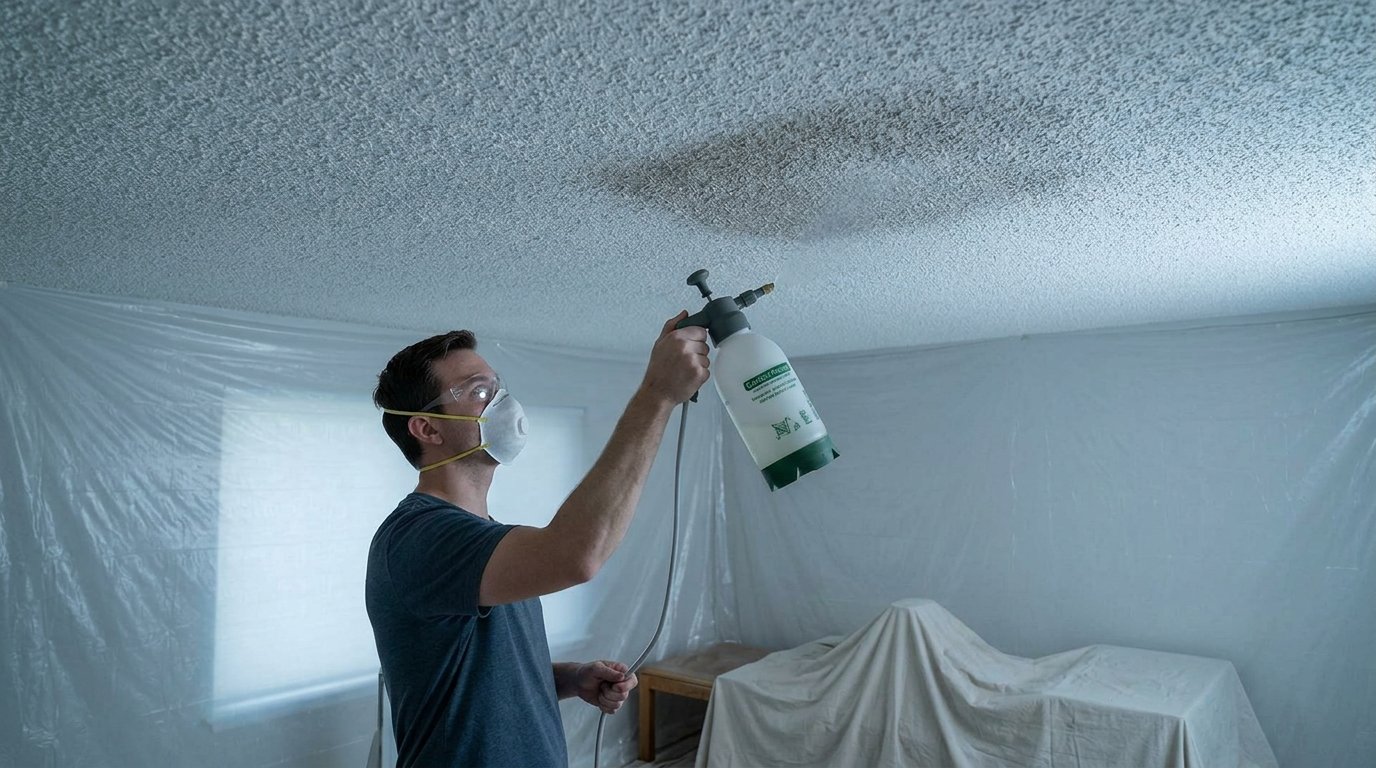
The actual removal part is where the work begins. Most professionals use wet removal because it works better than dry scraping. When you spray water on the texture first, it softens it up. The texture absorbs the water and becomes easier to scrape off. Dry scraping without water is harder because the texture is crispy and doesn’t want to come off cleanly.
You end up working harder for worse results when you skip the water step. Get a spray bottle or a pump sprayer. You’re not trying to soak the ceiling. You’re not flooding it with water. You’re just dampening the texture so it softens up enough to scrape. Spray a section. Let it sit for about five to ten minutes.
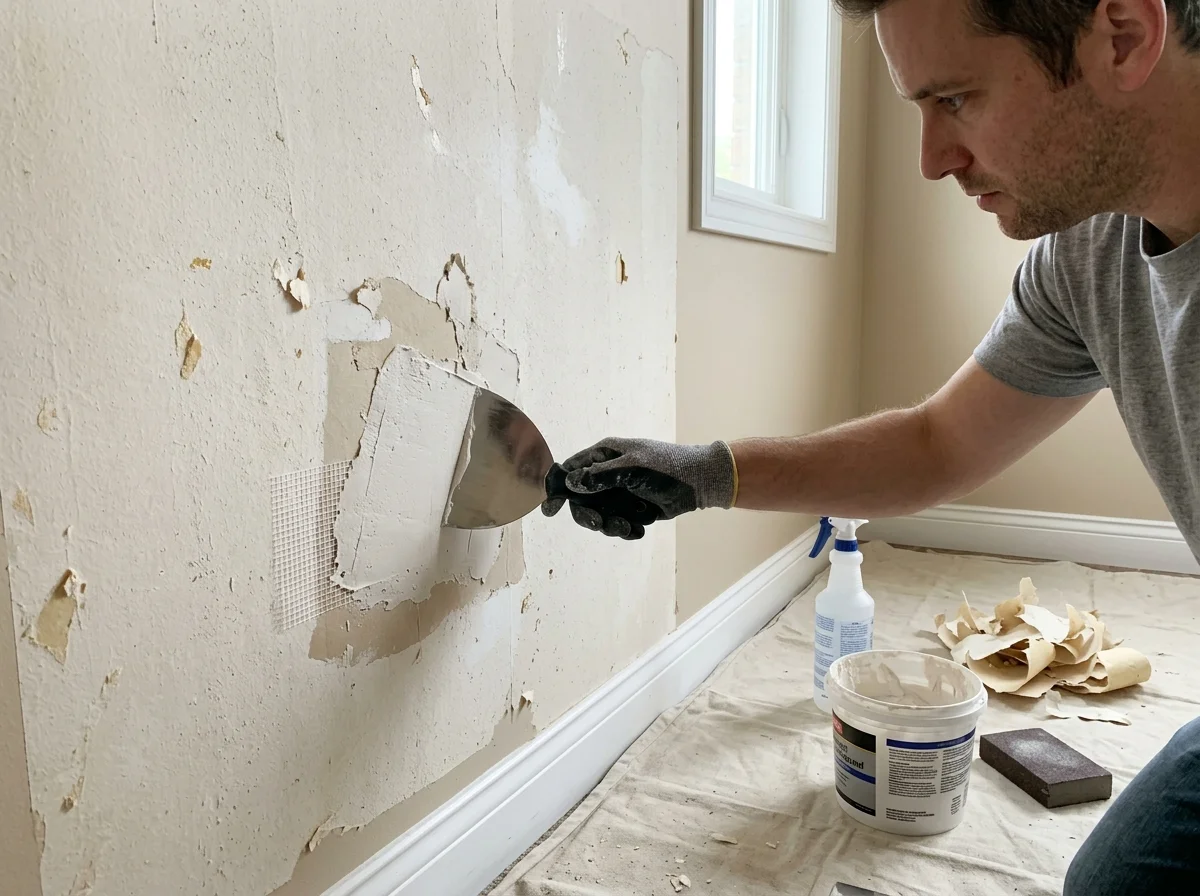
The water soaks into the popcorn texture and makes it pliable. Then grab your putty knife or ceiling scraper. Start scraping. You’ll feel the difference immediately. The softened texture comes off much easier than dried-out texture. This process makes the whole job significantly faster and easier on your arms and shoulders.
The Actual Scraping Process
This is where people get tired and frustrated. Ceiling scraping is not skilled work. It’s not difficult work. It’s just tedious, repetitive work that takes forever. You’re up on a ladder. You’re spraying sections. You’re waiting. You’re scraping. You’re moving the ladder. You’re doing it again. And again.
Get yourself a wide blade scraper because a narrow one will take you forever. Put light pressure on the blade. You’re not trying to gouge out the drywall. You’re just scraping the texture off. Let the weight of the scraper and the softened texture do the work for you. Push slowly. Don’t rush.
Rushing is how you end up with gouged and damaged drywall underneath. Some texture comes off in big chunks and satisfies you. Some texture fights you and crumbles and takes forever. That’s just how it goes. Be patient. Work methodically through the room. Don’t try to do the entire ceiling in one day.
This takes time. Your arms and shoulders will get tired. That’s normal. Take breaks. Hydrate. Keep going. Eventually, you’ll finish and the texture will be gone. The hard part is done at this point.
Dealing With Damaged Drywall Underneath
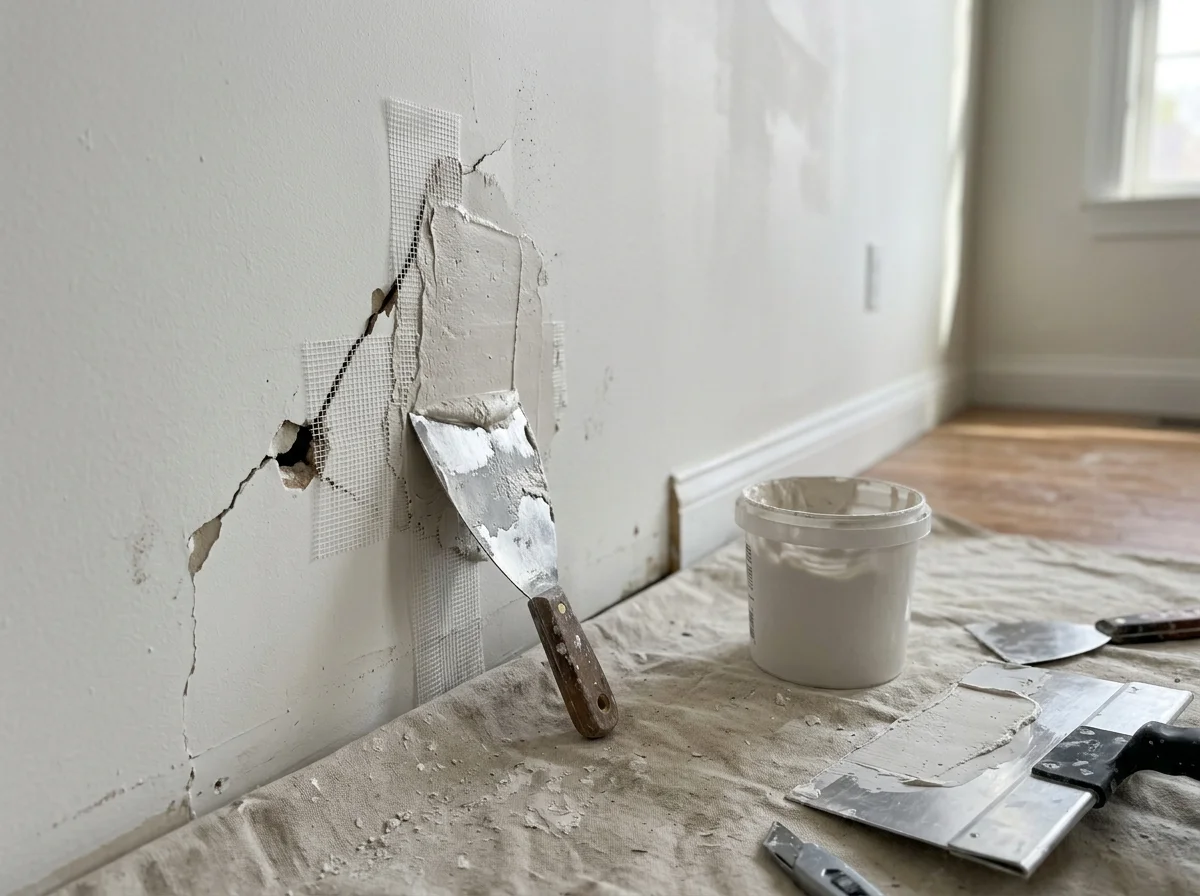
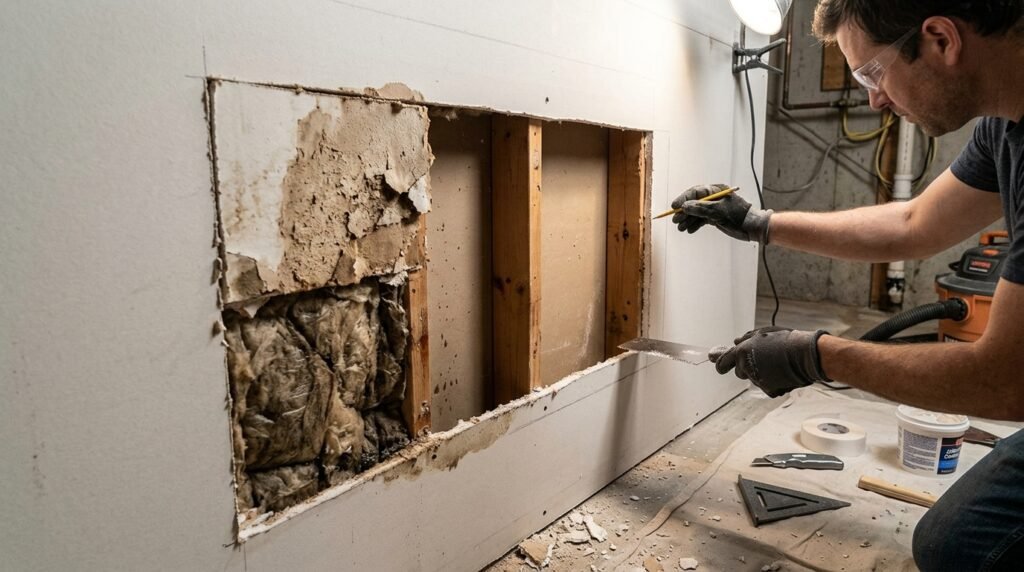
Once you scrape off all that texture, you’re going to see the drywall underneath. And it probably won’t look great. The drywall will be rough. Rough drywall seams will be visible where the sheets meet. You’ll see gouges and scrapes from where you weren’t perfectly gentle during scraping.
This is the part that separates a mediocre ceiling job from a good one. Some people see this rough ceiling and get discouraged. Some people think they can just paint over it and be done. That’s a mistake. If you paint over rough drywall, you’ll see every imperfection.
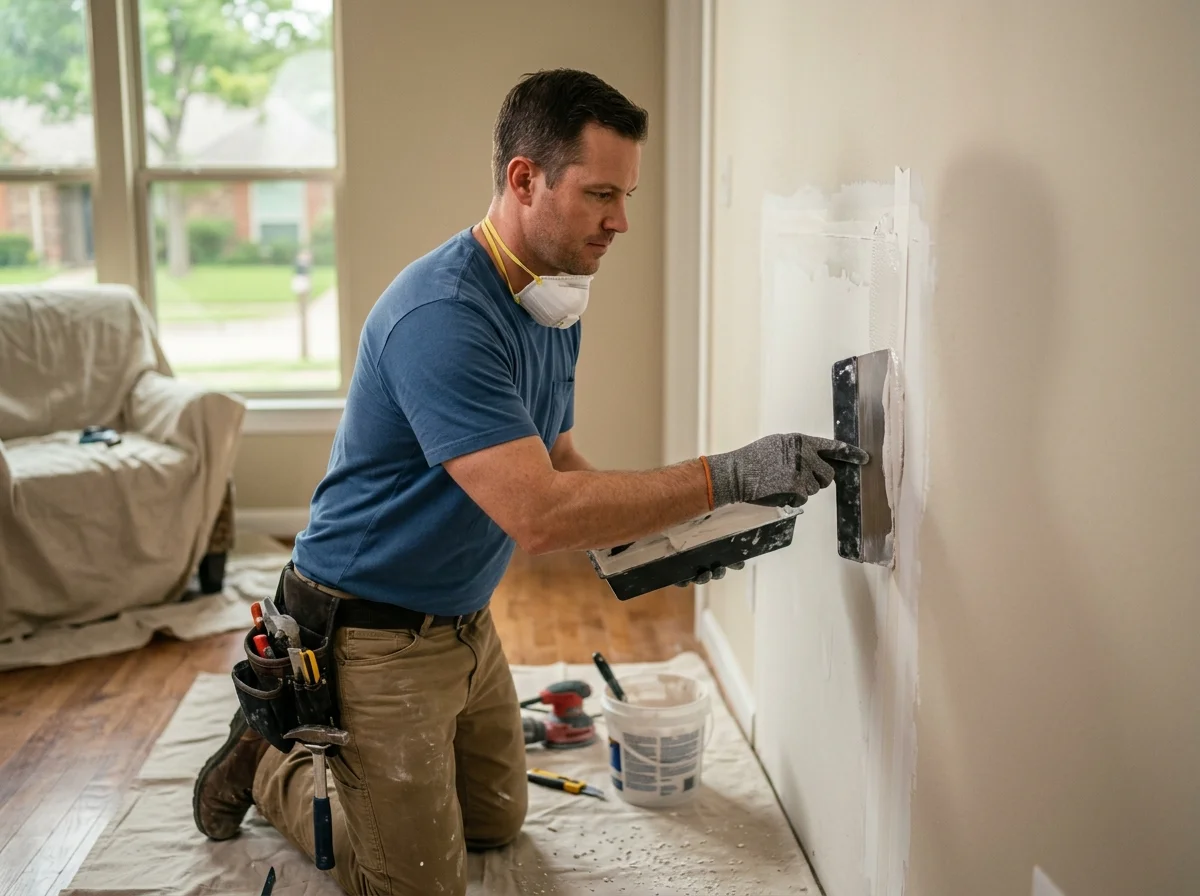
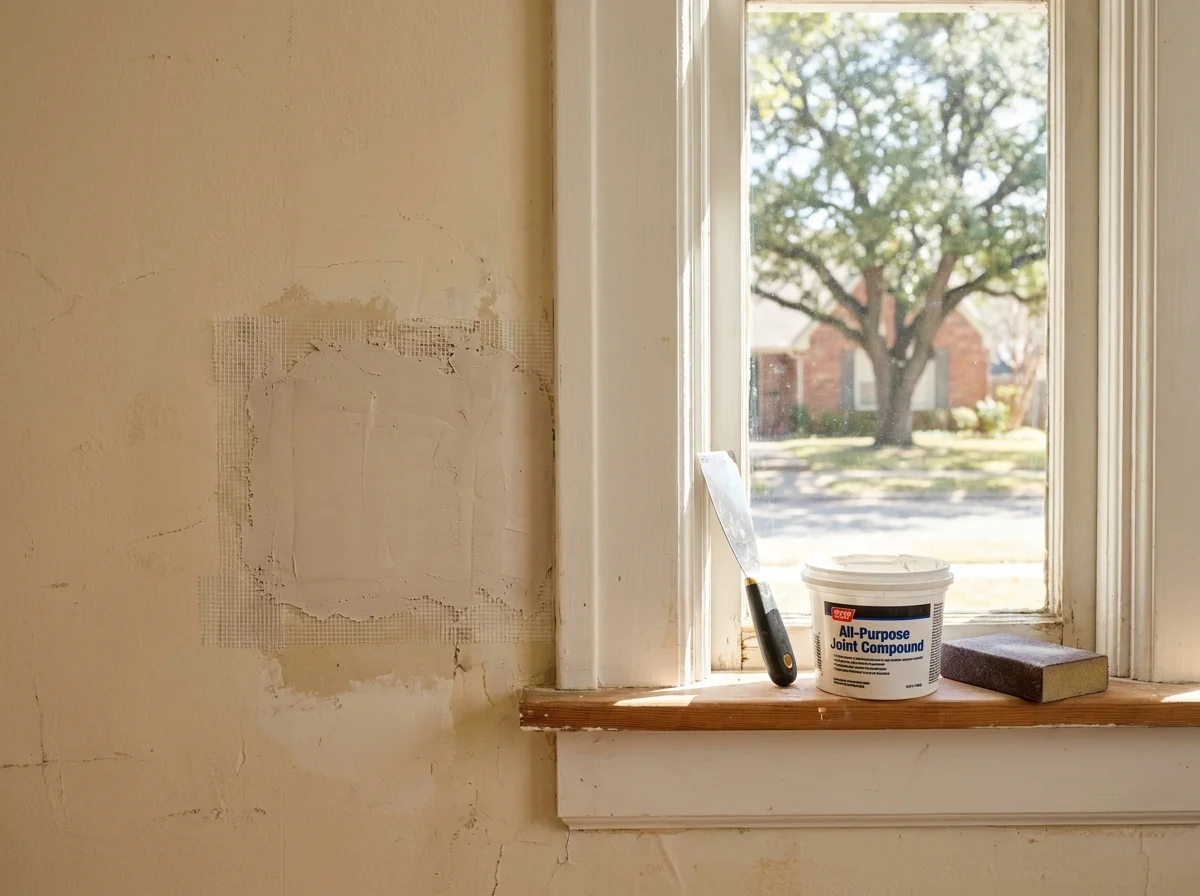
You’ll see seams. You’ll see gouges. You’ll see dust particles. The finish will look terrible. This is where you need to do the actual finishing work. This is where skim coating comes in. Skim coating means applying thin layers of joint-compound over the entire ceiling to smooth it out. If scraping leaves deep gouges, torn drywall paper, exposed seams, or larger damaged areas, professional drywall repair services may be needed before the ceiling can be skim coated, primed, and painted.
The Skim Coating Phase
The finishing process starts with thin layers of joint-compound applied to your ceiling. You mix the compound according to the instructions. You get a drywall knife. You apply a thin layer to the ceiling. And I mean thin. You’re not slathering it on. You’re spreading it in a thin, even layer across the entire ceiling.
You let it dry completely. Then you sand it smooth. Then you apply the next thin layer. Then you sand again. You repeat this process multiple times until the ceiling is smooth and even. This is tedious work. This is standing on a ladder work. This is dust-creating work.
But it’s absolutely necessary. Sanding between coats is mandatory because you can’t apply a smooth second coat over a rough first coat. You need that surface smooth before the next layer goes on. Wear a dust mask when you’re sanding. Wear goggles.
Drying Time And Patience
The dust gets everywhere when you’re sanding between coats. This whole phase of the project takes longer than the scraping phase because each coat needs to dry and then be sanded. Don’t rush the drying time. Wet compound takes time to cure. If you apply the next coat before it’s dry, you’ll have problems. The compound won’t set properly and your ceiling will look bad.
Most joint-compound dries in about twenty four hours depending on thickness and humidity. Don’t try to speed this up. Let it cure completely. Check the bag instructions for exact drying times. Some compounds dry faster than others. After it dries, sand it smooth before applying the next coat. This patience matters.
Deciding What Finish You Want
After you’ve skim coated and sanded your ceiling smooth, you need to decide what you actually want the final surface to look like. Some people want a completely smooth ceiling finish. That’s the minimalist, modern look. Clean lines. No texture. Just smooth drywall painted. The problem is that smooth ceilings show every imperfection.
Every dust particle shows. Every tiny spot shows. Your skim coating has to be absolutely perfect or the flaws will be obvious. Other people go with knockdown texture. This is textured but way lighter and subtler than popcorn. You spray on the knockdown material, let it set slightly, then flatten it down with a knife.
This creates a textured look that’s contemporary and hides minor imperfections better than smooth does. Knockdown is easier to execute than smooth and usually looks good. Some people, honestly, just want popcorn back on their ceiling because they liked the acoustic properties. You can spray new popcorn texture on after you’ve prepared everything.
Priming Your Ceiling
Once you’ve decided on your finish and applied it, you need to prime the ceiling before you paint it. Ceiling priming is not optional. It’s essential. Primer seals the drywall. It prevents bleed-through. It helps your paint stick properly. It makes the painting phase go faster and easier.
Use primer specifically made for ceilings. Don’t use wall primer. Ceiling primer is formulated differently. It flows better. It covers better when you’re working overhead. Apply the primer with a roller on an extension pole so you don’t have to stand on a ladder forever. Let the primer dry completely before painting.
Painting Your Finished Ceiling
Post-removal painting comes after the primer dries completely. Use ceiling paint, not wall paint. Ceiling paint is thicker and formulated to flow and cover properly when applied overhead. Wall paint runs and drips when you use it on ceilings. That’s not what you want up there. You typically need two coats of paint.
One coat looks thin and spotty. Two coats looks finished and complete. Let each coat dry fully before applying the second coat. Your ceiling will be done. It’ll look clean. It’ll look modern. It’ll look finished. All that work gets covered by this final step where paint makes everything look polished and complete.
When To Just Hire Someone Instead
Here’s the honest truth about this project. It’s not complicated. It’s not technically difficult. It’s just tedious, dusty, time consuming work that requires patience and physical effort. If you’ve got a weekend free and you don’t mind being covered in dust and standing on a ladder for hours, go ahead and DIY it.
But your time has value. If you’d rather spend your weekend doing literally anything else, hiring a contractor makes sense. Popcorn ceiling removal contractors exist specifically because this project sucks to do yourself. Popcorn ceiling removal services do this work constantly. They’re fast at it. They have equipment. They handle the dust efficiently.
You come home to a clean room with a finished ceiling. That’s worth paying for if you can afford it. The cost to remove a popcorn ceiling yourself is just materials. Maybe two to three hundred dollars for all the supplies. Professional popcorn ceiling removal service costs fifteen hundred to three thousand dollars depending on room size and drywall damage.
Frequently Asked Questions About Popcorn Removal
How do you take off popcorn ceiling without destroying the drywall?
You don’t need to preserve the texture. You’re removing it. What matters is protecting the drywall underneath. Spray with water first to soften it. Use light pressure with your scraper. Don’t gouge the drywall. Short strokes work better than long aggressive ones. Once texture is off, skim coat the rough areas and sand everything smooth. That’s how you protect the drywall during removal.
Is it hard to remove popcorn ceiling?
It’s not hard, just repetitive and tedious. Spray, wait, scrape, repeat. Then skim coat multiple times. Then sand between coats. It requires patience more than skill. You need physical stamina to stand on a ladder for hours. The work itself is straightforward. The time it takes is what discourages people.
What’s the cost to remove a popcorn ceiling?
Doing it yourself costs materials only, probably two to three hundred dollars for all supplies. Professional removal costs fifteen hundred to three thousand dollars depending on room size and drywall damage. Professionals are faster and handle the dust but cost significantly more money.
What is a popcorn ceiling and why was it popular?
Popcorn ceiling is textured material sprayed onto drywall. It absorbed sound well. Hid imperfections. Was cheap to install. Was popular in the 1970s and 1980s. Now people remove it because it looks dated and collects dust that’s hard to clean.
Do I need a contractor or can I DIY this?
You can DIY it. Rent or buy tools. Set aside several weekends. Deal with dust and mess. Or hire someone and they handle it professionally. Depends if you have time and patience for this kind of work.
What happens after I remove the texture?
Lots of skim coating and sanding to smooth the ceiling. Then prime and paint. You choose what finish you want, smooth or textured. Finishing matters more than removal for how the final result looks to you.