You spot a raised line on your freshly painted wall. At first, it looks like a small paint defect, but closer inspection reveals tape lifting along the drywall seam. Repainting will not fix it because the problem sits beneath the surface.
Fortunately, repairing bubbling drywall tape does not usually require replacing an entire wall. If the drywall remains dry, solid, and structurally intact, you can usually replace the damaged tape and restore the seam. The trick is knowing what caused the bubble and choosing the right repair for it.
Before You Start, Identify the Damage
Not every bubble needs the same treatment. A small pocket caused by poor installation is different from tape lifting because water has weakened the wall.
| What you notice | Likely explanation | Recommended response |
| One small bubble on a drywall | Poor tape bonding | Repair the affected spot |
| A long strip of loose tape | Weak compound or a poorly finished seam | Remove the loose section |
| Brown stains or peeling paint | Possible water intrusion | Investigate the moisture source |
| Soft or swollen drywall | Material may be damaged | Assess whether replacement is needed |
| Bubbles returning after repairs | An unresolved cause | Inspect before patching again |
| Important Tip: Do not seal over a damp seam or cover swollen drywall with fresh compound. The new finish may fail again, and hidden moisture can cause additional damage. |
How to Fix Loose Drywall Tape Without Replacing the Wall
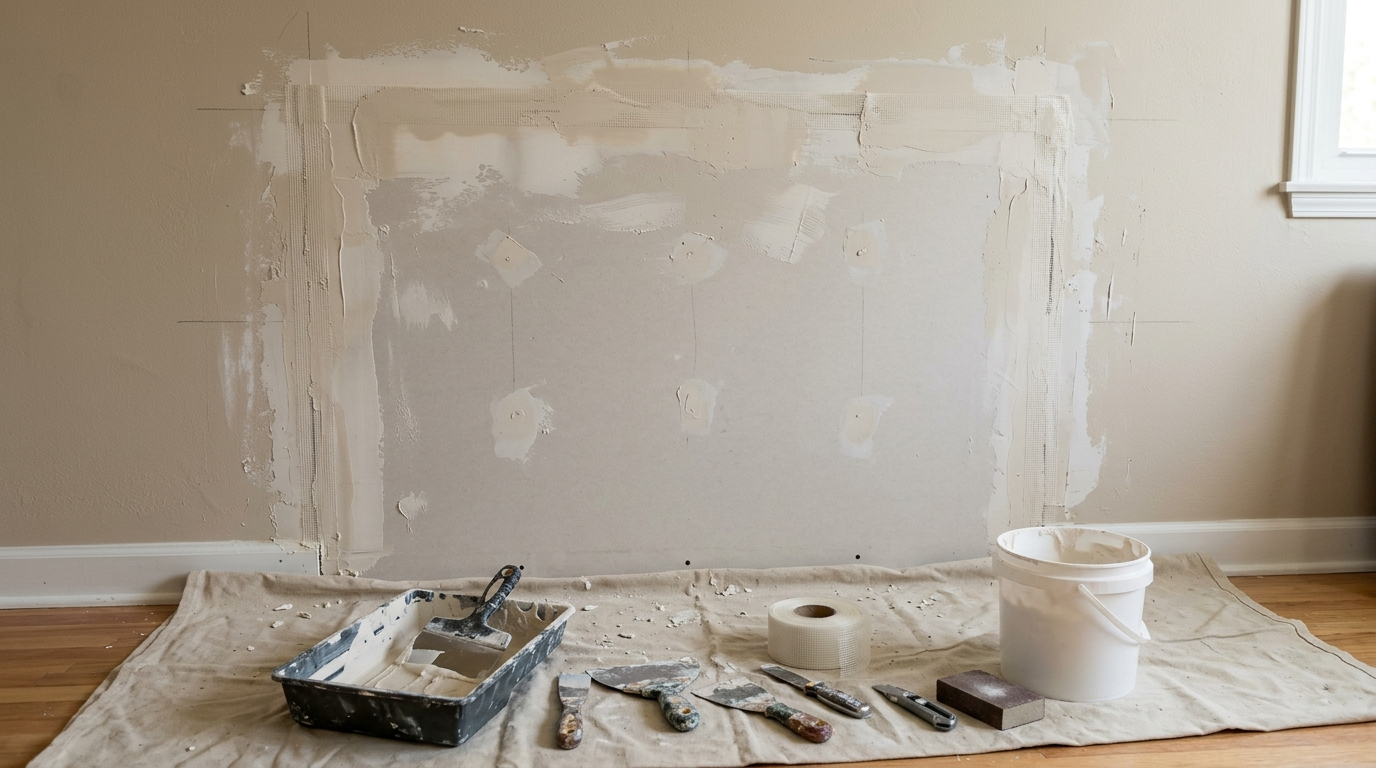
A localized repair requires a utility knife, drywall knife, joint compound, replacement tape, fine-grit sandpaper, and primer. Paper tape is a common choice for standard drywall seams; use a compatible compound and follow the product instructions.
Remove Only What Has Failed
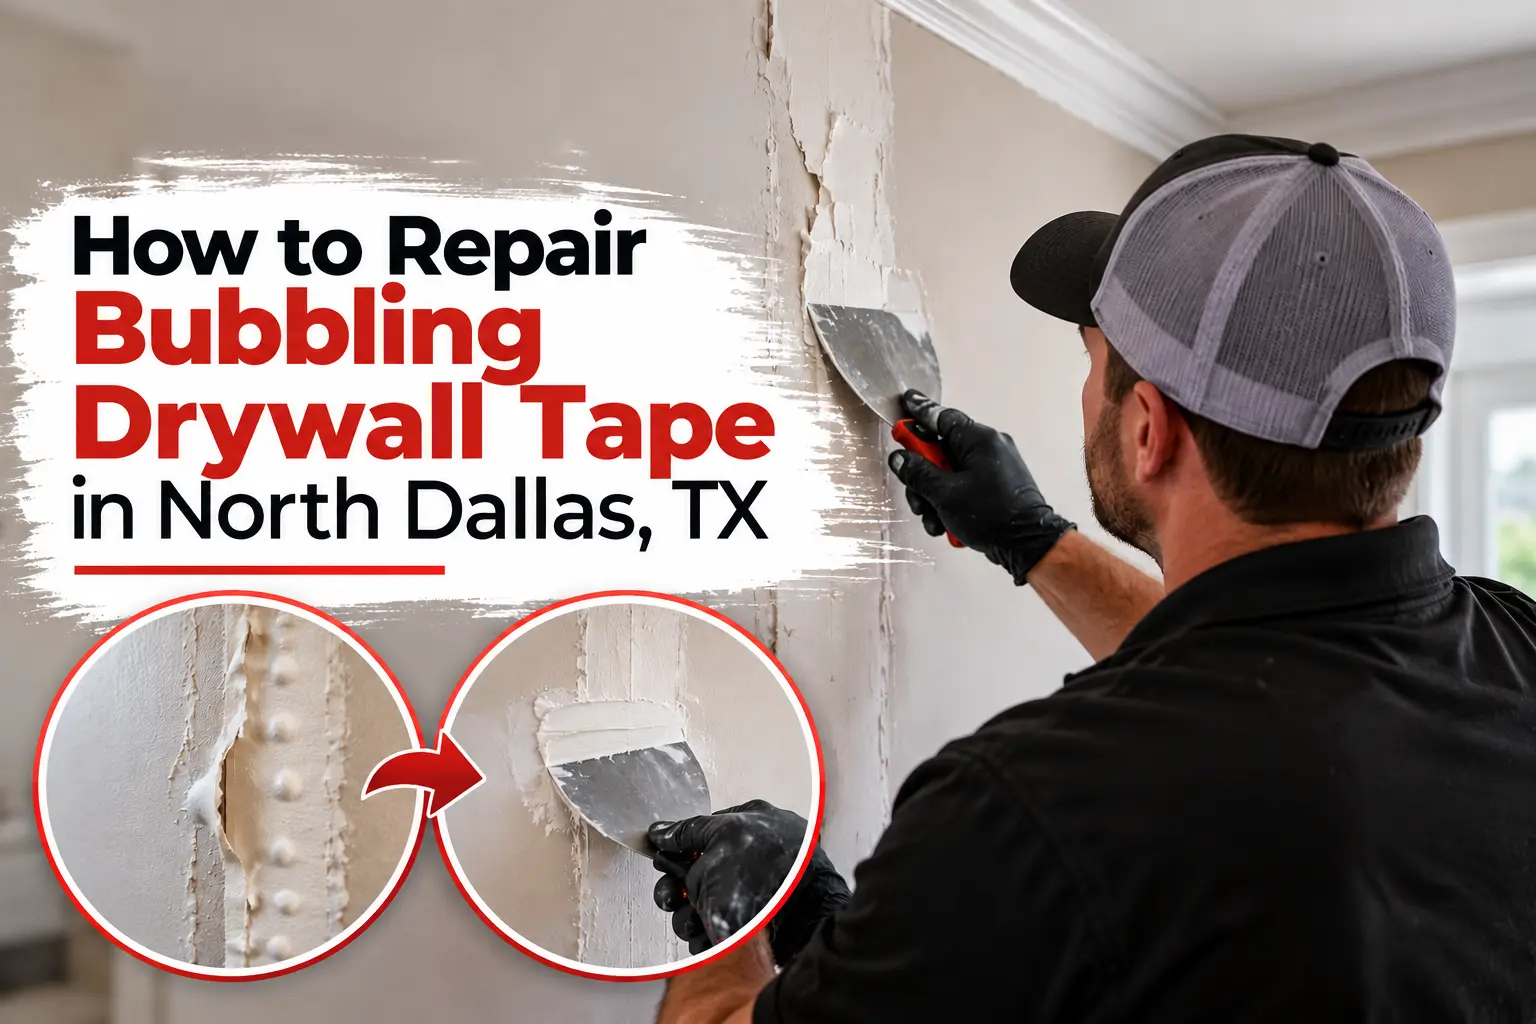
Carefully cut along the edges of the bubble with a utility knife. Lift away the loose tape and scrape off compound that is cracked, hollow, or crumbling.
Continue until the remaining tape is firmly attached. You do not need to remove the entire wall section if the surrounding drywall remains solid. However, do not leave a loose edge beneath the new patch just to keep the repair small.
Prepare the Exposed Joint
Use the drywall knife to remove loose debris, then brush away dust. The surface must be stable and dry before new compound goes on.
If the paper facing of the drywall is torn, prepare it according to the compound manufacturer’s directions. Fresh compound applied over peeling paper may not bond reliably. If you find soft gypsum, swelling, or signs of an active leak, stop and address the damage before continuing.
Embed Replacement Tape
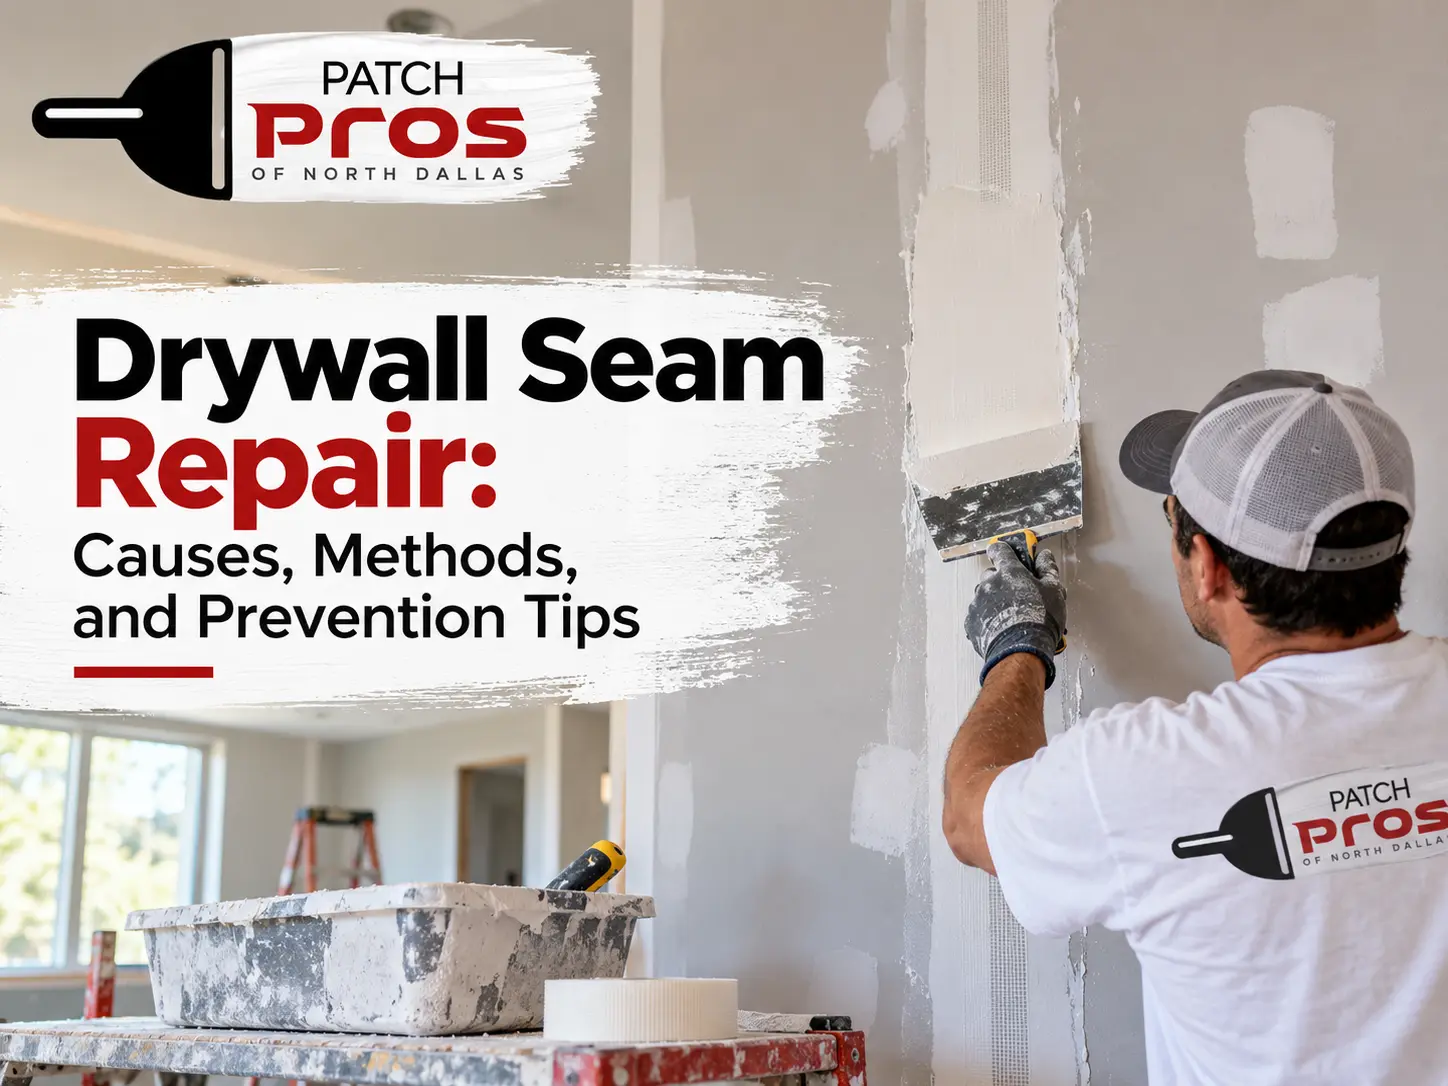
Spread a thin, even layer of joint compound over the exposed seam. Cut replacement tape long enough to cover the damaged section and extend beyond its ends.
Press the tape into the wet compound with the drywall knife. Work along the seam to push out trapped air while leaving enough compound beneath the tape for adhesion. Keep the tape flat; folds and dry pockets can create another raised area.
Do not add extra tape layers to hide a bump. The aim is to rebuild a secure seam, not make the damaged section thicker.
Build a Seam That Disappears
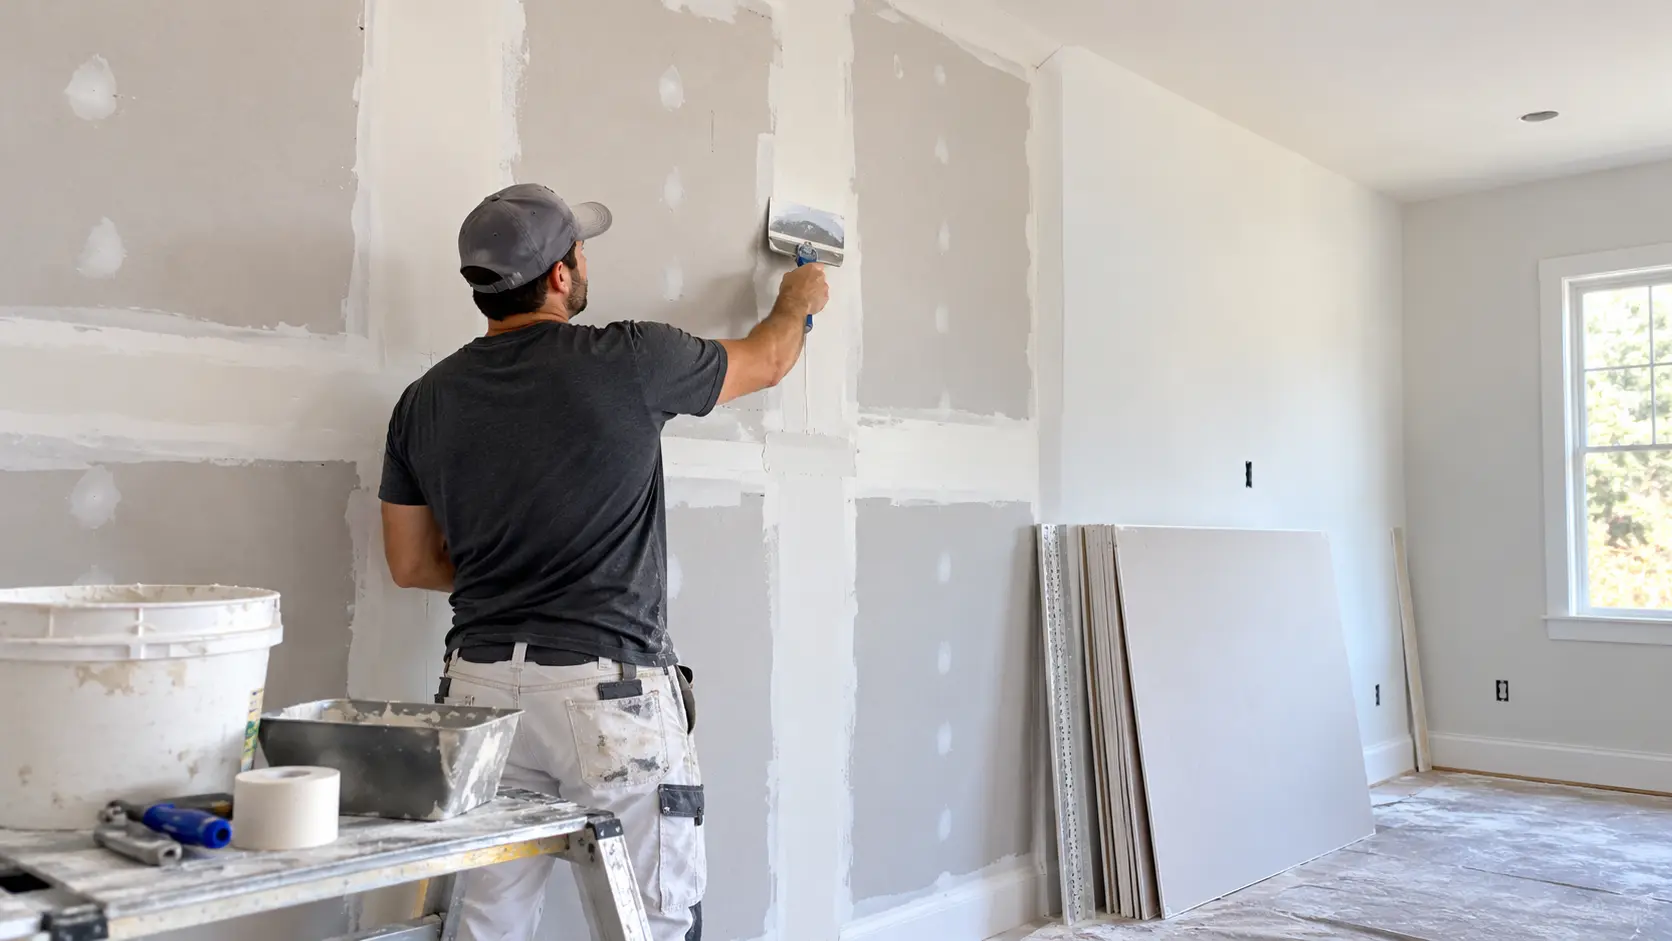
Allow the compound to dry as directed. Apply a second, wider coat over the tape, feathering the edges into the surrounding wall. If the patch still shows a ridge after drying, add a thin finishing coat rather than trying to correct everything with one heavy application.
Once the final coat is dry, sand lightly and evenly. Wipe off the dust, apply suitable primer, and repaint the area. For a consistent result, follow the same preparation principles used when painting repaired drywall.
Why DIY Repairs Sometimes Fail
Even a neat patch can become visible after paint dries. The problem often comes down to what happened beneath the finish.
- The tape was never properly bonded. Adding compound over loose tape will not hold it in place.
- The compound was too thick. Heavy coats can shrink as they dry, leaving dips or raised edges.
- The next coat went on too early. Incomplete drying can affect the finish and make sanding difficult.
- The wall was not clean. Dust and loose material interfere with adhesion.
- The moisture source remained. A repaired seam cannot stay sound if water continues to reach it.
Use thin coats and allow each one to dry fully. Drying time varies with the product, application thickness, temperature, and humidity, so follow the label instead of relying on a fixed timetable.
North Dallas Homes: When Moisture Needs Attention
Bubbling drywall tape near ceilings, windows, exterior walls, or bathrooms may indicate moisture damage rather than a simple finishing defect. Roof leaks, plumbing problems, and water entering around windows can weaken joint compound and cause tape to separate. The Dallas–Fort Worth area averages 37.01 inches of annual precipitation, based on National Weather Service climate normals for 1991–2020.
Before repairing the seam, check for water stains, peeling paint, a musty smell, or drywall that feels soft or swollen. Fix the moisture source first, then assess the damage. According to the U.S. Environmental Protection Agency, water-damaged drywall may sometimes be dried in place if it has not visibly swollen and its seams remain intact. Otherwise, removal may be necessary.
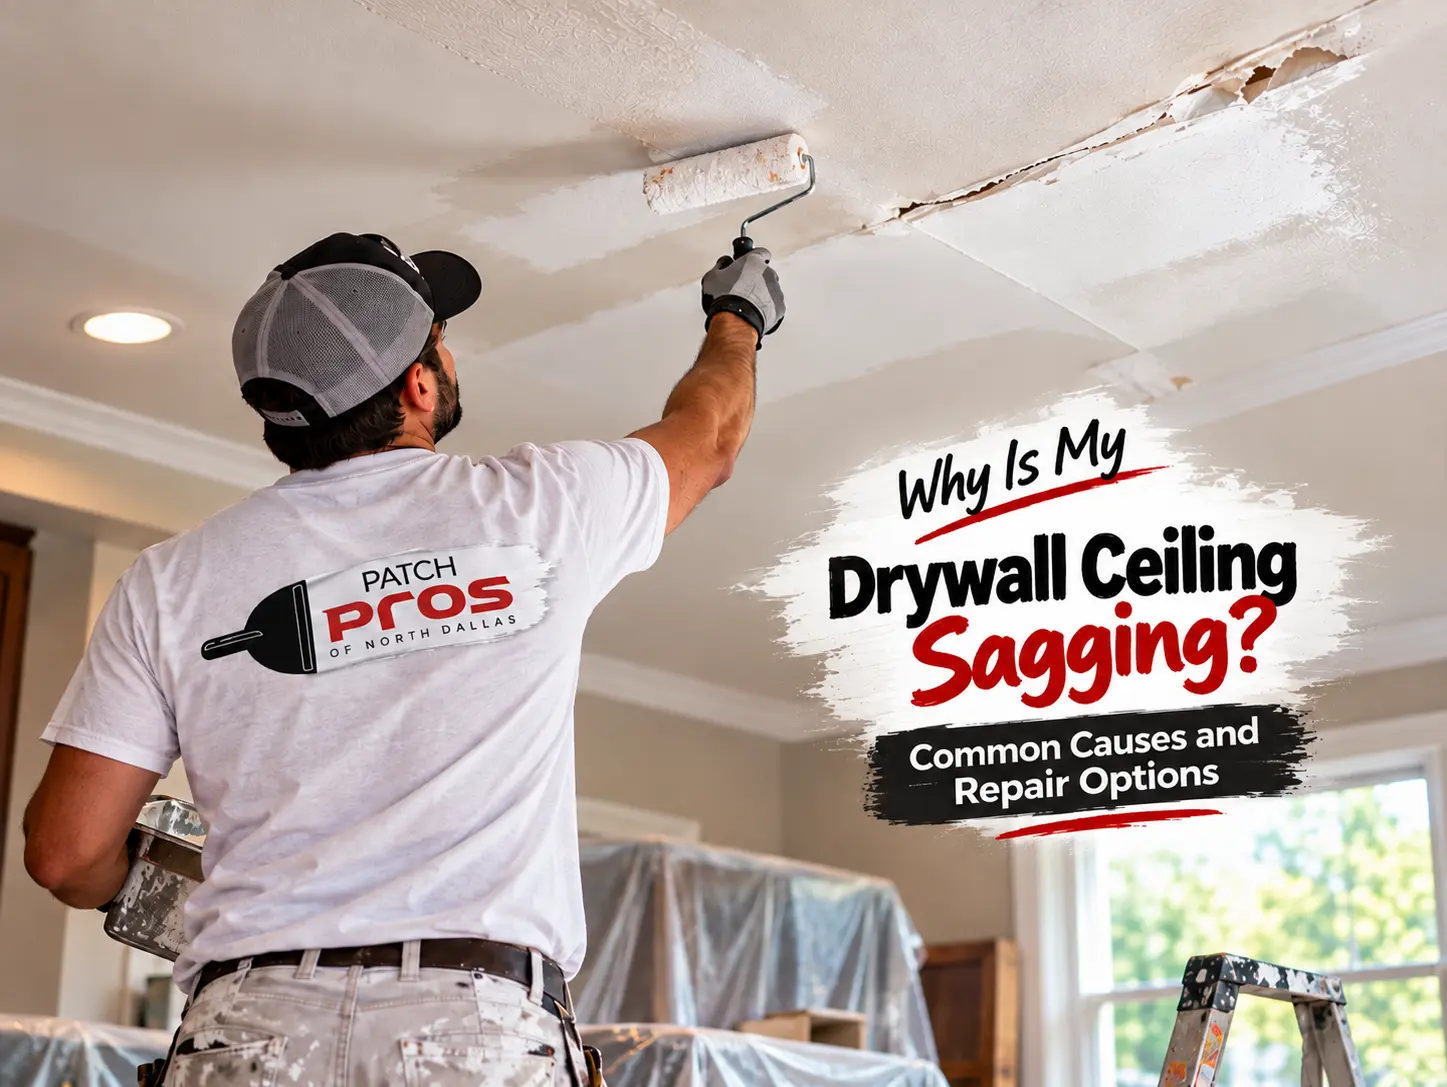
If the damaged area sags or shifts, do not assume loose tape is the only problem. Investigate the underlying cause before patching the surface. For more information about possible structural or moisture-related issues, see sagging ceiling causes.
When Is Professional Drywall Repair Worth It?
A single bubble on a dry, firm wall is often manageable as a DIY project. Professional help becomes more useful when the damage spreads across several seams, repeatedly returns, or involves a ceiling, water intrusion, or deteriorating drywall.
Patch Pros of North Dallas can assess the affected area and help determine whether a localized seam repair is suitable or more extensive drywall work is needed. The right choice depends on the condition of the panel, not just the size of the visible bubble.
Frequently Asked Questions
Can I fix drywall tape bubbling without cutting it out?
Only if the tape remains firmly bonded and the surface defect is minor. If air is trapped beneath loose tape, remove the failed section and replace it before applying finishing compound.
Should I use paper tape or mesh tape for the repair?
Paper tape is commonly used for standard drywall seams and is embedded in joint compound. Mesh tape can suit certain repairs when paired with a compatible compound. Follow the product instructions for the joint and repair type.
Why does drywall tape come loose again after painting?
The tape may have been poorly embedded, the compound may not have dried correctly, or moisture may still be affecting the seam. Repeating the surface patch without identifying the cause can lead to another failure.
How many coats of joint compound are needed?
A typical repair uses an embedding coat followed by finishing coats, but the number depends on the size of the patch and how smoothly the first layers were applied. Use thin coats and let each dry fully.
Can water-damaged drywall tape be repaired?
Sometimes, if the drywall remains firm, the seams are intact, and the area can be dried properly. Swollen, soft, crumbling, or extensively damaged drywall may need replacement instead of a tape-only repair.
When is it time to call a pro instead of fixing it yourself?
Seek help if the seam keeps opening, several areas are affected, moisture is present, or the ceiling appears to sag. These signs may indicate a problem beyond loose tape.
Final Thoughts: Repair the Cause Along With the Seam
A bubbling seam does not automatically mean you need a new wall. Remove failed tape, rebuild the joint with fresh compound, and finish it carefully when the drywall is sound. If moisture or movement caused the damage, deal with that problem before refinishing. Patch Pros of North Dallas can help homeowners choose a practical repair when the damage goes beyond a simple patch.