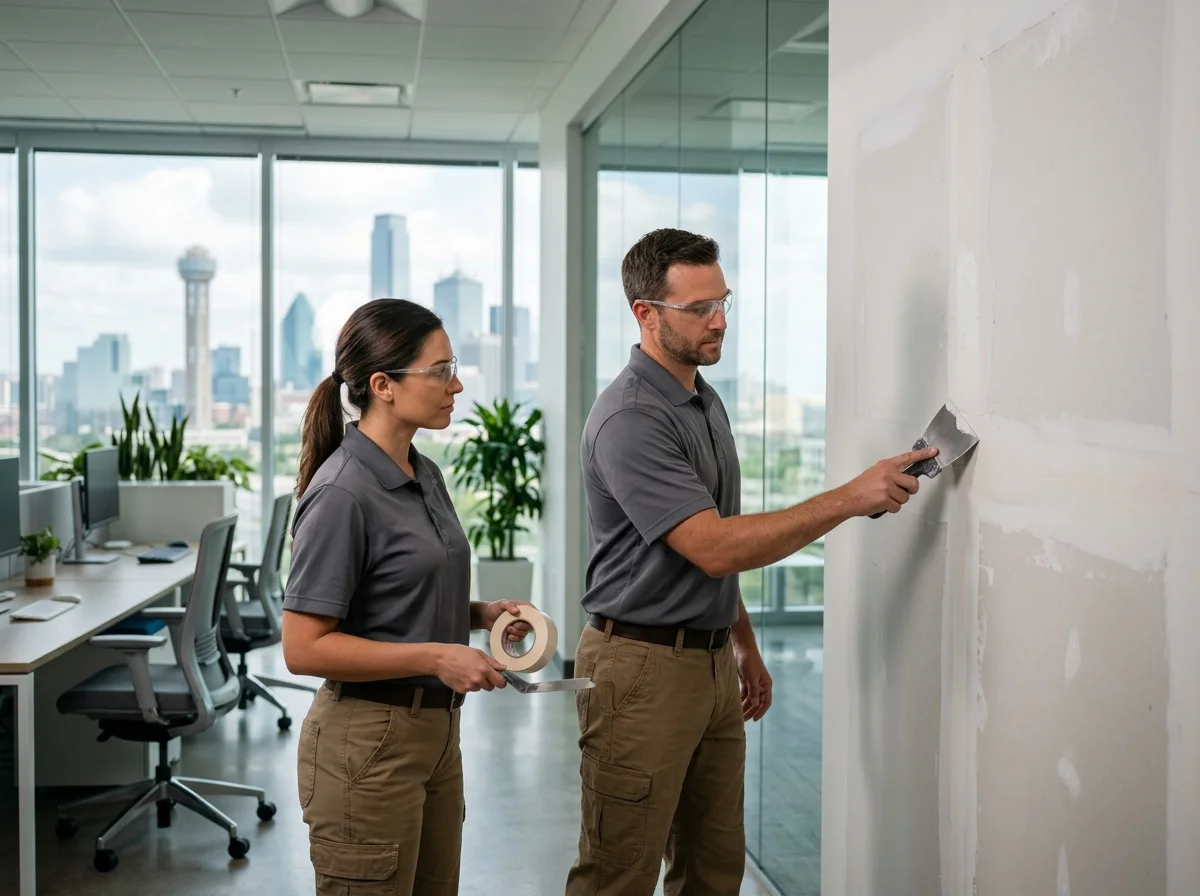
A tiny nail hole can be neatly covered up with a bit of filling. A large opening is different. When part of the drywall has broken away, there may be no solid surface to support a patch, and simply covering the opening with joint compound will not provide a strong, lasting repair.
For a lasting repair, replace the damaged part and attach the new one to the surrounding wall securely. Here is how to patch a large hole in drywall while avoiding the uneven surface, visible seams, and weak edges that often appear after rushed repairs.
First, Find Out What You Are Repairing
Examine the opening before cutting out the damaged area. Electrical wiring, plumbing, or other components can be concealed behind drywall; do not slide a saw or utility knife through the wall without research.
Look for signs of:
- Electrical wiring or outlets close to the damaged section
- Plumbing lines or moisture behind the wall
- A damaged stud or other structural problem
- Loose drywall extending beyond the visible hole
- Insulation that has been disturbed
If the opening is caused by water damage, a leak, or damage to the wall framing, first fix the cause of the damage. A new piece of gypsum board will only cover the problem up for a short time.
Shape the Opening for a Clean, Secure Repair
A big hole in the drywall is rarely the same size and shape that allows an exact fit for an insertion piece the first time. Irregular edges can crack when working around them, providing an irregular opening.
Instead of trying to match the replacement piece to that shape, create a clean repair area.
Measure beyond the visibly damaged section and mark a simple rectangle or square around it. Then use a drywall saw or a utility knife to cut along those lines carefully around any object that’s located within the wall. A clean opening will ensure the new drywall has straight edges and will be much easier to finish.
Measure the Missing Section Before Cutting Your Patch
Take the opening as your measurement reference, but don’t assume that the dimensions are square. Measure the width and height at various points. Copy those measurements onto a replacement board of drywall and make sure to clearly draw the lines on the wall.
If a significant patch is being installed, the thickness of the existing drywall is important. If this is done with the wrong thickness in the drywall, the replacement area will be either above or below the rest of the wall, creating an unappealing finish.
Before installing the piece, test-fit it in the opening. It should fit cleanly without needing to be forced into position.
A Large Patch Needs Something Solid Behind It
A replacement part will not fit in a big opening. It’s going to have to be supported on its edges by backing to attach the drywall to. If existing studs provide suitable support, use them. If the opening falls between studs, install backing strips behind the drywall edges.
Install the supports behind the surrounding drywall and replacement. Use drywall screws to secure the supports to the wall, avoiding any hidden parts behind the wall.
This backing provides a good foundation for the repair and will avoid flexing of the patch when being touched by the wall.
Secure the New Drywall Without Creating More Damage
Insert the replacement into the hole and secure it to the backing or framing. The face of the patch should sit as close as possible to the existing wall surface.
Never over-tighten drywall screws. If a screw is forced too far into the paper facing, it can go through the paper and make it less effective.
After securing the patch, gently run your hand over the repaired area. If the patch moves, becomes raised above the wall, or forms an obvious hole in the wall, make corrections before finishing.
The Seams Need More Than a Layer of Compound
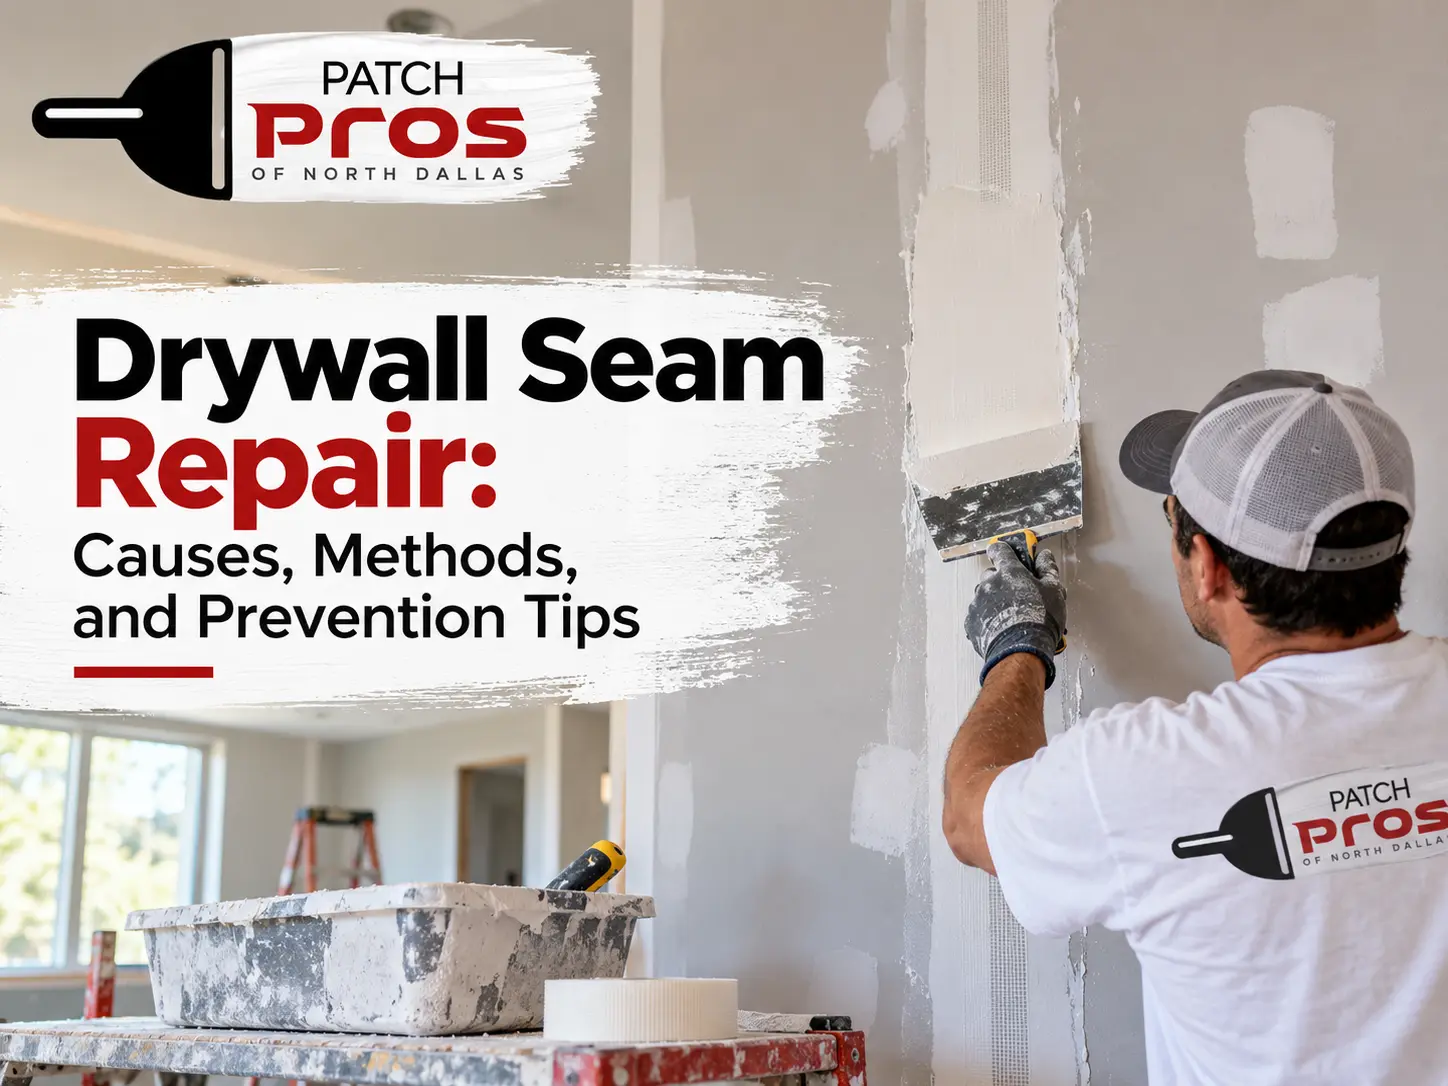
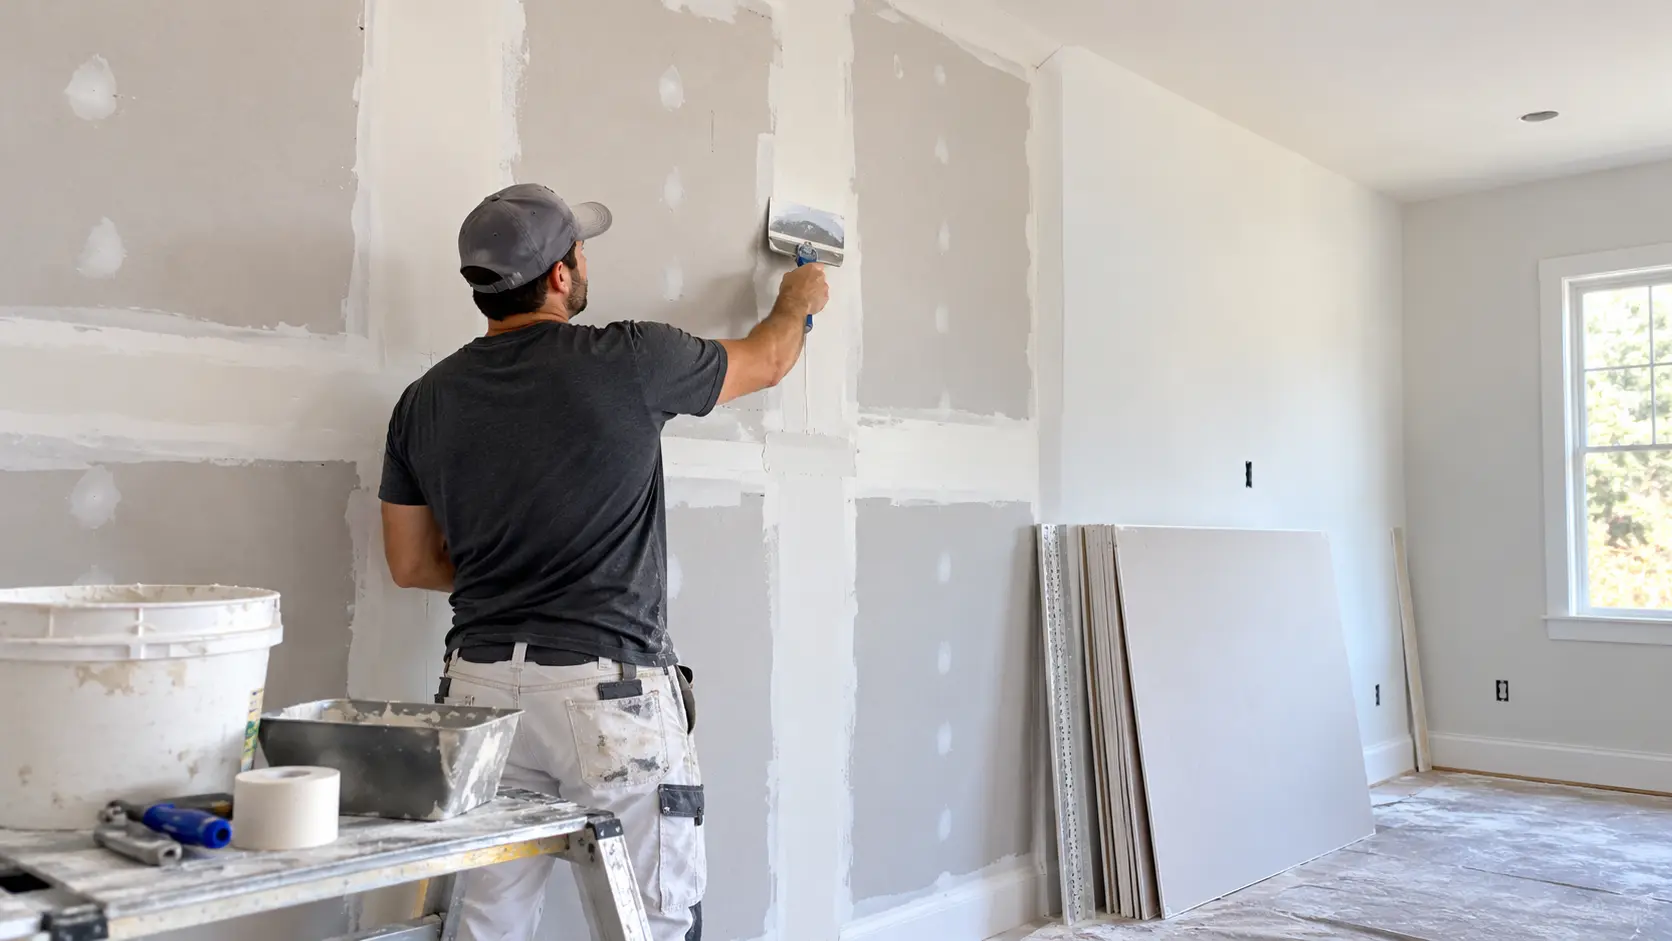
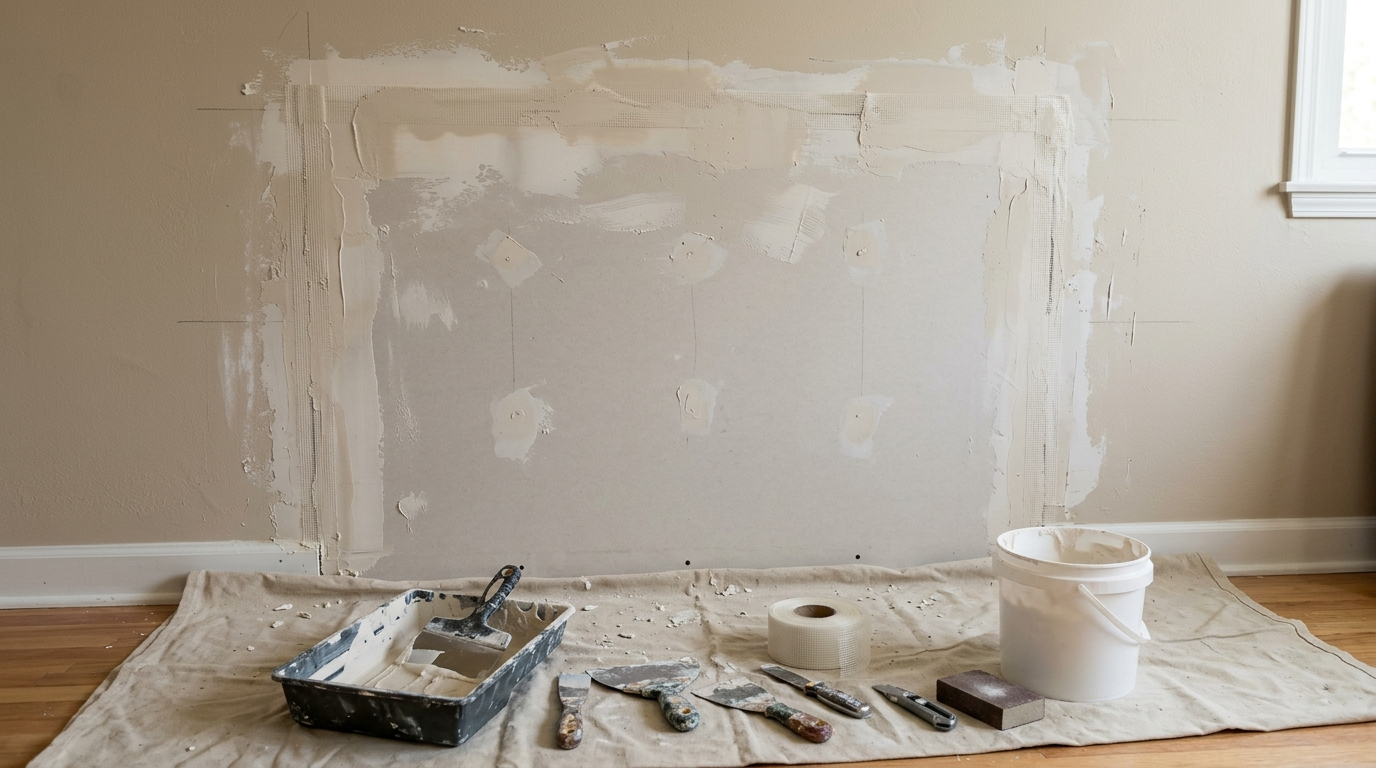
The joints around a large drywall patch are where many repairs start to show. Drywall tape is used to strengthen the joints and provide a stable surface for the joint compound. Spread compound on joints, lay tape down, and cover with another controlled layer.
Avoid applying a single thick coat of the finished surface. Several thin layers can be more easily managed and cause little shrinkage or buildup. Apply the compound more thinly as you move farther away from the patch. This is known as feathering the edges and can help to make the repaired area look like the rest of the wall.
Sanding Is About Blending, Not Removing Everything
After compounding has dried well, gently sand the compound surface. The purpose is to remove ridges, bumps, and visible transitions rather than aggressively grinding down the repair.
Run your hand across the area as you work. A raised seam or shallow depression that may not be visible in the normal light is often felt with your fingertips.
If the surface remains lumpy, apply a second thin layer of joint compound, let it dry, and then sand it down. Large drywall hole repair usually looks better when the finishing stage is given enough time.
Check the Wall Before You Paint It
If you paint too early, an incomplete patch job will be difficult to assess.
Inspect the patched area from several angles. Look for:
- Raised tape edges
- Visible screw heads
- Depressions around the patch
- Rough sanding marks
- Uneven transitions between old and new drywall
Once repaired surfaces are smooth, apply primer to the area. The joint compound is sealed, and the paint is more even on the surface with the use of Primer.
The final paint color and sheen may still make a repaired area noticeable if the surrounding wall has aged or faded. In those cases, painting a larger section may produce a more uniform appearance.
When a Large Hole Is More Than a Drywall Job
Some wall openings should not be treated as a straightforward patch.
The professional assessment is an appropriate option when the damage includes:
- A large section extending across multiple studs
- Water-damaged drywall
- Mold or persistent moisture
- Damaged framing
- Suspected electrical wiring
- Plumbing damage
- A ceiling or wall section that has become unstable
The repair method depends on what caused the opening and what is behind it. A clean-looking patch is not a complete repair if the source of the damage remains.
What Makes a Large Repair Look Professional?
Replacing drywall is just one part of the job. The real difference comes down to how well the new surface blends into the old one.
A good repair should have:
A stable patch: The replacement piece does not move independently from the surrounding wall.
Reinforced seams: Tape and compound create a durable transition.
Gradual feathering: The compound blends outward instead of creating a visible ridge.
An even surface: Careful sanding blends raised areas while preserving the drywall around the repair.
Proper preparation: Primer and paint are applied only after the surface is ready.
Patch Pros of North Dallas handles drywall repair with attention to the structure and finish of the damaged wall rather than simply covering the opening.
Frequently Asked Questions
How large can a drywall patch be?
There’s no one size that makes a repair “large.” If an opening is too big for a basic patch to stay solid, you need a replacement piece supported by framing or backing. Also, check the condition of the drywall around it.
Do I need backing behind a large drywall patch?
Usually, yes. If the existing framing doesn’t support the patch edges, you really need backing strips. They add stability and keep the new drywall from shifting or cracking around the opening.
How many coats of joint compound does a large repair need?
It depends on the seam depth and how smooth you apply each coat. Using several thin coats gives you more control and usually a better finish than dumping it all on at once. Always let each layer dry before adding the next.
Should I replace drywall that has water damage?
If moisture has weakened the drywall, don’t just cover it up. Fix the leak or source of moisture first. Then, depending on how bad the damage is, you may need to remove and replace that drywall.
Final Thoughts: Make the Repair Disappear Into the Wall
Fixing large drywall damage isn’t just about filling a hole. You need strong support, reinforced seams, and blending that hides the patch from view once it’s painted. Patch Pros of North Dallas can handle damaged drywall when the opening requires more than a quick filler repair, helping restore both the wall’s appearance and its usable surface.