You’re looking at your wall or ceiling and there’s a bubble in the drywall tape. Or the tape is peeling up at the edges. Or there’s a loose seam that’s separating from the drywall. You’re thinking this shouldn’t be happening. The tape is supposed to hold. The drywall is supposed to look smooth. But there it is. A failed seam. A problem that needs fixing.
Sheetrock tape repair is one of those things that looks simple but goes wrong easily if you don’t know what you’re doing. This guide covers why tape fails, how to identify the type of failure, and how to fix it properly. We’re talking about how to fix drywall tape, why bubbles happen, why tape peels, and how to keep it from happening again. Understanding the problem helps you fix it right. Failed seams are one of several problems covered in our guide to professional drywall repair in McKinney, along with holes, cracks, water damage, nail pops, and damaged ceilings.
Why Drywall Tape Fails
Drywall tape holds the seams together between sheets of drywall. When tape fails, the seam shows. It looks bad. It can continue to get worse if you don’t fix it. The reasons tape fails are usually pretty straightforward. Either the tape wasn’t installed properly in the first place, or something happened after installation that caused failure.
Peeling joint tape usually means the tape wasn’t stuck properly to the drywall when it was installed. Maybe the drywall wasn’t clean. Maybe the compound underneath was too thick. Maybe there wasn’t enough compound. Whatever the reason, the tape lost adhesion. It started peeling. Now you’ve got a problem. Bubbling drywall tape happens when air gets trapped under the tape or when moisture gets in there. Moisture causes the tape to lift away from the drywall and bubble up.
Some bubbles form right away during installation. Some bubbles develop over time as moisture gets into the seam. Loose seam tape develops the same way. Either poor installation or something happening after installation that causes the tape to separate from the drywall underneath. Regardless of which one happened, you need to fix it or the seam will keep getting worse.
Paper Tape Versus Mesh Tape
There are two main types of drywall tape. Paper joint tape is the traditional option. It’s actual paper with a crease down the middle so you can fold it into corners. Paper tape has to be embedded in joint compound to stick. It relies on the compound for adhesion. If the compound fails, the tape fails. Mesh tape is different. It’s fiberglass with adhesive on the back. You stick it directly to the drywall. It doesn’t need compound underneath to stay in place.
The advantage of fiberglass mesh tape is that it’s more forgiving during installation. It sticks to the drywall right away so it doesn’t move around. The disadvantage is that some people think mesh is better and that’s not always true. Both types work fine if installed correctly. Paper tape can handle more abuse during mudding. Mesh tape is easier to get straight but can sometimes show tape lines through paint if you don’t mud it correctly.
When repairing, knowing which type you have matters because you treat them differently. If you’ve got paper joint tape that’s peeling, the compound failed so you’re reapplying compound. If you’ve got fiberglass mesh tape that’s peeling, the adhesive failed so you’re removing the tape and starting over.
Identifying What’s Actually Wrong
Before you start ripping out tape, figure out what the actual problem is. Is the tape bubbling or peeling? Is it an entire section or just edges? Is there moisture involved? Is the drywall underneath damaged? These questions matter because the fix is different depending on the answers.
Bubbling drywall tape that’s puffy usually means air got trapped or moisture got in there. You need to remove that section of tape, clean the surface, and retape it. Peeling joint tape at the edges usually means the tape wasn’t embedded well enough in compound. You can sometimes add more compound and repress the tape. But if the tape is dried out or damaged, you need to remove it and start over.
Loose seam tape is somewhere in between. The tape is still there but it’s not stuck down. You might be able to add compound and repress it. Or you might need to remove the tape section and retape. Test it by gently pushing on the loose section. If it presses back down and stays, adding compound might work. If it pops right back up, you need to retape.
Moisture And Movement Issues
Before you jump into repairs, check whether moisture or movement is causing the problem. If the tape keeps failing in the same spot even after you repair it, something else is happening. Moisture in the wall causes tape to fail repeatedly. Building settlement or structural movement can cause tape to fail repeatedly and may also create loose fasteners, so check nearby walls and ceilings for signs that you need to fix nail pops.
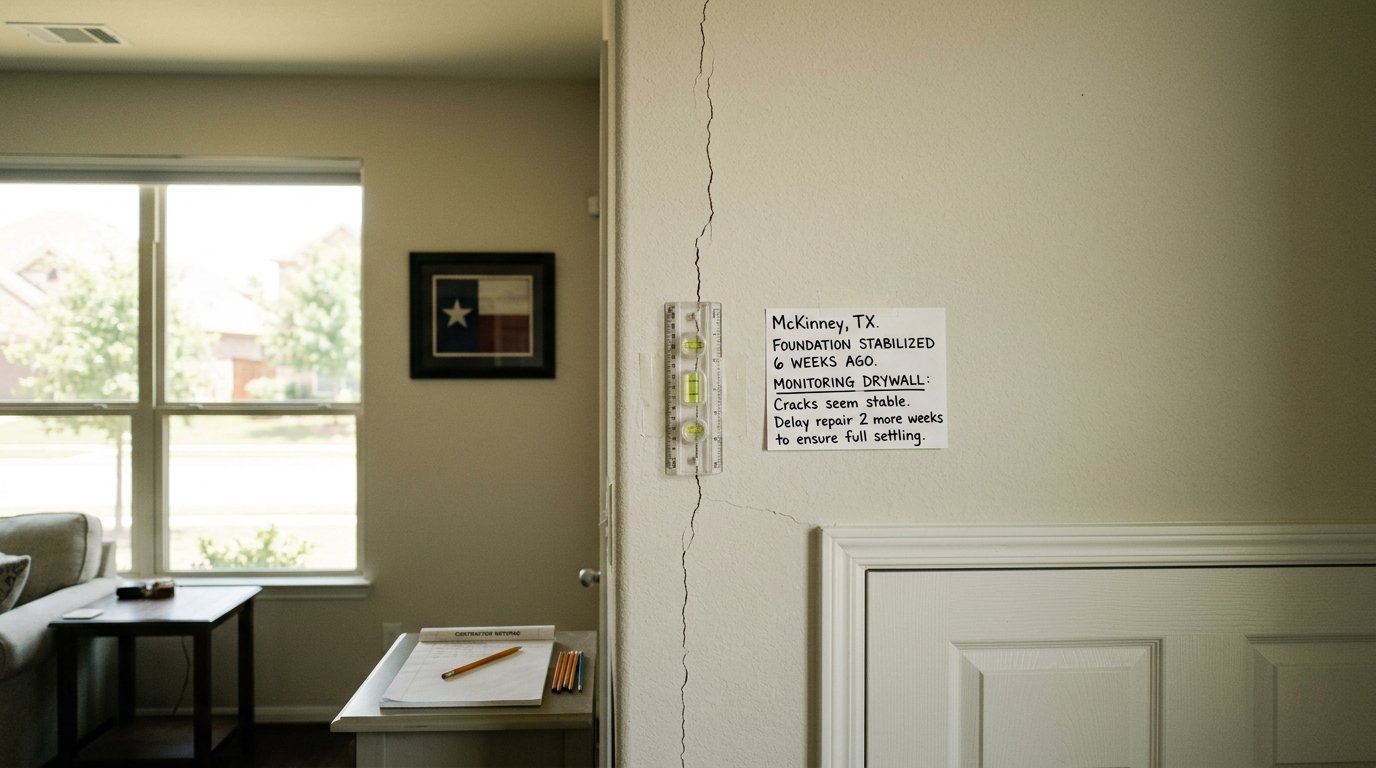
Look for water stains around the tape failure. Check inside the wall if possible. Is there evidence of moisture? If yes, you’ve got a moisture problem that needs fixing before the tape repair will stick. You can’t just keep repairing tape while water is actively damaging it. Same thing with movement. If the drywall seam keeps separating or cracking, there’s movement happening. Something in the house is moving. Tape repair won’t fix that.
Consider professional drywall repair services if the tape repeatedly fails in the same spot or you suspect moisture, framing movement, or damage beneath the seam.You don’t want to spend time retaping a seam that’s going to fail again tomorrow because the real problem is still happening.
Removing Failed Tape
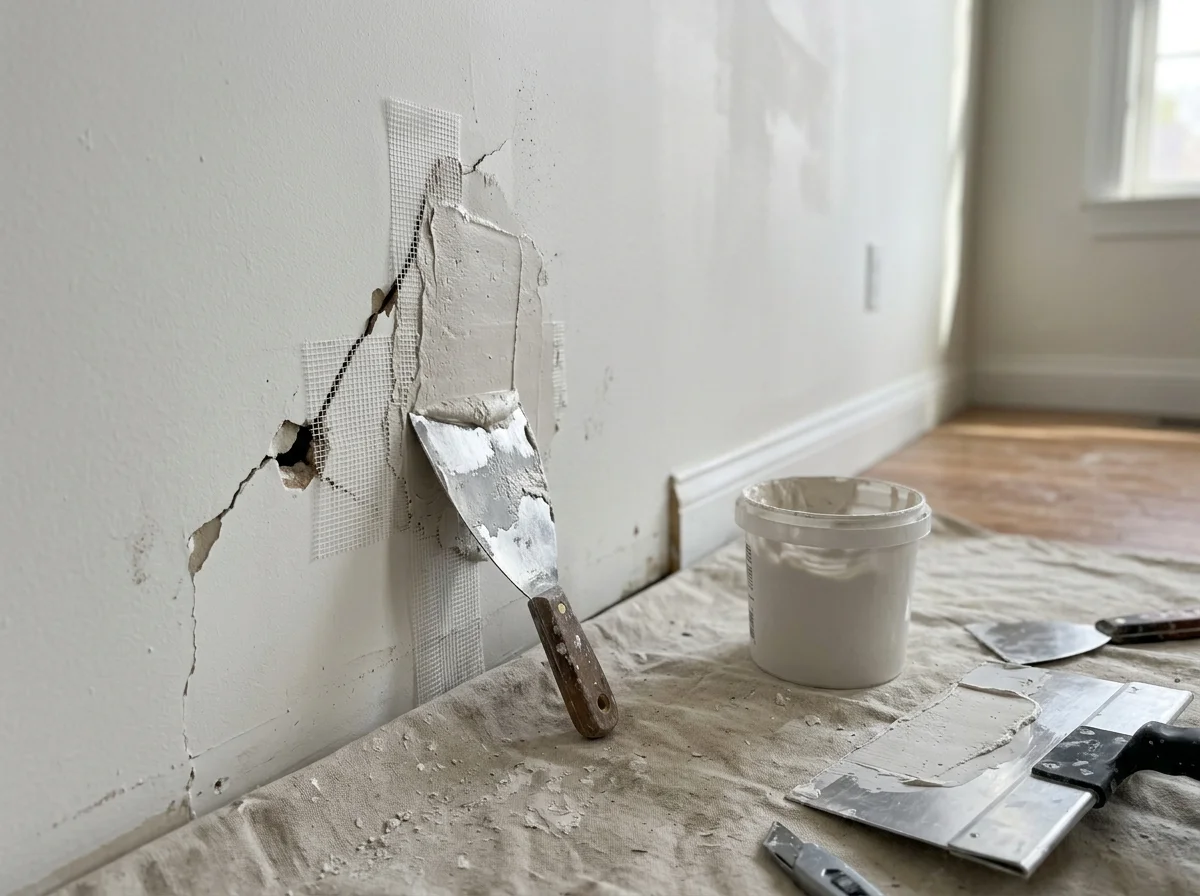
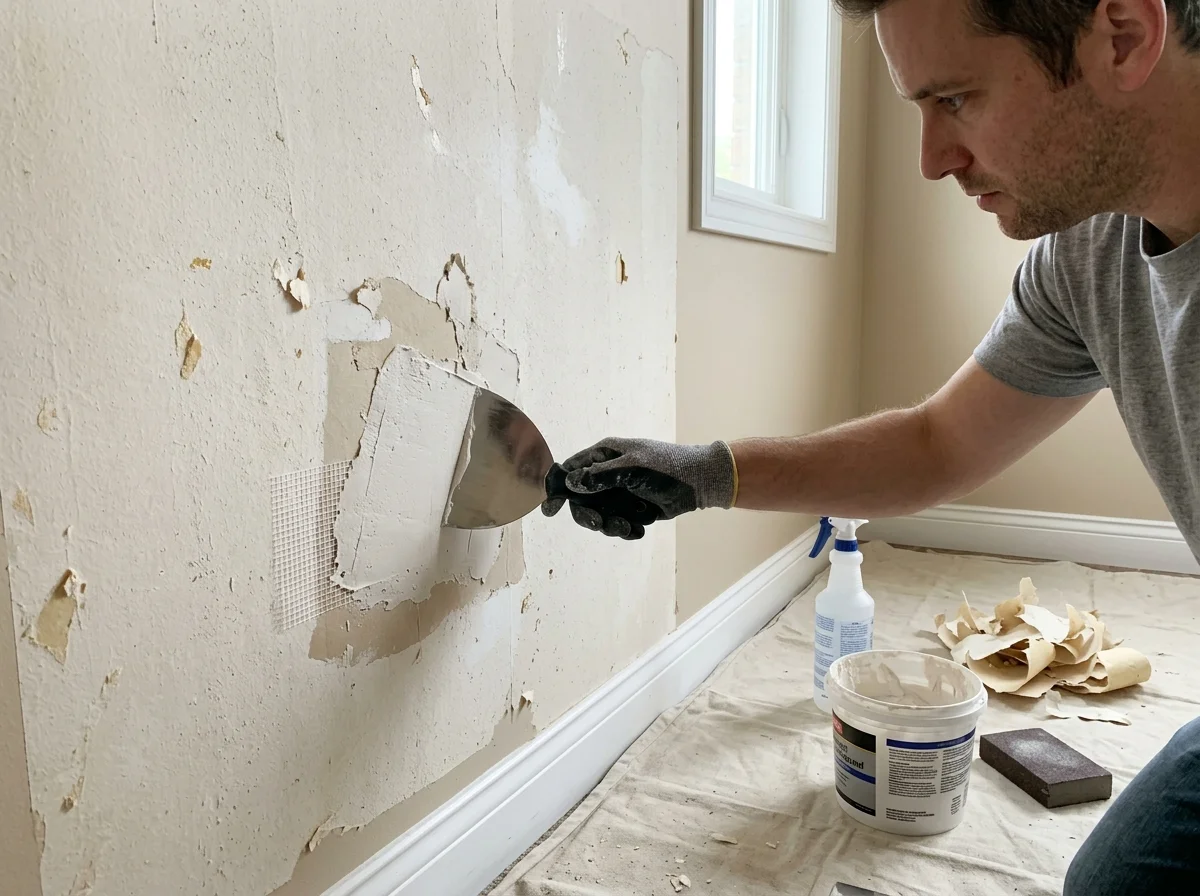
Once you’ve identified the problem, you need to remove the failed section of tape. Don’t try to retape over bubbled or peeling tape. That doesn’t work. You need to remove the bad section completely. Use a drywall knife or scraper to carefully peel back the tape. Go slow. You want to remove the tape but not damage the drywall underneath.
Sometimes the tape comes off easily. Sometimes it fights you and tears up the drywall paper while you’re removing it. The process for repairing that surface is similar to how professionals repair drywall after wallpaper removal, using sealer or skim coating before the final finish. Once the old tape is off, scrape away any remaining joint compound that was under the tape. You want a clean surface for the new tape.
Clean the surface thoroughly. Wipe away dust. Remove any adhesive residue. You want the drywall clean and ready for new tape. If there’s moisture staining or discoloration, seal that area before retaping. A problem-surface sealer works for this. Let it dry completely before applying new tape.
Applying New Tape And Compound
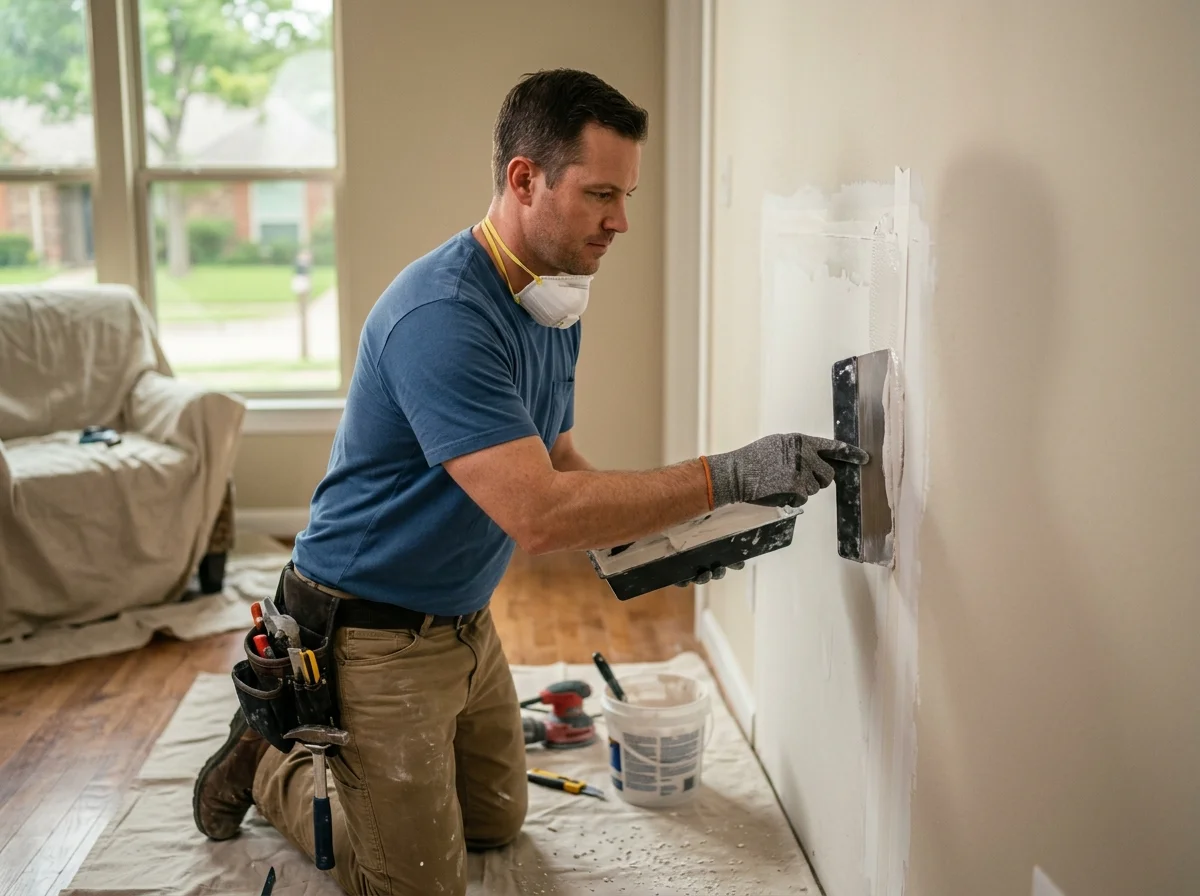
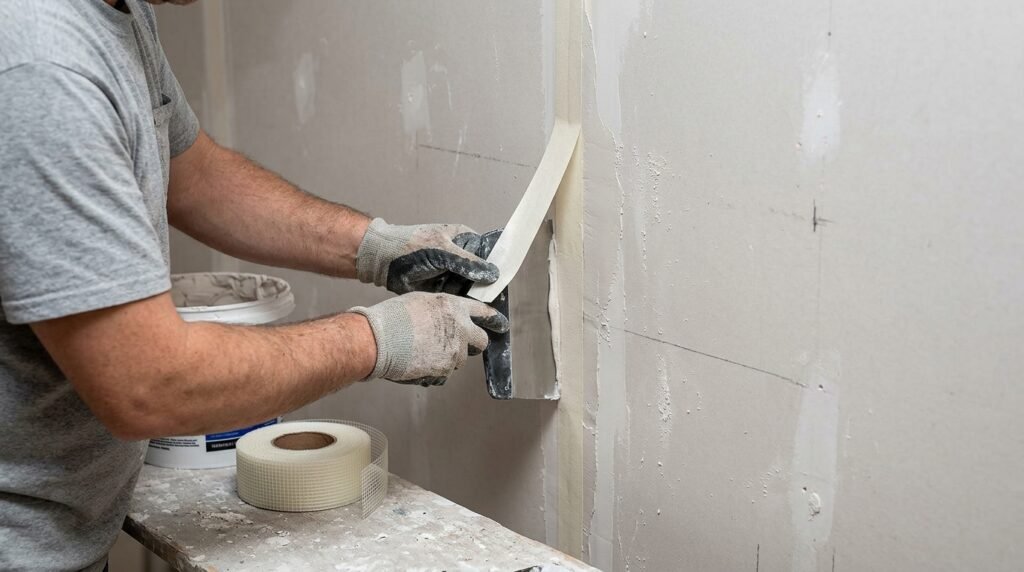
This is the actual repair part. Whether you’re using paper joint tape or fiberglass mesh tape, the process is similar but with differences. For paper tape, apply a thin layer of joint compound along the seam first. Then lay the paper tape down the middle of the seam. Press it into the compound. Make sure it’s centered and straight.
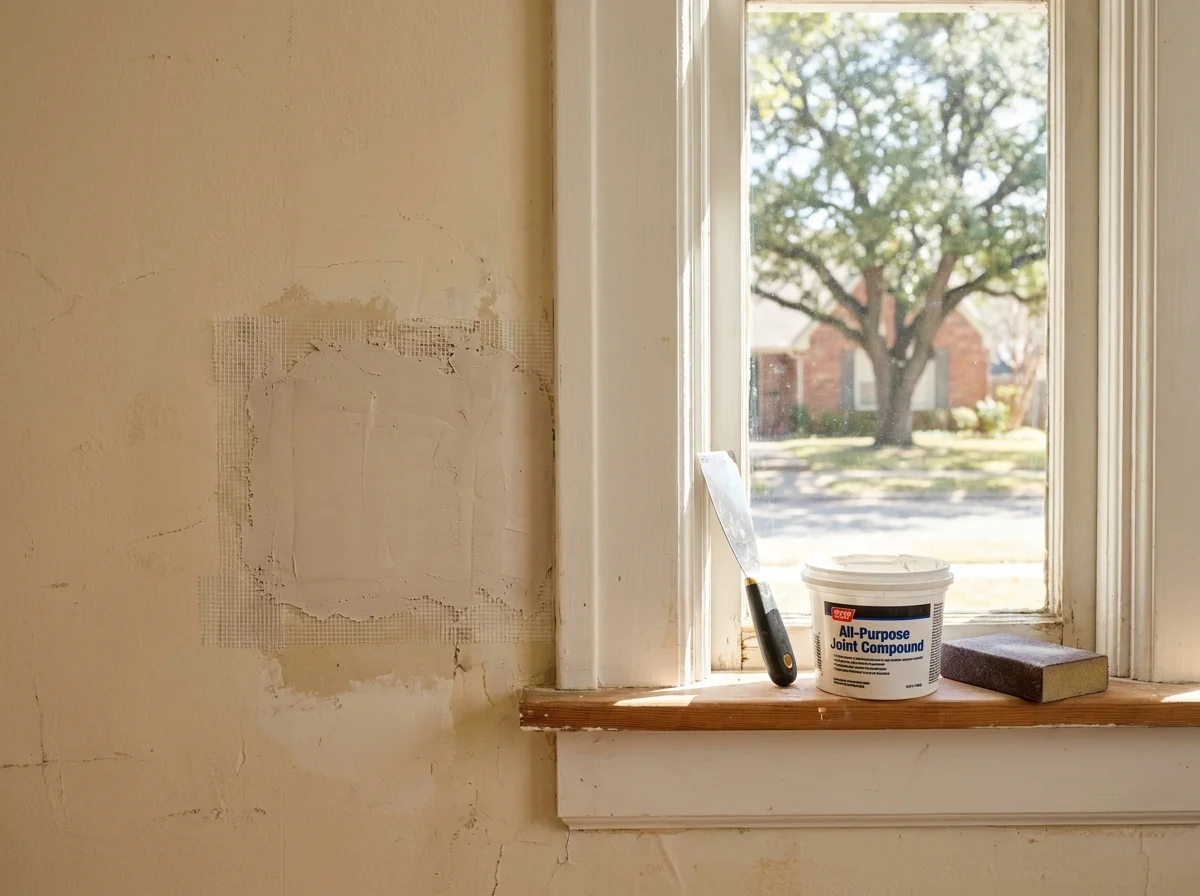
For mesh tape, peel the backing and stick the tape down the seam. Press firmly so the adhesive makes good contact with the drywall. Make sure the tape is centered. For both types, apply another layer of joint compound over the top of the tape. This embeds the tape. Use a wide drywall knife to spread the compound smoothly.
Let the compound dry completely according to the package instructions. Then apply another coat of compound. This second coat goes wider and thinner than the first coat. The goal is to feather the edges so the repair blends into the wall. Let the second coat dry completely before sanding.
Feathering The Compound
Feathered compound is what makes a repair invisible. Feathering means the compound gets progressively thinner as you move away from the center of the seam. The edges fade out to nothing so there’s no hard line where the repair ends and the wall begins. This takes multiple coats and patience.
First coat goes over the tape and immediate area. Second coat goes wider and thinner. Third coat, if needed, goes even wider and thinner. Each coat gets wider and thinner than the one before. The goal is creating a gradient from thick compound at the seam to no compound at the edges. Sand between coats. Let each coat dry completely.
This is where most people mess up. They try to do it in one or two coats and the repair shows. They don’t feather enough. They don’t sand enough. They don’t let compound dry enough between coats. Take your time with feathering. It makes the difference between a visible repair and an invisible one.
Inside Corner Tape Repair
Inside corner repair is different than straight seams. Corners use corner tape or inside corner repair tape that’s designed to fold into the corner. If your corner tape is peeling or bubbling, you’ve got similar issues but the fix is slightly different. You still remove the failed tape section. You still clean the surface.
But when you retape, you’re working in a corner which is awkward. The tape needs to fold perfectly into the corner. Apply compound on both sides of the corner. Fold the tape down the middle into the corner. Press firmly. Make sure it’s straight and centered. Then apply compound over the top. Let it dry.
Feathering a corner is trickier than feathering a straight seam because you’re working in two directions at once. You need to feather the compound going down the wall and also going across the wall perpendicular to the corner. Take your time. Corners are finicky and obvious if the repair shows.
Common Mistakes During Tape Repair
Don’t apply new tape over old failed tape. Remove the bad tape first. Don’t use too much compound in the first coat. Thick compound takes forever to dry and shrinks as it dries, causing new bubbles. Use thin layers. Don’t skip the sanding between coats. Rough surfaces prevent good adhesion for the next coat. Don’t rush the drying time. Compound needs to cure fully or the next coat won’t stick properly.
Don’t try to feather the entire repair with one coat. It takes multiple thin coats to create a proper gradient. Don’t sand with too coarse grit. Start with fine grit sandpaper so you don’t create rough scratches. Don’t forget to prime before painting. Sanding and priming are essential for the final finish. These mistakes turn a fixable problem into a visible eyesore.
Frequently Asked Questions About Sheetrock Tape Repair
Why does drywall tape bubble and how do I fix it?
Bubbling drywall tape happens when air gets trapped under the tape or moisture gets behind it. Remove the bubbled section carefully. Clean the surface. Apply new tape and compound. Feather multiple coats for a smooth blend. Let everything dry completely between coats. If bubbles keep returning in the same spot, check for moisture or movement causing the problem.
How do you repair drywall tape that’s peeling?
Peeling joint tape means the tape lost adhesion to the drywall. Remove the peeling tape section. Clean away old compound and adhesive. Check the drywall for damage. If the paper is damaged, seal it first. Apply new tape with adequate compound underneath. Press firmly. Apply additional coats and feather the edges. Multiple thin coats work better than one thick coat.
Can I just add compound to stuck-down bubbled tape?
Sometimes but not always. If the tape is still adhered underneath the bubble, adding compound and pressing might work. But if the tape is fully separated, you need to remove it. Trying to repair tape that’s not properly attached underneath is usually a waste of time. It’ll bubble again. Remove and retape properly.
What’s the difference between paper and mesh tape repair?
Paper joint tape relies on compound for adhesion so make sure compound is underneath before you tape. Fiberglass mesh tape has adhesive on the back so it sticks directly to drywall. Remove either type if it fails. Clean the surface. Apply new tape. But the initial application method differs.
How many coats of compound does tape need?
Minimum three coats. First coat embeds the tape. Second coat goes wider and starts feathering. Third coat feathers even wider. Some repairs need four or five coats for a perfect blend. Let each coat dry completely. Sand between coats. Rushing this is the number one mistake people make.
Why does my taped seam keep failing in the same spot?
Repeated failure in one spot means something else is happening. Could be moisture in the wall. Could be structural movement. Could be the seam was never properly finished to begin with. Have a professional look at it. Repairing the tape over and over while the root cause continues is frustrating and wasteful.