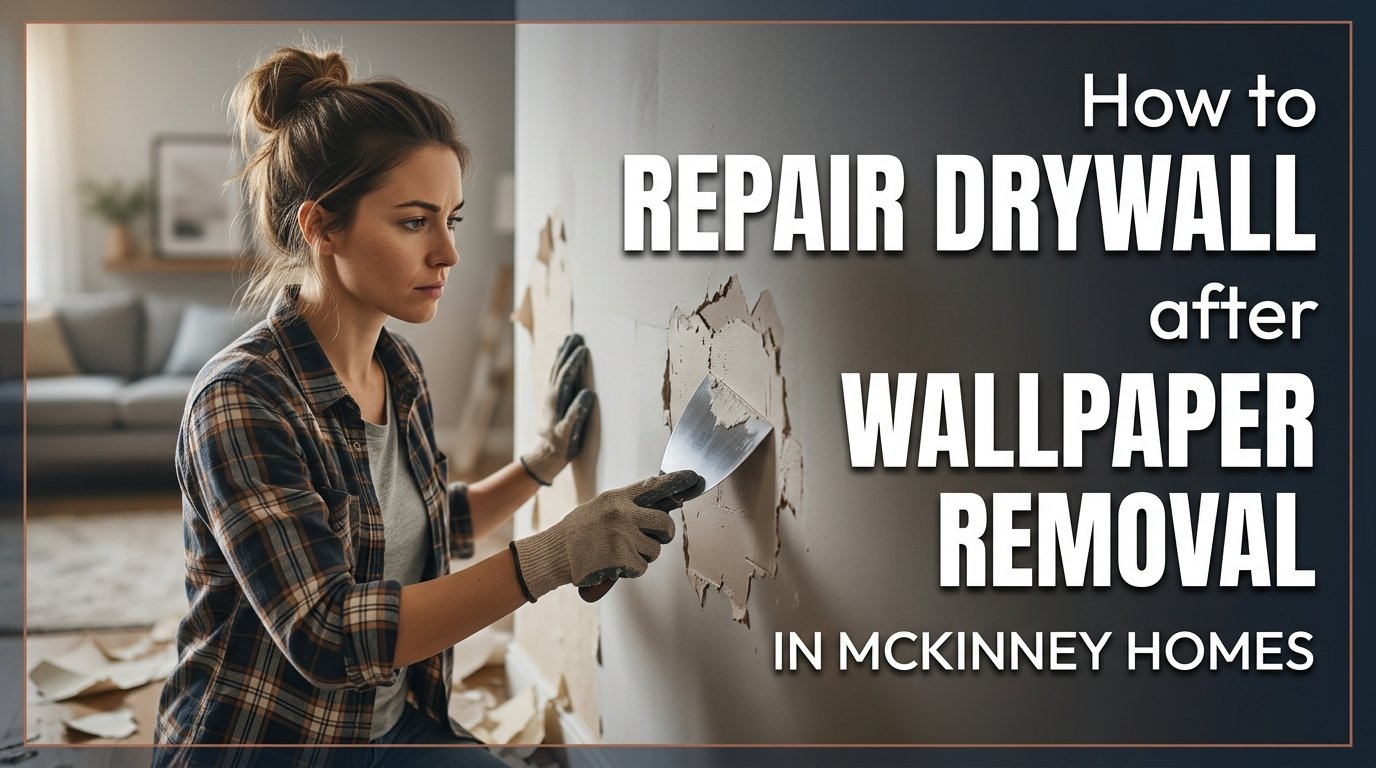
You finally got that wallpaper down. It’s gone. Stripped away. And now you’re looking at your wall thinking, “Uh, what happened here?” The wall looks destroyed. There are gouges. Tears. Spots where the paper ripped off taking chunks of the drywall paper with it. Sticky adhesive residue covering everything. You’re wondering if you should have just left the wallpaper up.
Here’s the thing. Wallpaper removal almost always damages the drywall underneath. It’s just how it works. The good news is that repairing drywall after wallpaper removal is totally doable. You just need to know what you’re looking at, what actually matters to fix, and what you can skip. This guide covers wallboard repair after wallpaper removal. We’re going to talk about the damage, how to assess it, and how to fix it properly so your wall looks good again. Wallpaper damage is one of several problems covered in our guide to professional drywall repair in McKinney, along with wall holes, cracks, water damage, loose seams, and ceiling repairs.
Why Wallpaper Removal Tears Drywall
Wallpaper sticks to your wall with adhesive. That adhesive bonds to the drywall surface. When you remove wallpaper, you’re essentially pulling that bond apart. Sometimes the adhesive lets go clean and the wall stays intact. Most of the time, things go wrong. The adhesive is stubborn. You pull too hard. The torn drywall paper comes off with the wallpaper.
Drywall is basically gypsum with a paper facing on the front. That paper is what the wallpaper sticks to. When you scrape or pull the wallpaper, you’re pulling on that paper layer. If the adhesive is strong enough, it takes the drywall paper with it. You end up with spots where the brown gypsum core is exposed. That’s damaged drywall paper. That’s what you need to fix.
Sometimes removal creates gouged sheetrock where you scraped too aggressively. You’re working hard, pulling harder, scraping harder, and suddenly there’s a gouge in the drywall. These gouges are less common than paper damage but they happen. The more aggressive you are during removal, the more damage you cause. It’s a balancing act between getting the wallpaper off and not destroying the wall underneath.
What You’re Looking At
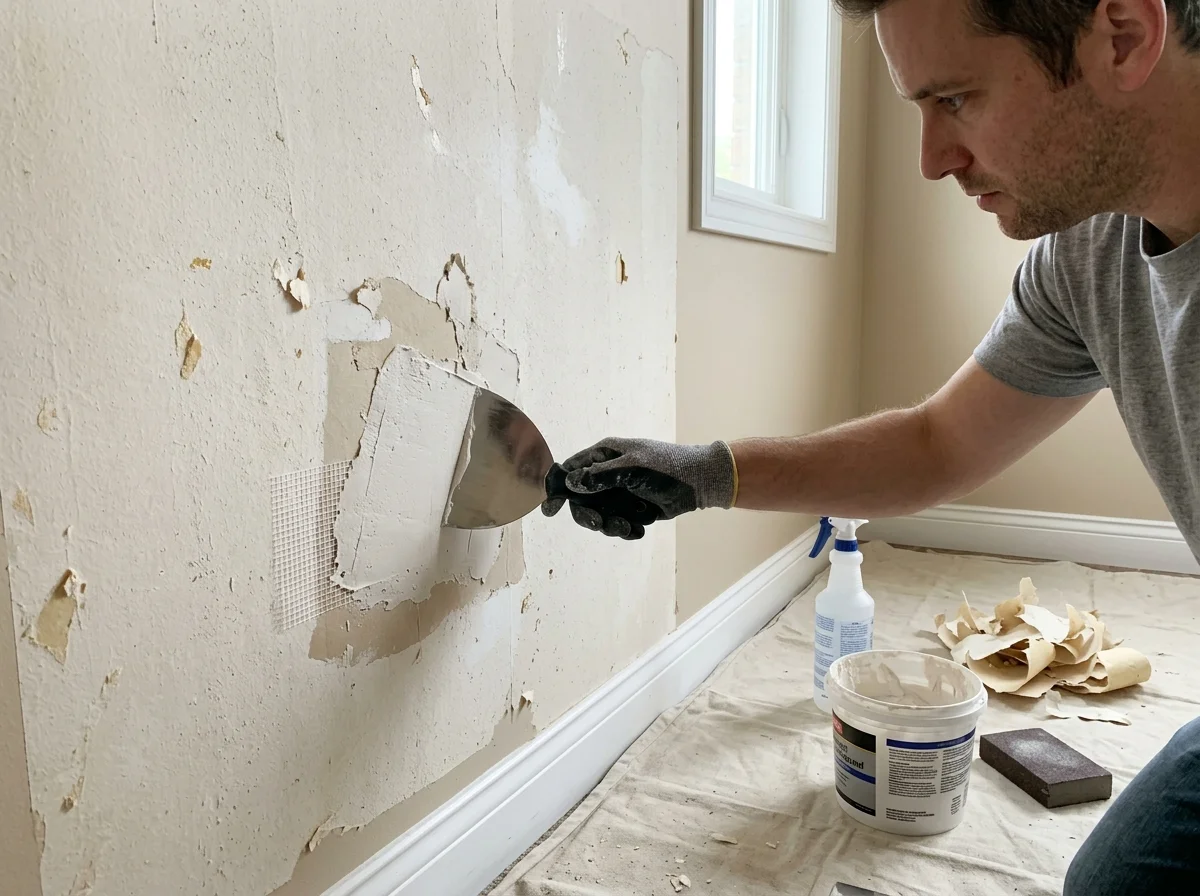
After wallpaper removal, your wall surface is a mess. You’ve got areas where the drywall paper is completely gone and the brown gypsum is showing through. You’ve got bubbling drywall paper where moisture from the removal process got under the paper and made it puff up. You’ve got adhesive residue smeared all over everything. You’ve got gouges from scraping tools.
The question becomes, what actually needs fixing? Not everything requires the same treatment. Some damage is superficial. Some damage is serious and requires panel replacement. Your goal is to figure out which is which so you don’t spend time fixing something that doesn’t matter while ignoring something that does. Start by getting all the loose paper off. If there’s drywall paper that’s hanging off or bubbling, remove it carefully. You want solid surface, not stuff flaking off.
Once you’ve got all the loose stuff gone, look at what remains. How much damage is there? Is it isolated spots or is most of the wall damaged? Small spots with torn drywall paper can be sealed and painted. Large areas where you’ve got exposed gypsum everywhere might need panel replacement. Most walls fall somewhere in between where you’re doing targeted repairs and careful finishing.
Cleaning Off The Adhesive
Before you do any repairs, you need to get the wallpaper adhesive off your wall. This stuff needs to go. If you try to paint over it or seal over it, you’re going to have problems. The adhesive interferes with primer sticking properly. Your new paint won’t adhere right. You’ll get flaking and peeling down the road.
Use a putty knife or scraper to get up as much adhesive as you can dry. Then wet the remaining adhesive with warm water and scrape again. Sometimes you need a drywall sponge to sand down sticky spots. The goal is getting your wall to bare drywall or bare wall paint without adhesive residue. It doesn’t have to be perfect, just mostly clean. Once the wall is clean and dry, you can see exactly what you’re dealing with in terms of damage.
Some adhesive is harder to get off than others depending on what type was used originally. Oil-based adhesive is stubborn. Water-based adhesive usually comes off easier. Either way, don’t leave adhesive on your wall. It’ll cause problems with primer and paint. Spend the time getting it off now instead of dealing with paint failure later.
Small Damage: Sealed Spots
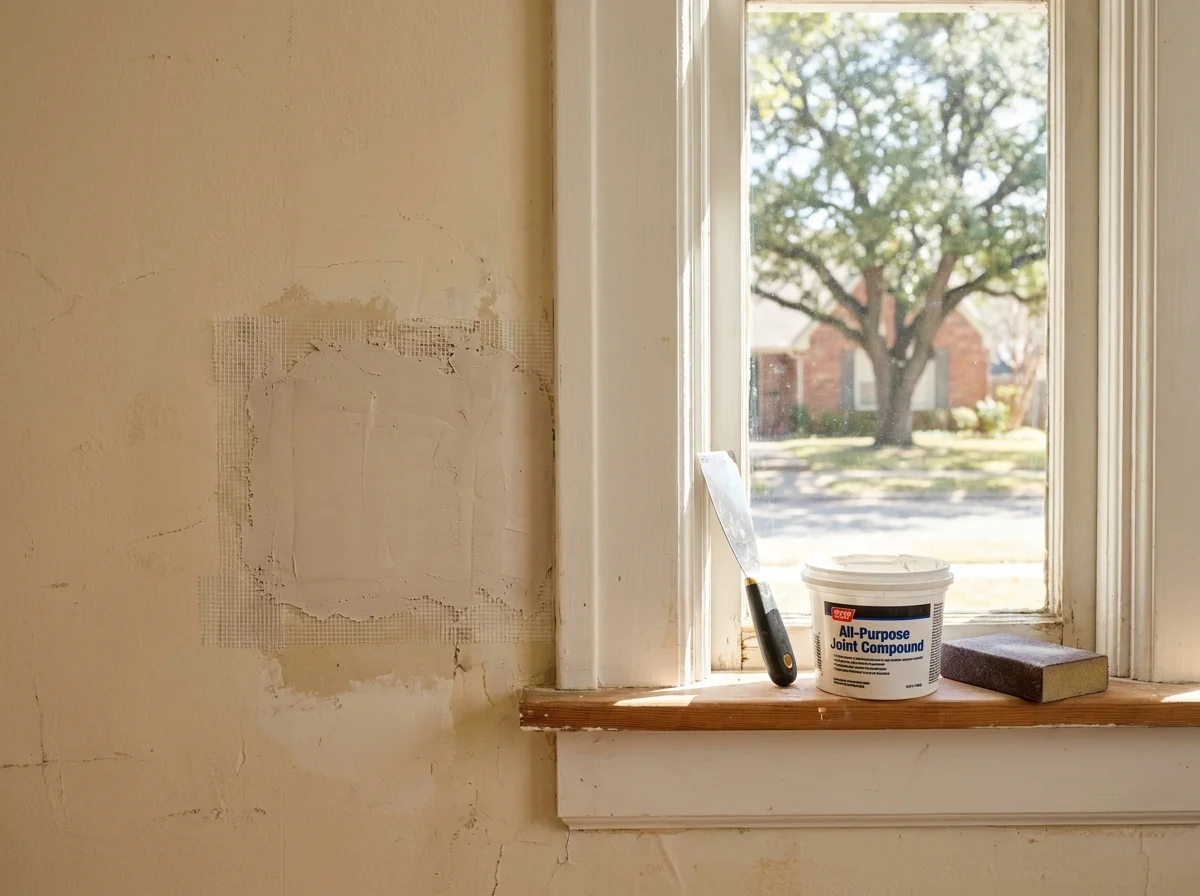
If you’ve got small spots of damaged gypsum facing or exposed brown drywall paper, you don’t necessarily need to do skim coating over the entire wall. You can seal just those spots with a problem-surface sealer. This is a primer designed specifically for problem surfaces like exposed gypsum, stains, and adhesive residue.
Paint on the sealer over any spot where brown gypsum is showing or where adhesive residue remains. Let it dry according to instructions. Usually one coat is enough. Some heavy stains might need two coats. After the sealer dries, you can prime and paint the wall normally. The sealer stops the exposed gypsum from absorbing paint unevenly and creating dark spots.
This method works great when you’ve got isolated damage. If most of your wall is damaged, sealing individual spots gets tedious and obvious. But for a few spots here and there, this is a quick and effective solution. Oil-based sealer works better than water-based for this application because it seals better and dries faster.
Medium Damage: Skim Coating Approach
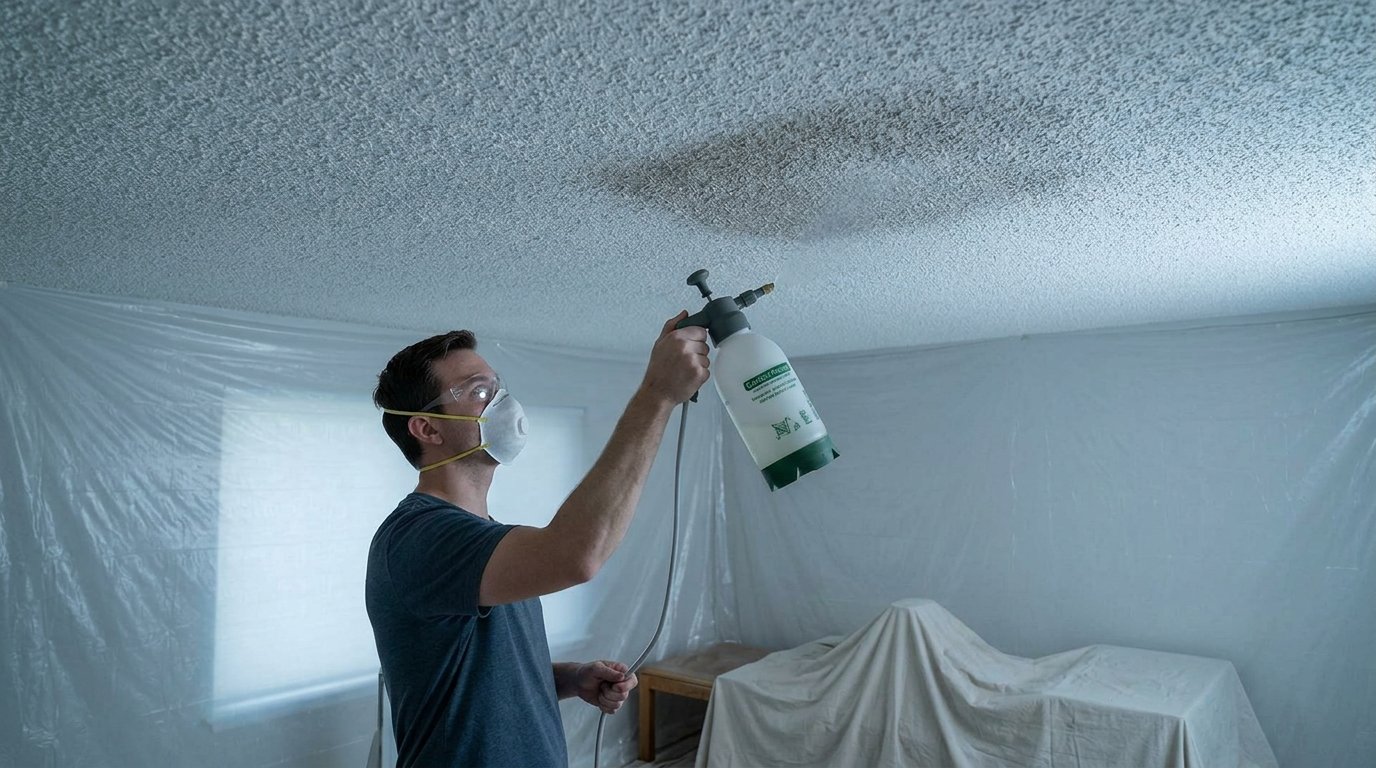
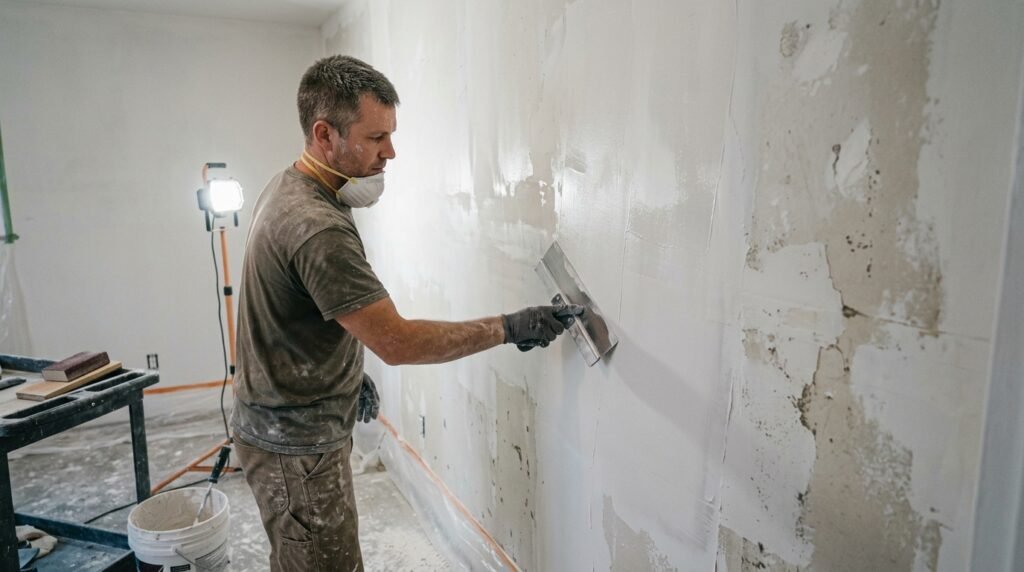
If you’ve got more widespread damage, you might want to skim coat the entire wall instead of patching spots. Skim coating means applying a thin layer of joint compound over the entire wall surface. This creates a uniform surface that covers all the damage at once. A similar finishing process is often required after homeowners remove a popcorn ceiling because scraping can leave rough drywall, visible seams, and surface gouges that need skim coating. You’re not trying to build up texture or fill holes. You’re just smoothing everything out.
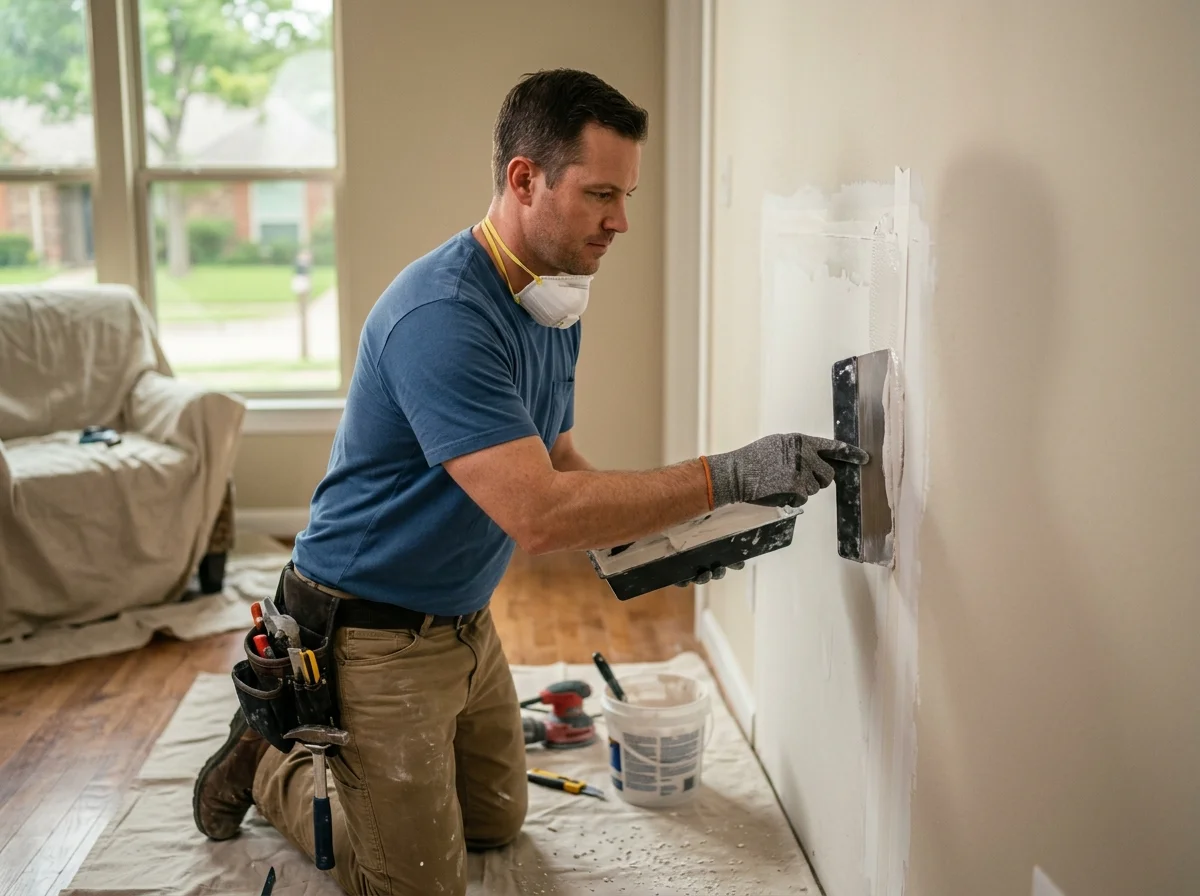
Apply the joint compound thin. Use a wide drywall knife. Spread it evenly across the wall. Let it dry completely. Then sand it smooth. One coat usually isn’t enough so you’re doing this multiple times until the wall is smooth and even. This takes patience. This takes time. But it creates a professional-looking finish that looks way better than trying to seal individual spots.
Sanding drywall between coats is essential. You can’t apply a smooth second coat over a rough first coat. Sand between every coat. Wear a dust mask when sanding. The dust gets everywhere. After your final coat is smooth, you’ve got a blank canvas that’s ready for primer and paint.
When The Damage Is Too Much
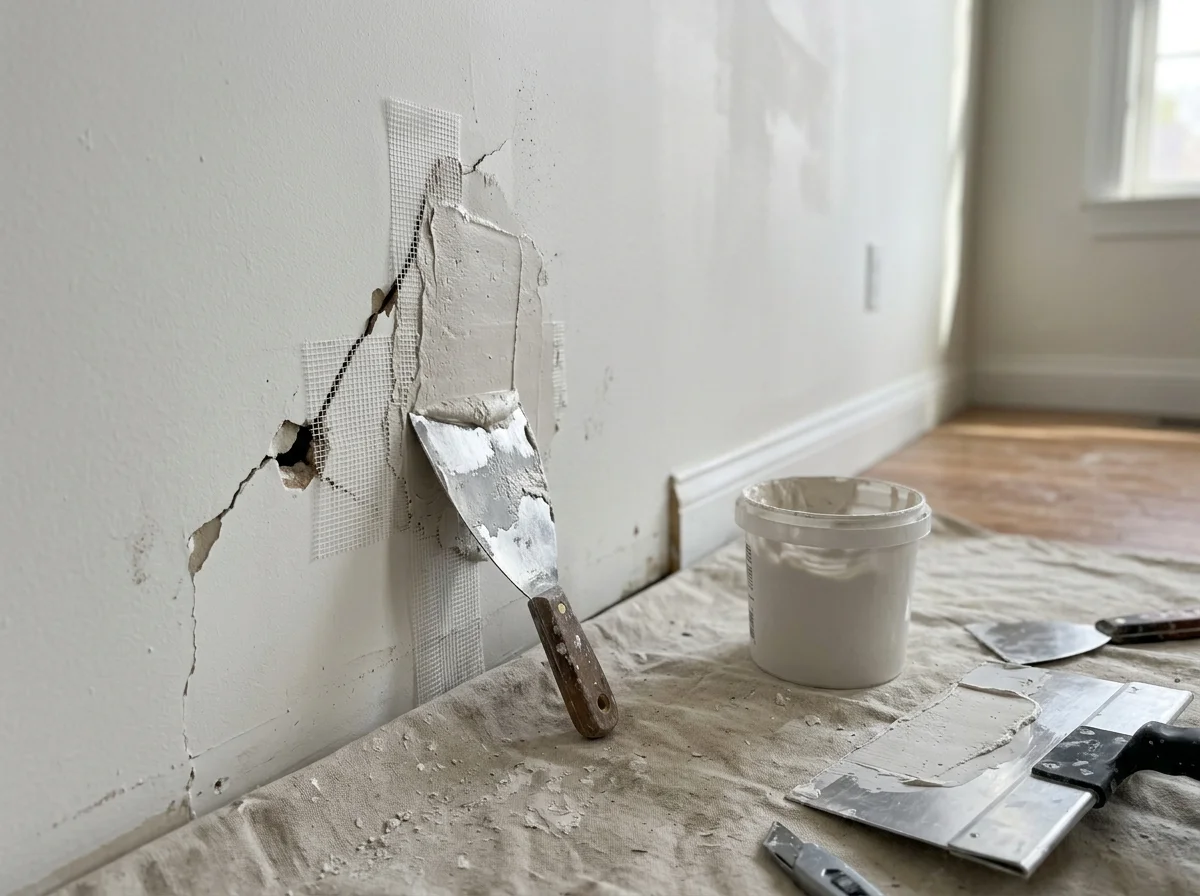
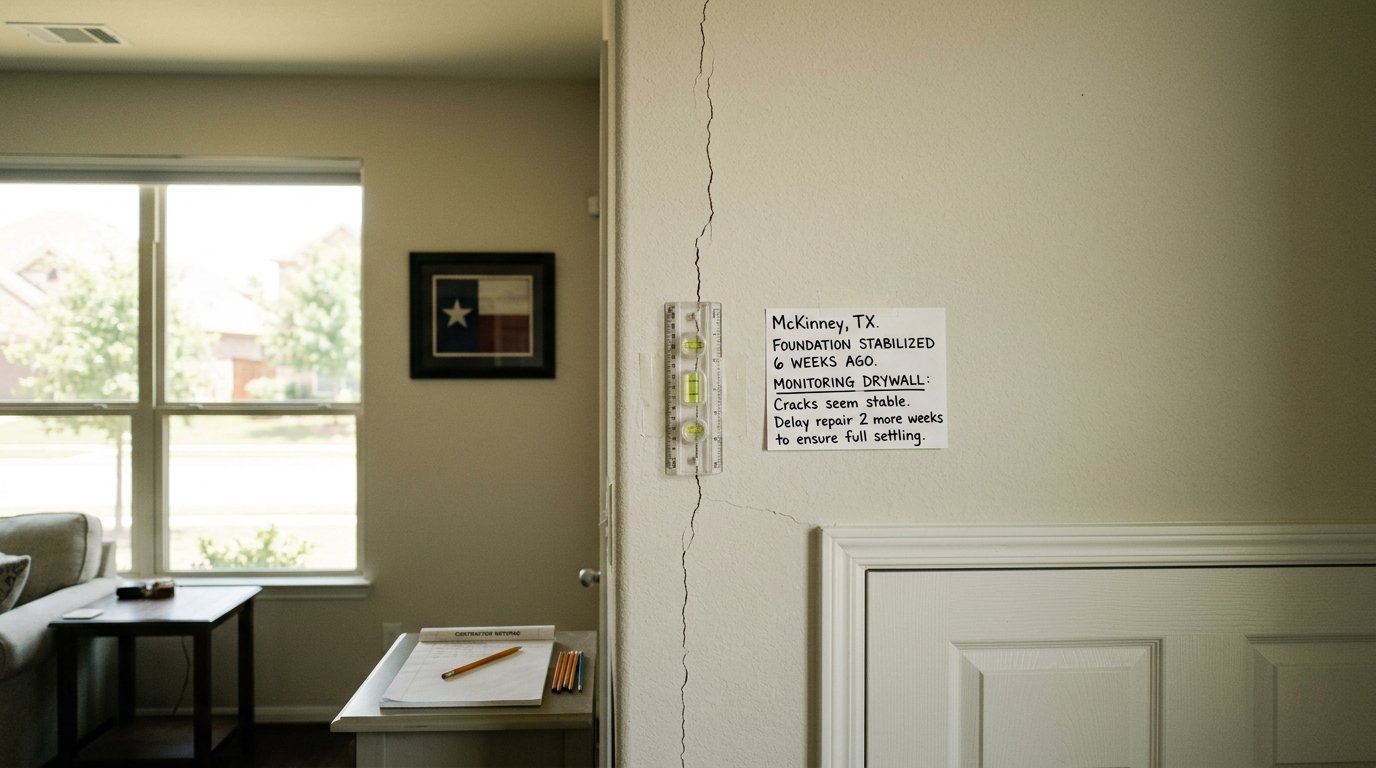
Sometimes the damage from wallpaper removal is so extensive that skim coating doesn’t make sense. You’ve got huge areas where the drywall paper is gone or the gypsum is damaged beyond what sealing can fix. In these cases, drywall panel replacement is actually the smarter move. You cut out the damaged section, install new drywall, tape and mud it, and you’ve got a perfect surface. If the removal process also loosens existing seam tape or exposes bubbling joints, proper sheetrock tape repair should be completed before skim coating or painting.
This costs more than repair but sometimes it’s the right answer. If you’re replacing more than half the wall anyway, might as well do the whole wall. If there’s just one section that’s trashed, cut that section out and replace it. When torn paper, exposed gypsum, or deep gouges cover a large portion of the wall, professional drywall repair services can determine whether targeted patching, skim coating, or panel replacement will produce the best finish. Patch the seams like you would any other drywall work. The wall ends up looking perfect because you’ve got new drywall instead of old damaged drywall that you’re trying to hide.
Professional Wall Surface Restoration
This is where the actual finishing work happens. After you’ve sealed, skim coated, or replaced damaged areas, you need to prepare the wall for paint. This means primer before paint. Apply a quality primer to your entire wall. Don’t skip this step thinking you’ll save time.
Primer seals everything. It stops adhesive residue from bleeding through. It prevents dark spots from showing through. It helps paint adhere properly. Two coats of paint on top of good primer looks way better than four coats without primer. Use primer designed for drywall. Let it dry completely. Then apply your finish paint.
This is what separates professional wall-surface restoration from just slapping paint on a wall. The prep work, the primer, the proper finishing, all of it matters. A wall that was damaged by wallpaper removal and then properly restored looks like it was never wallpapered at all. That’s the goal.
Common Mistakes People Make
Don’t try to paint over exposed gypsum without sealing it first. The paint will look dark and uneven. Exposed gypsum absorbs paint differently than the rest of the wall. Don’t leave adhesive residue on the wall thinking paint will cover it. It won’t. The adhesive interferes with paint sticking. Don’t rush the drying between coats of joint compound. Wet compound needs time to cure or your next coat won’t stick properly.
Don’t sand without a dust mask. The drywall dust gets in your lungs and it’s not fun. Don’t use just one coat of primer thinking it’ll be enough. Most walls need at least one coat but problem walls need two. Don’t use wall paint on the ceiling area or in corners without adjusting your technique. Paint flows differently in these spots. These are the mistakes that make people frustrated with the results.
Frequently Asked Questions About Drywall Repair After Wallpaper
Why does wallpaper removal damage drywall so much?
The wallpaper adhesive bonds to the drywall paper surface. When you remove wallpaper, you’re pulling on that paper. If the adhesive is strong, it pulls the drywall paper right off along with the wallpaper. You end up with torn drywall paper and exposed gypsum. The damage happens because the wallpaper attachment is stronger than the bond between the drywall paper and the gypsum core underneath.
Can I just paint over the damage?
Not really. Exposed gypsum looks dark under paint. Wallpaper adhesive residue prevents paint from adhering properly. You’ll get uneven color and potential peeling. You need to seal exposed gypsum and clean off adhesive before painting. Small spots can be sealed individually. Large areas should be skim coated. But no, you can’t just paint and expect good results.
How do I know if I need skim coating or just sealing?
Small isolated spots of damage? Seal them individually with problem-surface sealer. If you’ve got damage scattered all over the wall or if more than twenty percent of the wall is damaged, skim coat the entire wall. It’s faster and looks more professional than trying to seal dozens of spots. Skim coating also creates a uniform finish that looks intentional rather than repaired.
What’s the best sealer for wallpaper damage?
Oil-based sealer works better than water-based for this application. It dries faster. It seals better. It prevents stains and adhesive residue from bleeding through to your paint. Apply it to any spot where you’ve got exposed gypsum or stubborn adhesive residue. One coat usually works for minor issues. Two coats for heavy stains.
Do I need new drywall or can repairs fix it?
It depends on the extent of damage. Small spots and tears can be sealed or skim coated. Medium damage gets skim coated over. Extensive damage where large areas are torn or gouged might need panel replacement. If you’re replacing more than half the wall, replace the whole wall. If it’s just a section, cut that out and patch it.
Why is primer before paint so important after wallpaper removal?
Wallpaper removal leaves residue, damage, and problem surfaces that paint alone can’t handle. Primer before paint seals everything. It prevents adhesive from bleeding through. It blocks stains. It gives paint something to adhere to properly. Paint goes on better over primer. It looks more uniform. It lasts longer. Don’t skip the primer step.